Last November, I was standing in the frozen aisle of the grocery store at 8:30 PM on a Tuesday. I was exhausted. My inbox was full, the kids had been loud all afternoon, and I had promised them “special dessert” if they cleaned their rooms. I grabbed the first box of lemon bars I saw, threw it in the cart, and went home.
When we sat down to eat them, they were dry. The crust was sandy. The filling tasted like artificial lemon concentrate and sugar. My kids pushed them around their plates. I felt that familiar pang of guilt—not just because I bought junk food, but because I had let my own laziness dictate what my family ate.
I threw the rest in the trash (well, composted, but you get the point) and decided then and there: I would never buy a box of dessert again. Not if I could make something better, faster, and actually healthy for my body.
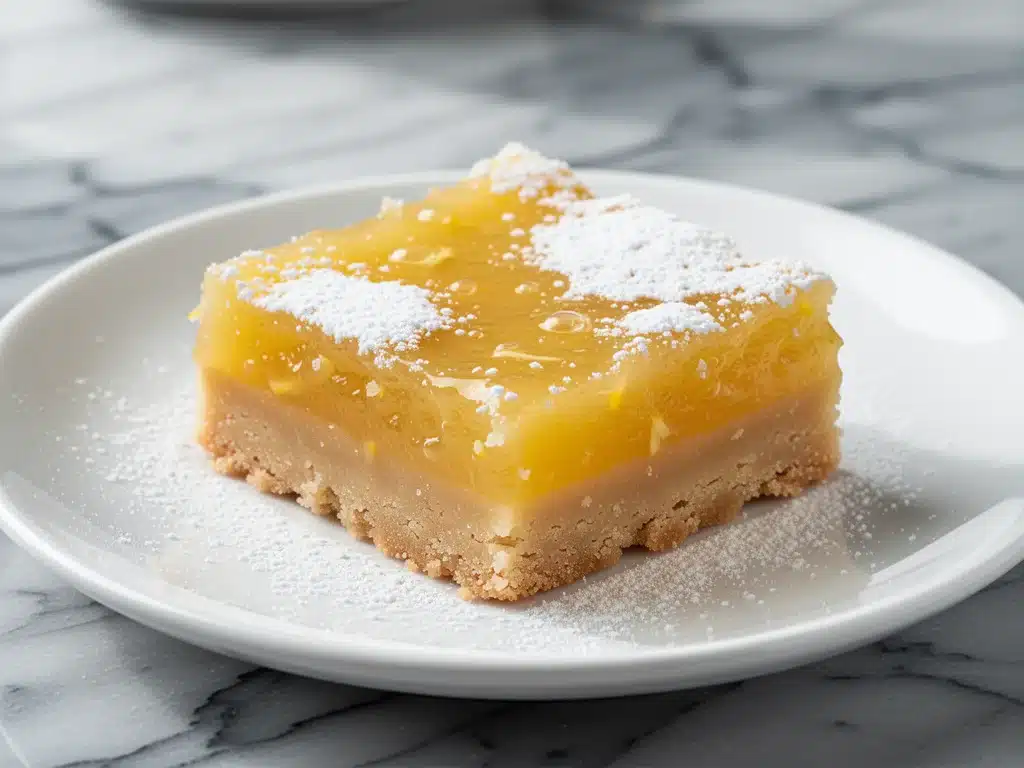
That night, I whipped up what I now call my Gluten-Free Lemon Bars with Almond Flour Crust. I used three ingredients for the crust, three for the filling, and 30 minutes from start to finish. When my kids took a bite, they didn’t ask where they came from. They just asked for seconds.
This recipe has completely changed how I handle dessert emergencies. It’s tangy, sweet, buttery, and surprisingly easy to make with ingredients I already have in my pantry. If you’re tired of dry, artificial store-bought treats, this is the one you need to try.
Why You’ll Love This Gluten-Free Lemon Bars with Almond Flour Crust
There are a lot of dessert recipes out there. But this Gluten-Free Lemon Bars with Almond Flour Crust hits a sweet spot that most others miss. It’s not just “good for gluten-free.” It’s genuinely delicious, even to people who don’t have dietary restrictions.
Here’s why this is my new go-to:
- Three Ingredients for the Crust — Seriously. Almond flour, butter, and a touch of sugar. That’s it. No xanthan gum, no weird flours, no confusing ratios. If you can melt butter, you can make this crust. It’s rich, crumbly, and holds together perfectly.
- Real Lemon Flavor — I used to think lemon desserts tasted like cleaning product. Not this one. By using fresh lemon juice and zest, the flavor is bright and vibrant, not artificial or overpowering. It tastes like sunshine.
- Ready in 30 Minutes — I know, I said 30 minutes, and I mean it. 10 minutes prep, 20 minutes bake. I’ve made this on weeknights after getting home from work when I didn’t want to order takeout. It’s faster than waiting for a delivery driver.
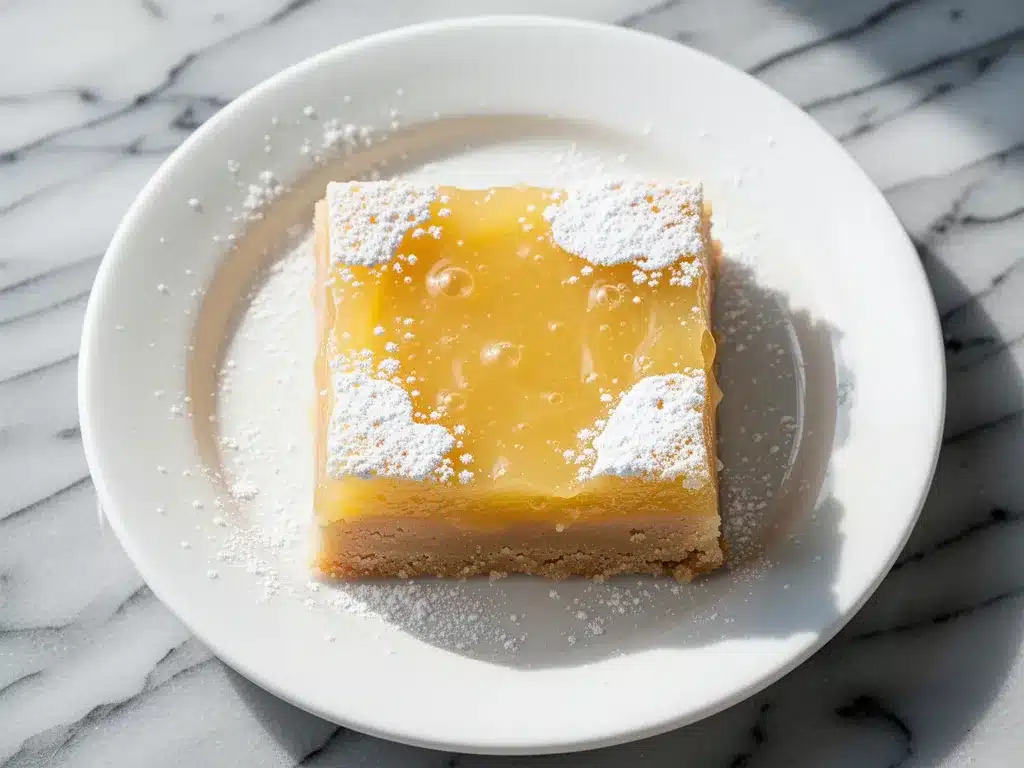
- Perfectly Tangy-Sweet Balance — The filling is set but soft, not hard like a lemon bar from a bakery. It has that perfect squish. The ratio of sugar to lemon is dialed in so it’s sweet but has a kick.
- Gluten-Free and Nutty — The almond flour gives it a lovely nutty depth that wheat flour just doesn’t have. It’s naturally gluten-free, so I don’t have to hunt for specialty “GF” blends that often turn out gritty.
This is the kind of dessert that makes people ask for the recipe. I’ve served these at potlucks, family dinners, and random Tuesday nights. Everyone loves them. And the best part? They’re easy to make ahead, so you’re never caught in that frozen aisle again.
Ingredients You’ll Need
Here’s the best part: you probably have most of this already. I’m particular about a few things, but mostly, this is simple pantry stuff.
For the Almond Flour Crust
Almond Flour (1 cup / 100g) — This is the star. Make sure you use blanched almond flour, not almond meal. Almond meal has the skins on and will make your crust speckled and gritty. Blanched is smooth and light. I like the brand Blue Diamond, but any good quality blanched flour works.
Unsalted Butter (½ cup / 113g) — Melted. Use real butter, not margarine. It adds the richness that makes the crust crumbly and delicious. If you’re salt-deprived, you can use salted butter and reduce the added salt, but unsalted gives you more control.
Granulated Sugar (2 tablespoons / 25g) — Just a little bit to sweeten the crust. It helps it hold together and adds a subtle crunch.
For the Lemon Filling
Fresh Lemon Juice (½ cup / 120ml) — Yes, fresh. Bottled lemon juice has preservatives that taste metallic and flat. Squeeze four to six lemons. If you’re short on time, you can freeze fresh lemon juice in ice cube trays, but fresh is best.
Lemon Zest (2 teaspoons) — From those same four to six lemons. The zest contains the essential oils that give lemon bars their perfume. Don’t skip it. Use a microplane for the finest zest.
Eggs (4 large) — Room temperature works best, but cold eggs are fine if you’re in a hurry. They’re the binder that sets the filling. Don’t use egg whites or substitutes here; you need the richness.
Granulated Sugar (1 cup / 200g) — The main sweetener. Don’t reduce this too much, or the bars won’t set properly. The acid from the lemon needs the sugar to balance.
All-Purpose Flour (2 tablespoons / 15g) — I know, this is a gluten-free recipe, right? Yes, but the filling needs a tiny bit of flour to help it set and prevent it from being too runny. If you need it 100% gluten-free, use 2 tablespoons of almond flour instead, but the texture will be slightly softer.
Vanilla Extract (1 teaspoon) — Just a splash to round out the flavors. It makes the lemon taste less sharp and more complex.
Pinch of Salt — Enhances the sweetness and balances the acidity. Never skip salt in baking.
For the Finish
Powdered Sugar (for dusting) — Optional, but it makes them look fancy. I dust them right before serving. If you’re meal-prepping, dust them just before eating so they don’t dissolve.
Equipment Needed
You don’t need fancy gadgets for this. Here’s what I actually use.
8×8 Inch Baking Pan — Standard size. I use a glass pan because it heats evenly. Metal works too, but glass is easier to clean. Line it with parchment paper for easy removal.
Mixing Bowls — Two medium bowls. One for the crust, one for the filling.
Whisk — For the filling. You need to incorporate air and mix the sugar into the eggs thoroughly. A fork works in a pinch, but a whisk is better.
Zester or Microplane — For the lemon zest. A microplane gives the finest zest, which melts into the filling. A box grater works too, but it’s chunkier.
Citrus Juicer — Optional. I use my hands, but a handheld juicer saves time and effort.
Parchment Paper — Essential for lining the pan. It prevents sticking and makes lifting the bars out a breeze.
How to Make It: Step-by-Step
Alright, let’s make this! I’m walking you through exactly how I do it, including the little tricks I’ve picked up over the years.
Step 1: Prep Your Pan and Oven (5 minutes)
Preheat your oven to 350°F (175°C). Line your 8×8 inch baking pan with parchment paper, leaving an overhang on the sides. This is crucial for lifting the bars out later. Grease the parchment lightly with butter or cooking spray.
Step 2: Make the Crust (5 minutes)
In a medium bowl, mix the almond flour, melted butter, and 2 tablespoons of sugar. Stir until it looks like wet sand. Press this mixture firmly into the bottom of your prepared pan. Use the back of a spoon or your fingers to pack it down tight. You want a solid base, not a loose crumble.
Step 3: Blind Bake the Crust (15 minutes)
Bake the crust for 15 minutes. It should be lightly golden around the edges. Remove from the oven and let it cool slightly while you make the filling. Don’t skip this step! A pre-baked crust stays crisp instead of getting soggy from the wet filling.
Step 4: Make the Filling (5 minutes)
In a large bowl, whisk together the eggs, 1 cup of sugar, vanilla, and salt until well combined. Add the fresh lemon juice and lemon zest. Whisk vigorously until the sugar is mostly dissolved. The mixture will look curdled—that’s normal. Finally, whisk in the 2 tablespoons of all-purpose flour (or almond flour) until smooth.
Step 5: Bake the Bars (20 minutes)
Pour the filling over the warm crust. It will bubble up around the edges. Bake for 20 minutes. The bars are done when the edges are set and slightly puffed, but the center still has a slight jiggle. It shouldn’t be liquid, but it shouldn’t be hard either. It will firm up as it cools.
Step 6: Cool and Chill (Critical Step!)
Let the bars cool in the pan on a wire rack for 30 minutes. Then, transfer the whole pan to the refrigerator. They need to chill for at least 4 hours, preferably overnight. This is non-negotiable. If you cut them warm, they will be a mess. The chill sets the filling and makes them sliceable.
Step 7: Slice and Serve
Lift the bars out of the pan using the parchment overhang. Use a sharp knife to cut them into squares. Dust lightly with powdered sugar. Serve and enjoy!
Expert Tips & Tricks
Here’s everything I’ve learned from making this dozens of times. These tips will save you from my mistakes.
- Use Blanched Almond Flour — I can’t stress this enough. Almond meal (with skins) will make your crust dark and gritty. Blanched is smooth and light. It makes a huge difference in texture.
- Don’t Skip the Blind Bake — If you put the wet filling on the raw crust, the bottom will be gummy. Baking the crust first creates a barrier. It’s worth the extra 15 minutes.
- Zest Before You Juice — Zest your lemons before you cut them open to juice them. It’s easier to hold a whole lemon for zesting. Use a microplane for the best results.
- Room Temperature Eggs — If you have time, let your eggs sit out for 30 minutes. They mix more evenly into the filling. Cold eggs can sometimes cause the mixture to separate slightly.
- Chill Thoroughly — I know you’re excited to eat them. Wait. If you cut them warm, they’ll fall apart. Chill for at least 4 hours. Overnight is best.
- Sharp Knife is Key — Use a sharp, thin-bladed knife. Wipe the blade clean between cuts for neat squares. A dull knife will squish the bars.
Common Mistakes (and how to avoid them)
Mistake: Crust is too dark. Fix: Check your oven temperature. Almond flour burns easily. If your oven runs hot, check at 12 minutes instead of 15.
Mistake: Filling is runny. Fix: You might have underbaked it. The center should have a slight jiggle, not a wave. Also, ensure you’re using fresh eggs. Old eggs have thinner whites that can affect setting.
Mistake: Bars are dry. Fix: Overbaking. Remove them when the edges are set but the center is still soft. They will firm up as they cool.
Variations & Substitutions
Once you’ve nailed the basic version, here’s how you can mix it up. I’ve tried all of these.
Blueberry Lemon Bars
Stir ½ cup of fresh or frozen blueberries into the filling before baking. The berries burst and create little pockets of sweetness. It’s like summer in a bar. This pairs beautifully with the tangy lemon.
Coconut Lemon Bars
Replace half the almond flour with shredded coconut for the crust. It adds a nice tropical twist. You can also add ¼ cup of coconut flakes to the filling. It’s a fun variation for summer parties.
Meyer Lemon Bars
If you can find Meyer lemons (they’re sweeter and more floral than regular lemons), use them! They require less sugar. I love this version in the spring. It’s more delicate and fragrant.
Dairy-Free Version
Replace the butter in the crust with coconut oil. It works surprisingly well and adds a subtle coconut flavor. Make sure your powdered sugar is dairy-free (some brands use bone char, though that’s not dairy, but some vegans avoid it).
Gluten-Free Crust Only
If you want the filling to be 100% gluten-free, replace the 2 tablespoons of all-purpose flour in the filling with 2 tablespoons of cornstarch or arrowroot powder. It’s a great thickener and keeps it gluten-free.
Serving & Storage
How to Serve
I usually serve these straight from the fridge. They’re best cold, with that firm, custard-like texture. But here are other ways I’ve enjoyed them:
- With Whipped Cream — A dollop of lightly sweetened whipped cream on top is amazing. It cuts the tanginess.
- With Berries — Fresh raspberries or strawberries on the side add color and freshness.
- With Tea — These pair perfectly with black tea or Earl Grey. The lemon complements the tea beautifully.
Storage Instructions
Refrigerator: Store in an airtight container for up to 5 days. They actually get better after day 2 as the flavors meld. Keep them in the fridge; they don’t hold up well at room temperature for long.
Freezing: Yes, you can freeze these! Cut them into bars, wrap each one individually in plastic wrap, then place them in a freezer bag. They freeze well for up to 3 months. Thaw in the fridge overnight. The texture might be slightly softer, but they’re still delicious.
Pro Tip: If you’re making these for a party, dust them with powdered sugar right before serving. If you dust them too early, the sugar will dissolve into the moist filling.
Nutrition Information
I’m not a nutritionist, but here’s the breakdown if you’re tracking. Please note that these are estimates.
Per Serving (based on 16 bars):
- Calories: 120
- Protein: 3g
- Carbs: 12g
- Fiber: 1g
- Sugar: 10g
- Fat: 8g
- Saturated Fat: 3g
- Cholesterol: 45mg
- Sodium: 35mg
What’s Good:
- Lower in carbs than traditional lemon bars due to almond flour.
- Good source of healthy fats from almonds.
- High in protein relative to other dessert bars.
What to Know:
- Still contains sugar, so portion control is key if you’re watching sugar intake.
- High in fat, but mostly healthy monounsaturated fats.
- Contains nuts, so not suitable for nut allergies.
My Take:
Look, this is still a dessert. It has sugar and fat. But it’s made with whole food ingredients like almonds and eggs. It’s way better than a box mix, and you know exactly what’s in it. When I want to make it lighter, I reduce the sugar in the filling by 2 tablespoons. It’s still sweet enough, but less intense.
Final Thoughts
So that’s my go-to Gluten-Free Lemon Bars with Almond Flour Crust! I’ve probably talked your ear off at this point, but when you make a recipe this often, you have a lot to say about it.
This has saved me from so many dessert emergencies. It’s my answer to “what’s for dessert?” when I’m tired, don’t want to bake a cake, and still want something that tastes really good. My kids are happy, my husband’s happy, and I’m happy because I’m not stressed about cooking.
Make it yours! Try different add-ins, swap in your favorite berries, adjust the lemon (though more is always better in my opinion). The best recipes are the ones you adapt to your family’s tastes.
If you make this, drop a comment and let me know what you think! I love hearing how recipes turn out in your kitchen. And if something doesn’t work, tell me that too—I’m here to help troubleshoot.
Happy baking! And I hope your kitchen smells half as good as mine does right now.
Frequently Asked Questions
Can I use almond meal instead of almond flour?
You can, but the texture will be different. Almond meal has the skins on, so your crust will be darker, grittier, and more rustic. If you don’t mind that, go for it. But for a smooth, light crust, blanched almond flour is the way to go.
Why did my lemon bars separate?
Usually, this happens if the oven temperature was too high, causing the eggs to curdle. Make sure your oven is calibrated correctly. Also, whisk the filling well before pouring it over the crust to ensure the ingredients are fully emulsified.
Can I make these ahead of time?
Absolutely! They actually taste better after a day or two in the fridge. I often make them on Sunday for the week. Just keep them in an airtight container in the fridge. Dust with powdered sugar right before serving.
Do I have to use fresh lemon juice?
I highly recommend it. Bottled lemon juice often has preservatives and a flat taste. Fresh juice is bright and zesty. If you’re in a pinch, you can use frozen fresh lemon juice (thawed), but avoid the bottled kind if you can.
How do I store leftover lemon bars?
Store them in an airtight container in the refrigerator for up to 5 days. They can also be frozen for up to 3 months. Wrap individual bars in plastic wrap and place them in a freezer bag. Thaw in the fridge before eating.
Can I make these nut-free?
Unfortunately, the crust relies on almond flour for structure and flavor. You could try a gluten-free oat flour crust, but the texture and taste will be very different. For a nut-free version, you might want to look at my overnight vanilla chia pudding with berries instead, which is naturally nut-free and just as refreshing.
What’s the best way to cut clean squares?
Use a sharp, thin-bladed knife. Dip the knife in hot water and wipe it dry between each cut. This prevents the filling from sticking to the knife and ensures clean edges. Also, make sure the bars are fully chilled before cutting.
Pin This Recipe!
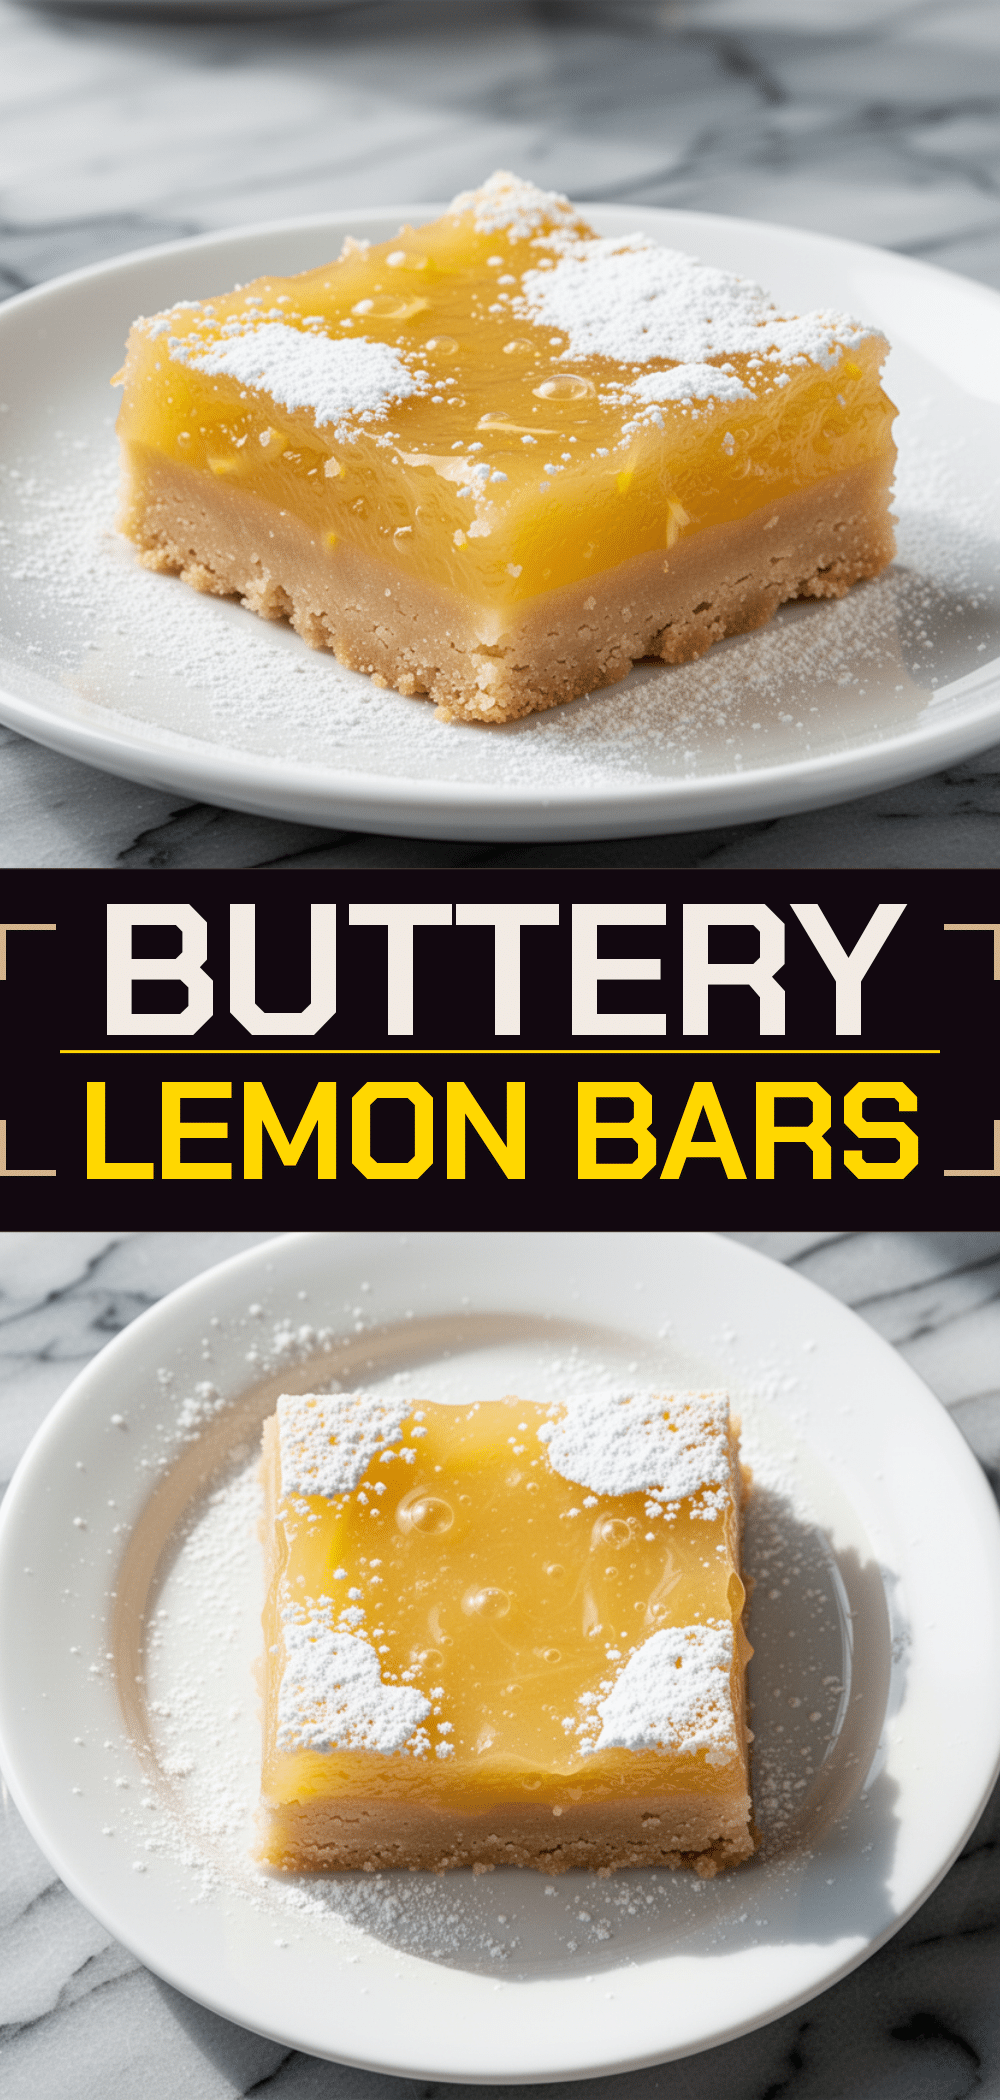

Gluten-Free Lemon Bars with Almond Flour Crust
- Total Time: 30 minutes
- Yield: 16 servings 1x
Description
A tangy, sweet, and buttery dessert made with just three ingredients for the crust and fresh lemon for the filling. These bars are naturally gluten-free, easy to make in 30 minutes, and perfect for dessert emergencies.
Ingredients
- 1 cup (100g) blanched almond flour
- 1/2 cup (113g) unsalted butter, melted
- 2 tablespoons granulated sugar
- 1/2 cup (120ml) fresh lemon juice
- 2 teaspoons lemon zest
- 4 large eggs, room temperature
- 1 cup (200g) granulated sugar
- 2 tablespoons all-purpose flour (or almond flour for 100% GF)
- 1 teaspoon vanilla extract
- Pinch of salt
- Powdered sugar, for dusting
Instructions
- Preheat oven to 350°F (175°C). Line an 8×8 inch baking pan with parchment paper, leaving an overhang on the sides, and grease lightly.
- In a medium bowl, mix almond flour, melted butter, and 2 tablespoons of sugar until it resembles wet sand.
- Press the mixture firmly into the bottom of the prepared pan to form a solid crust.
- Blind bake the crust for 15 minutes until lightly golden around the edges. Remove and let cool slightly.
- In a large bowl, whisk together eggs, 1 cup sugar, vanilla, and salt until combined.
- Add fresh lemon juice and zest, whisking vigorously until sugar is mostly dissolved.
- Whisk in the all-purpose flour (or almond flour) until smooth.
- Pour the filling over the warm crust.
- Bake for 20 minutes until edges are set and slightly puffed, but the center still has a slight jiggle.
- Cool in the pan on a wire rack for 30 minutes.
- Transfer to the refrigerator and chill for at least 4 hours or overnight until fully set.
- Lift bars out using parchment overhang, cut into squares, and dust with powdered sugar before serving.
Notes
Use blanched almond flour for a smooth crust, not almond meal. Do not skip blind baking the crust to prevent sogginess. Chill thoroughly before cutting to ensure clean slices. For 100% gluten-free, replace all-purpose flour in filling with almond flour or cornstarch.
- Prep Time: 10 minutes
- Cook Time: 20 minutes
- Category: Dessert
- Cuisine: American
Nutrition
- Serving Size: 1 bar
- Calories: 120
- Sugar: 10
- Sodium: 35
- Fat: 8
- Saturated Fat: 3
- Carbohydrates: 12
- Fiber: 1
- Protein: 3
Keywords: gluten-free, lemon bars, almond flour, easy dessert, 3-ingredient crust, healthy dessert, nut-free option



