It’s 7:30 AM on a Tuesday. I’m standing in my kitchen, coffee in one hand and a half-asleep toddler in the other, trying to figure out what to pack for lunch that won’t cost me a fortune and won’t result in a meltdown before school even starts. Sound familiar?
For years, I was that person buying those fancy, pre-packaged protein bars at the grocery store. You know the ones? The ones that cost $3.50 each and taste like a chalky, artificial lemon wedge. I bought them because I told myself I was being “healthy” and “efficient.” But let’s be real: I was just lazy and broke. By the time I got home from work, my bank account was lighter, and my energy was still crashing because those bars were loaded with sugar and zero actual substance.
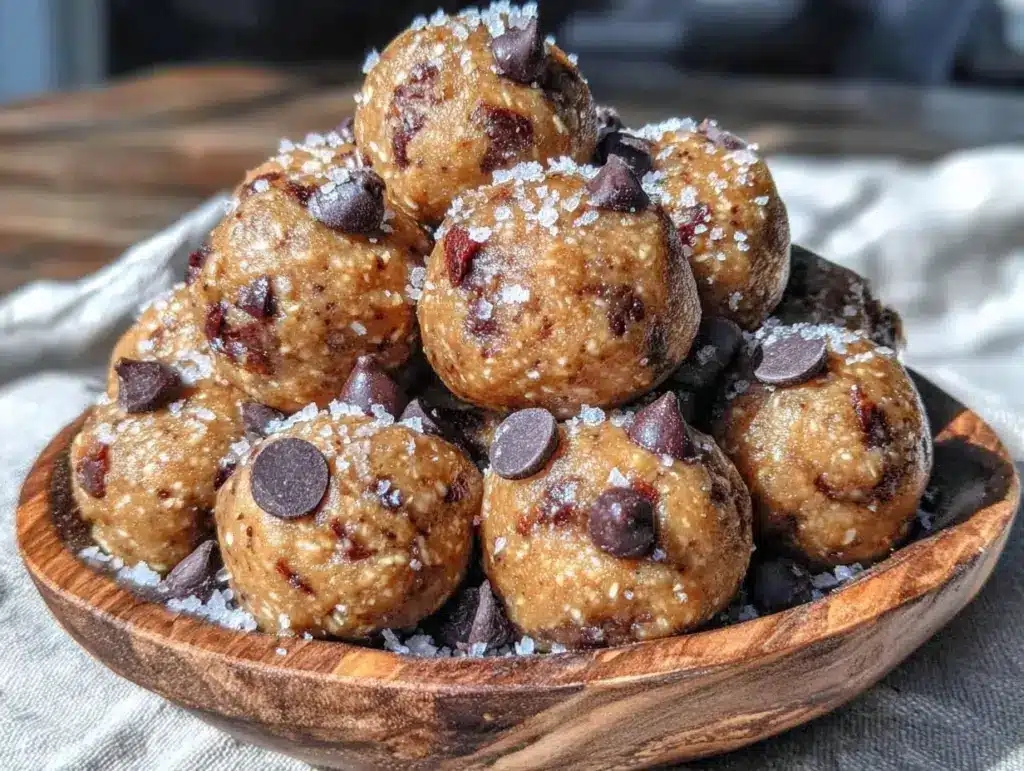
Then I tried making high-protein peanut butter protein balls with mini chocolate chips for the first time. It was supposed to be a one-off experiment. I had some oats, a jar of peanut butter that was staring at me from the pantry, and a bag of mini chocolate chips I’d bought on sale. I mixed them up, rolled them into little balls, and put them in the fridge.
Fast forward three weeks. I’ve made this recipe at least twelve times. My kids actually ask for them instead of cereal. My husband throws a few in his gym bag. And the best part? I spent about $6 on ingredients to make a batch that lasts all week. That’s less than $0.40 per ball. For a snack that keeps my toddler from eating the drywall and keeps me fueled until dinner? That’s a win in my book.
These aren’t just “diet food” or “gym bro snacks.” They’re genuinely delicious, chewy, salty-sweet, and ready in the time it takes to boil water for pasta. If you’re tired of expensive store-bought bars or sugary granola that leaves you hungry an hour later, you need to try these. They’re my secret weapon for busy mornings, post-workout fuel, and just grabbing something decent when the 3 PM slump hits.
Why You’ll Love This Recipe
I’ve tried a lot of “healthy” snack recipes over the years. Some are too dry, some are too sweet, and some require ten ingredients I don’t have. This high-protein peanut butter protein balls recipe hits that sweet spot. Here’s why it’s become a staple in our house:
- Stupid Simple — Seriously, if you can stir a bowl, you can make these. There’s no baking, no oven, no waiting for dough to rise. Just mix, roll, chill. I’ve made these while my toddler played in the kitchen nearby. No stress.
- Budget-Friendly — We feed a family of four on a tight budget. These snacks cost pennies compared to store-bought alternatives. Plus, using pantry staples means you’re not running to the store for fancy superfoods.
- Meal Prep Magic — I make a big batch on Sunday. They last in the fridge for up to two weeks. That means zero decision-making during the week. Grab two, go.
- Kid-Approved — I know, I know. “Protein balls” sounds boring. But these taste like cookie dough bites. My kids think they’re getting a treat. I know they’re getting protein and fiber. Everyone wins.
- Customizable — Hate peanut butter? Use sunflower seed butter. Want less sugar? Skip the chocolate chips. This recipe is a template, not a rulebook. I’ve made versions with oats, versions without, and even added a splash of vanilla extract for extra flavor.
Real talk: I used to think making snacks from scratch was too much work. But after making these, I realized that spending 15 minutes on Sunday saves me hours of stress and money during the week. It’s one of those small changes that makes a huge difference.
Ingredients You’ll Need
Here’s the best part: you probably have most of these ingredients already. This isn’t a recipe that requires a trip to three different specialty stores. It’s built around basics you likely have in your pantry.
For the Base
Old-fashioned rolled oats (2 cups / 160g) — Don’t use instant oats; they’ll turn into mush. Don’t use steel-cut; they’re too hard. Rolled oats give that perfect chewy texture. If you’re gluten-sensitive, make sure to buy certified gluten-free oats. I always keep a big container of Quaker or Bob’s Red Mill on hand.
Peanut butter (½ cup / 128g) — Use natural, creamy peanut butter. The kind with just peanuts and salt. If it’s oily, just stir it well before measuring. Avoid the ones with added sugar or hydrogenated oils. I like Skippy Natural or store-brand natural peanut butter. It’s cheaper and works just as well.
Honey (⅓ cup / 110g) — This is the binder. It adds sweetness and helps everything stick together. Maple syrup works too if you want a vegan option, but honey gives a nicer chew. I use whatever is on sale.
Vanilla extract (1 teaspoon) — Just a little bit to round out the flavor. It makes it taste more like a dessert than a health food. Don’t skip it.
For the Protein & Texture
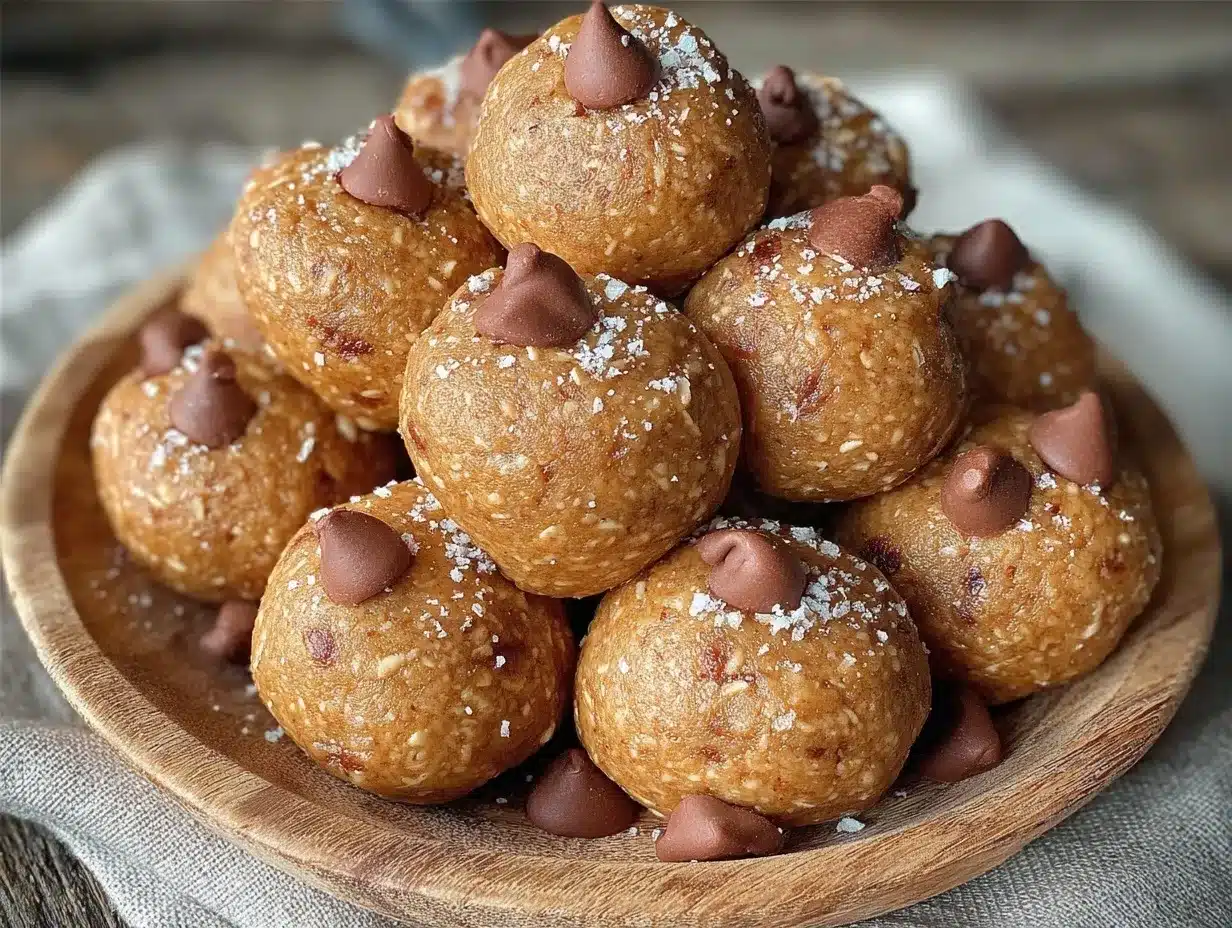
Protein powder (1 scoop / 30g) — This is where the magic happens. I use vanilla whey protein isolate. It mixes in smoothly and doesn’t change the flavor too much. If you’re dairy-free, use a plant-based protein powder, but note that it might make the texture a bit drier. You might need an extra tablespoon of peanut butter. I’ve tried Optimum Nutrition Gold Standard and it works great.
Mini chocolate chips (½ cup / 85g) — Yes, chocolate chips. In protein balls. Don’t judge me. They melt slightly in your mouth and make these feel like a treat. I buy the store-brand mini chips because they’re cheaper and they’re the same size as the name brand anyway.
Flaxseed meal (2 tablespoons / 12g) — Optional, but I love adding it for extra fiber and omega-3s. It doesn’t change the taste. If you don’t have it, skip it. No big deal.
Pinch of salt — Always add a pinch of salt. It enhances the peanut butter flavor and balances the sweetness. I use sea salt.
Common Questions
Can I use crunchy peanut butter? — Yes! If you like texture, use crunchy. Just know that the balls will be a bit chunkier. I usually use creamy for a smoother bite.
What if I don’t have protein powder? — You can still make these without it! They’ll just be oat and peanut butter balls. Still delicious, just lower in protein. I sometimes add a tablespoon of chia seeds instead if I want extra fiber.
Where do I find mini chocolate chips? — Usually in the baking aisle next to the regular chips. If you can’t find them, chop regular chips into small pieces. It takes a minute, but it works.
Equipment Needed
You don’t need fancy equipment for this. Here’s what I actually use:
Large mixing bowl — I use a big glass bowl. It needs to be big enough to mix everything comfortably without making a mess. My IKEA 365+ bowl works perfectly.
Spatula — A sturdy silicone spatula is best for mixing. It scrapes the sides of the bowl so you don’t miss any ingredients. I have a cheap one from Target that works fine.
Measuring cups and spoons — Standard stuff. You don’t need to be perfect, but getting close helps. I use the plastic set from the dollar store.
Baking sheet or plate — To roll the balls on. I use a baking sheet lined with parchment paper so they don’t stick. You can also just roll them on a clean counter if you don’t mind washing the sheet later.
Airtight container — For storing the finished balls. I use a plastic container with a snap-on lid. It keeps them fresh in the fridge.
Optional: Ice cream scoop — If you want uniform-sized balls, use a small ice cream scoop. It’s faster than rolling each one by hand. I have a tiny scoop from IKEA that’s perfect for this.
How to Make It: Step-by-Step
Alright, let’s make this! I’m walking you through exactly how I do it, including the little tricks I’ve picked up.
Step 1: Mix the Wet Ingredients (2 minutes)
In your large bowl, combine the peanut butter and honey. If the peanut butter is stiff, microwave it for 15 seconds to soften it up. It’ll be easier to mix. Add the vanilla extract and mix until smooth. This step is quick, but don’t rush it. You want a nice, uniform base.
Step 2: Add the Dry Ingredients (3 minutes)
Add the rolled oats, protein powder, flaxseed meal, and salt to the bowl. Mix everything together with your spatula. It will look dry and crumbly at first. That’s okay. Keep mixing until everything is evenly distributed. If it looks too dry, add a teaspoon more honey. If it’s too sticky, add a tablespoon more oats.
Step 3: Fold in the Chocolate Chips (1 minute)
Stir in the mini chocolate chips. Now the mixture should look like cookie dough. It might still feel a bit sticky, but that’s normal. If it’s too sticky to handle, put the bowl in the fridge for 10 minutes. The cold will firm up the peanut butter and make it easier to roll.
Step 4: Roll the Balls (5 minutes)
Take small handfuls of the mixture (about 1 tablespoon each) and roll them into balls between your palms. Try to make them all roughly the same size so they chill evenly. If they stick to your hands, wet them slightly with water or use a little extra peanut butter. Place the balls on the baking sheet lined with parchment paper.
Step 5: Chill (30 minutes)
Once all the balls are rolled, put the baking sheet in the fridge for at least 30 minutes. This step is crucial. It firms up the balls so they hold their shape. If you’re in a hurry, you can put them in the freezer for 15 minutes. I usually do this while I’m getting the kids ready for school.
Step 6: Store and Enjoy
Once chilled, transfer the balls to an airtight container. They’re ready to eat! Store them in the fridge for up to two weeks, or in the freezer for up to three months. I keep a small container in the fridge for quick access and the rest in the freezer.
Total Time: About 15 minutes active, plus 30 minutes chilling.
Expert Tips & Tricks
Here’s everything I’ve learned from making these dozens of times. These tips will save you from my mistakes.
Don’t Skimp on the Binding
If your mixture is too dry, the balls will fall apart. If it’s too wet, they’ll be sticky. The key is getting the ratio right. If you use a very dry protein powder, you might need more honey. If you use crunchy peanut butter, you might need less. Adjust as needed.
Chill Before Rolling
If the mixture is too sticky to roll, don’t fight it. Put it in the fridge for 10-15 minutes. The cold makes the peanut butter firm up, and rolling becomes so much easier. I’ve tried rolling warm mixture, and it’s a mess.
Uniform Size
If you want consistent protein counts per ball, try to make them all the same size. I use a small ice cream scoop to portion them out. It’s faster and more accurate than eyeballing it.
Freezing for Later
These freeze really well. I make a big batch and freeze half. When I need a snack, I just throw a few in my lunchbox. They thaw quickly and taste just as good as fresh.
Customize Your Mix-Ins
Don’t like chocolate chips? Try dried cranberries, chopped nuts, or shredded coconut. I’ve made versions with raisins and they’re great too. The base recipe is very flexible.
Common Mistakes:
- Mistake: Balls are too hard. Fix: You used too many oats or not enough binder. Next time, add a bit more honey or peanut butter.
- Mistake: Balls are too soft. Fix: Not enough chilling time. Put them in the fridge longer.
- Mistake: Mixture is too crumbly. Fix: Add a teaspoon of water or milk to bind it. Or add a bit more honey.
Variations & Substitutions
Once you’ve nailed the basic version, here’s how you can mix it up. I’ve tried all of these.
Sunflower Seed Butter Version
Replace peanut butter with sunflower seed butter. Great for nut-free schools. The flavor is milder, so you might want to add a bit more vanilla or honey.
Almond Butter Version
Use almond butter instead of peanut butter. It tastes richer and more like a dessert. I like this version when I’m treating myself.
No Sugar Added
Skip the honey and use sugar-free protein powder. You can add a few drops of stevia or monk fruit if you need sweetness. It’s a bit less sweet, but still tasty.
Trail Mix Version
Add chopped walnuts, pecans, or dried fruit to the mixture. It adds crunch and variety. I love this version for hiking snacks.
Matcha Version
Add 1 teaspoon of matcha powder to the dry ingredients. It gives a nice green color and a subtle tea flavor. It’s refreshing and not too sweet.
Dietary Modifications:
- Vegan: Use plant-based protein powder and maple syrup instead of honey. Everything else is naturally vegan.
- Gluten-Free: Use certified gluten-free oats and protein powder. The rest is naturally gluten-free.
- Nut-Free: Use sunflower seed butter and omit nuts. Make sure your protein powder is nut-free.
Serving & Storage
How to Serve:
I usually eat these straight from the container. They’re perfect for breakfast on the go, a pre-workout snack, or an afternoon pick-me-up. I also pack them in my kids’ lunchboxes. They don’t get crushed like chips, and they don’t melt as easily as chocolate bars.
Side Dishes:
Pair these with a piece of fruit, like an apple or banana. Or have them with a glass of milk or a smoothie. They’re great with coffee or tea too.
Storage Instructions:
Refrigerator: Store in an airtight container for up to two weeks. They stay fresh and chewy.
Freezer: Store in a freezer-safe bag or container for up to three months. They freeze well and thaw quickly.
Reheating: No need to reheat. Eat them cold or at room temperature. If you like them soft, let them sit out for 10 minutes before eating.
Pro tip: If you’re meal prepping for the week, make a double batch. They’re so easy to make that you’ll have extras for the weekend. I always make two batches because my kids eat them faster than I can roll them.
Nutrition Information
I’m not a nutritionist, but here’s the breakdown if you’re tracking. This is per ball (makes about 20 balls).
| Nutrient | Per Ball |
|---|---|
| Calories | 90 |
| Protein | 4g |
| Carbs | 10g |
| Fiber | 1g |
| Sugar | 6g |
| Fat | 4g |
What’s Good:
Decent protein for a snack. Low in sugar compared to store-bought bars. Good source of healthy fats from peanut butter.
What to Know:
Calories can vary based on the protein powder and peanut butter used. If you use a high-protein powder, you’ll get more protein. If you use sugar-free syrup, you’ll have fewer carbs.
My Take:
Look, this is a snack. It’s not a meal replacement. But it’s a much healthier alternative to chips or candy. It keeps me full and gives me energy. When I want something sweeter, I add more chocolate chips. When I want something lighter, I use less honey.
Final Thoughts
So that’s my go-to high-protein peanut butter protein balls recipe! I’ve probably talked your ear off at this point, but when you make a recipe this often, you have a lot to say about it.
This has saved me so much money and stress. It’s my answer to “what’s for a snack” when I’m tired, don’t want to cook, and still want something healthy. My kids are happy, my wallet is happy, and I’m happy because I’m not buying $3 bars.
Make it yours! Try different mix-ins, swap in your favorite nut butter, adjust the sweetness. The best recipes are the ones you adapt to your family’s tastes. If you make this, drop a comment and let me know what you think! I love hearing how recipes turn out in your kitchen.
Happy cooking! And I hope your kitchen smells half as good as mine does right now (it smells like peanut butter and chocolate).
Frequently Asked Questions
Q: Can I use crunchy peanut butter?
A: Yes! If you like texture, use crunchy. Just know that the balls will be a bit chunkier. I usually use creamy for a smoother bite, but crunchy works great too.
Q: My mixture is too sticky—what do I do?
A: If it’s too sticky to roll, put it in the fridge for 10-15 minutes. The cold will firm up the peanut butter. If it’s still sticky, add a tablespoon more oats. Don’t add too much, or they’ll be dry.
Q: Can I freeze these?
A: Absolutely! They freeze really well. Store them in a freezer-safe bag or container for up to three months. They thaw quickly and taste just as good as fresh. I keep a batch in the freezer for emergencies.
Q: Can I make these without protein powder?
A: Yes! They’ll just be oat and peanut butter balls. Still delicious, just lower in protein. I sometimes add a tablespoon of chia seeds or flaxseed instead if I want extra fiber.
Q: How long do these last in the fridge?
A: They last up to two weeks in an airtight container in the fridge. After that, they might start to dry out. If you want them to last longer, freeze them.
Q: Can I use maple syrup instead of honey?
A: Yes, maple syrup works as a binder. It’s a bit thinner, so you might need a little less or add a bit more oats. It’s a great vegan option.
Q: Why are my balls too hard?
A: You might have used too many oats or not enough binder. Next time, add a bit more honey or peanut butter. Also, make sure you’re using old-fashioned oats, not instant oats.
Pin This Recipe!
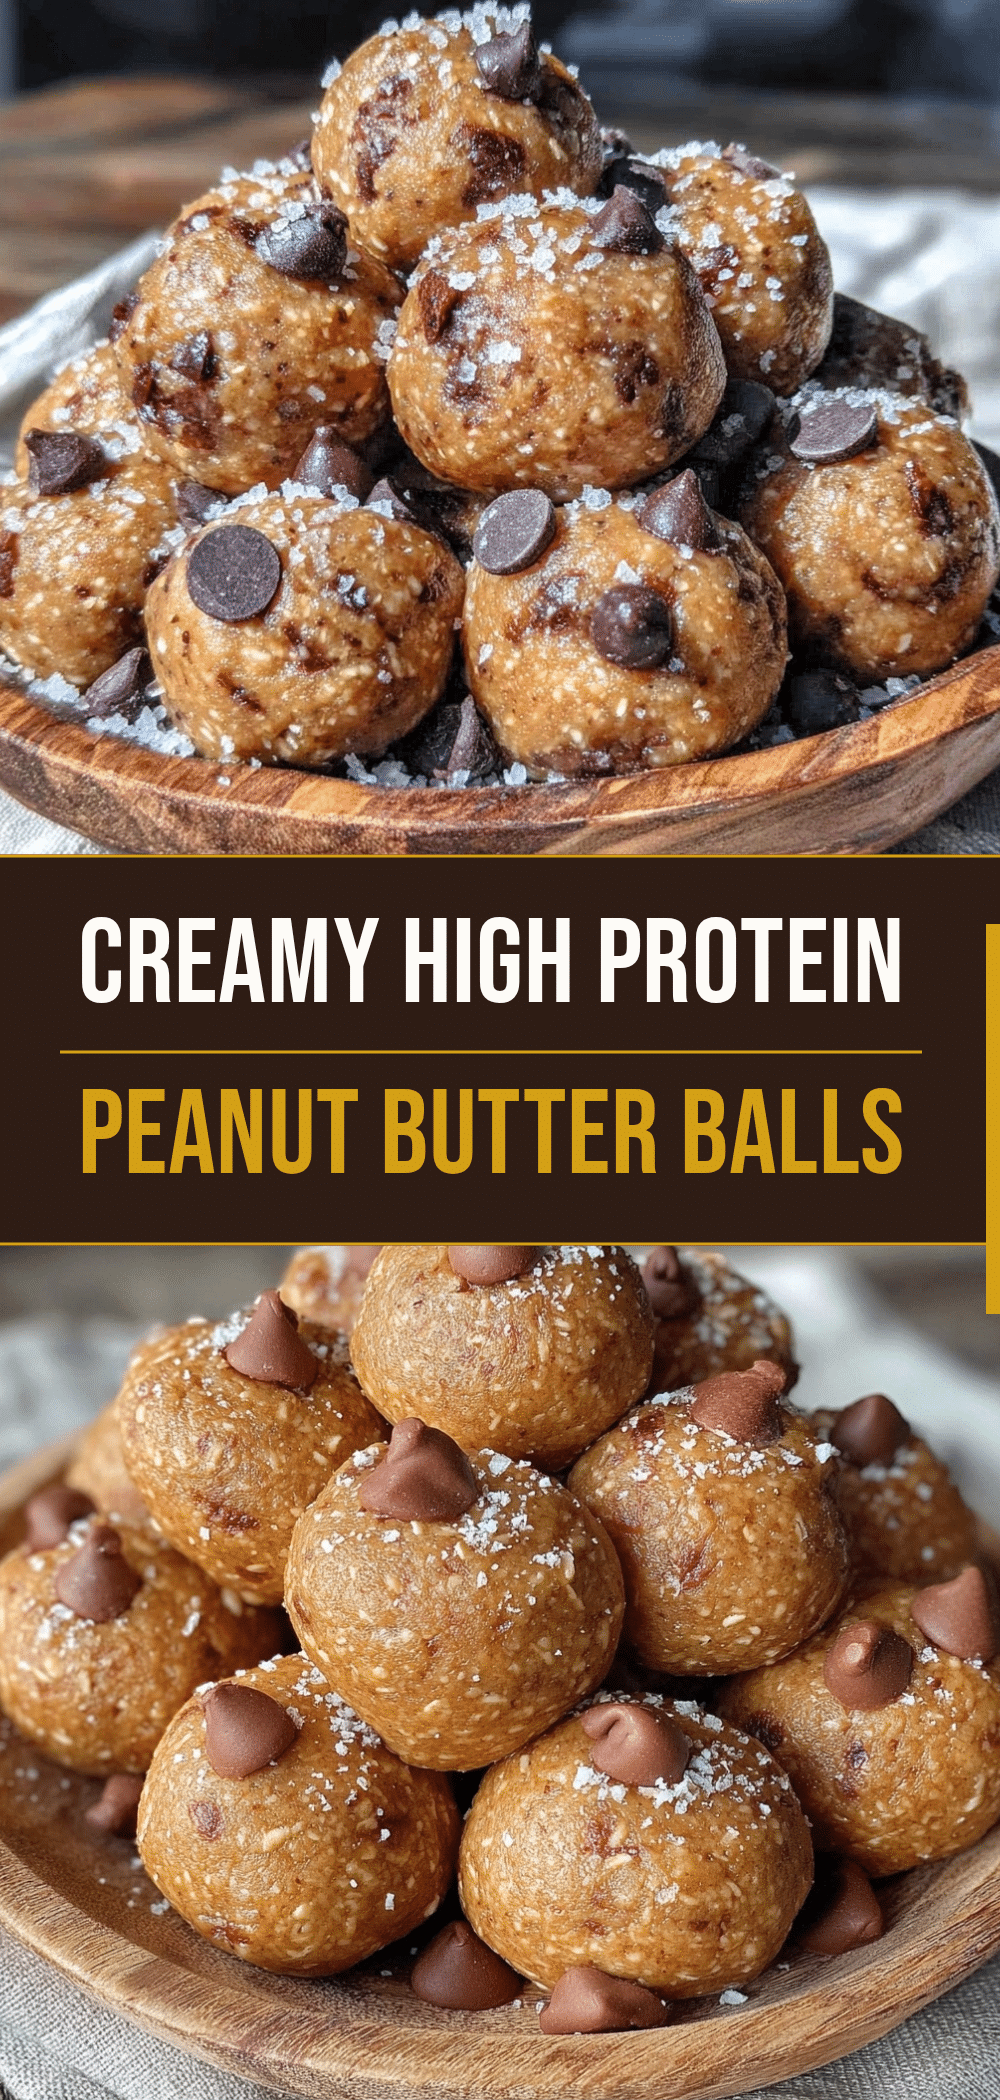

High-Protein Peanut Butter Protein Balls
- Total Time: 45 minutes
- Yield: 20 servings 1x
Description
A budget-friendly, no-bake snack made with oats, peanut butter, and protein powder. These chewy, salty-sweet balls are perfect for meal prep, busy mornings, and post-workout fuel.
Ingredients
- 2 cups (160g) old-fashioned rolled oats
- ½ cup (128g) natural creamy peanut butter
- ⅓ cup (110g) honey
- 1 teaspoon vanilla extract
- 1 scoop (30g) vanilla whey protein isolate
- ½ cup (85g) mini chocolate chips
- 2 tablespoons (12g) flaxseed meal
- Pinch of sea salt
Instructions
- In a large mixing bowl, combine the peanut butter and honey. If the peanut butter is stiff, microwave it for 15 seconds to soften it. Add the vanilla extract and mix until smooth.
- Add the rolled oats, protein powder, flaxseed meal, and salt to the bowl. Mix with a spatula until everything is evenly distributed. The mixture will look dry and crumbly at first.
- Stir in the mini chocolate chips. The mixture should resemble cookie dough. If it feels too sticky to handle, place the bowl in the fridge for 10 minutes to firm up.
- Take small handfuls of the mixture (about 1 tablespoon each) and roll them into balls between your palms. Place the balls on a baking sheet lined with parchment paper.
- Chill the balls in the refrigerator for at least 30 minutes to firm them up. Alternatively, freeze for 15 minutes if in a hurry.
- Transfer the chilled balls to an airtight container. Store in the fridge for up to two weeks or in the freezer for up to three months.
Notes
Ensure you use old-fashioned rolled oats, not instant or steel-cut, for the correct texture. If using crunchy peanut butter, the balls will be chunkier. For a vegan version, substitute honey with maple syrup and use plant-based protein powder. If the mixture is too dry, add more honey; if too sticky, add more oats or chill longer.
- Prep Time: 15 minutes
- Cook Time: 0 minutes
- Category: Snack
- Cuisine: American
Nutrition
- Serving Size: 1 ball
- Calories: 90
- Sugar: 6
- Sodium: 50
- Fat: 4
- Saturated Fat: 1.5
- Carbohydrates: 10
- Fiber: 1
- Protein: 4
Keywords: protein balls, peanut butter snacks, meal prep, budget meals, healthy snacks, no-bake, high protein, kid-friendly snacks



