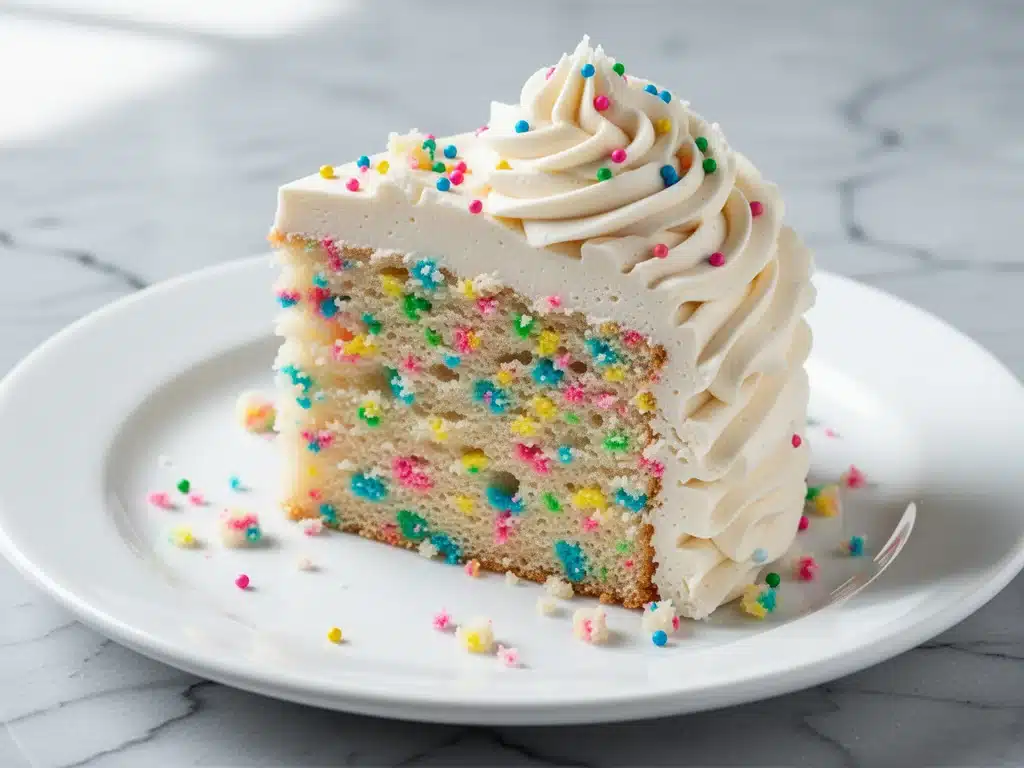
There is a specific kind of panic that sets in when you realize your kid’s birthday party is in three days and you promised, in a moment of overconfidence, to make the cake yourself. I’ve been there. More than once. The store-bought option just doesn’t cut it—it tastes like cardboard and preservatives, and let’s be honest, you can’t put sprinkles on a box mix and expect it to compete with the homemade effort of the other parents.
Last year, I was staring at a half-empty pantry, feeling the stress rise, when I decided to finally nail my homemade funfetti birthday cake. I didn’t want just any cake. I wanted that nostalgic, bright pink, incredibly moist sponge that reminds you of summer camp and elementary school parties. But I also wanted it to taste sophisticated enough to impress the foodie aunties who always show up with their own store-bought cupcakes. The result? A cake that is tender, airy, and packed with vanilla flavor, topped with a whipped vanilla buttercream that actually stays stable in the heat.
This homemade funfetti birthday cake with whipped vanilla buttercream has become my go-to for every celebration. Whether it’s a birthday, a baby shower, or just because it’s Tuesday, this recipe delivers. I’ve tested it so many times that I can make it with my eyes closed (though please don’t do that with boiling water or sharp knives). It’s the kind of dessert that makes people close their eyes and take a big bite, then ask for the recipe. And now, I’m sharing all my secrets with you.
Why You’ll Love This Recipe
I know what you’re thinking. “Can I really make a cake this good from scratch?” Yes, you can. And here’s why this homemade funfetti birthday cake with whipped vanilla buttercream is about to become your new best friend:
- It’s Actually Moist — Most scratch cakes dry out by the next day. Not this one. The buttermilk and oil in the batter keep it incredibly tender for days. I’ve made this cake on Sunday, and by Wednesday, it’s still soft and delicious. It’s magic.
- The Buttercream is Whipped Perfection — I’ve tried Swiss meringue, Italian meringue, and standard American buttercream. For this specific cake, a whipped vanilla buttercream is the winner. It’s light, airy, and not overly sweet. It pairs perfectly with the sweet, colorful cake without overwhelming it.
- Color That Actually Stays Bright — One of the biggest headaches with funfetti cake is the pink turning into a muddy brown. I’ve developed a trick using gel food coloring and a specific type of vanilla that keeps the color vibrant and fun, just like you remember from childhood.
- Beginner-Friendly — You don’t need to be a pastry chef. This recipe uses simple ingredients you probably have on hand. If you can mix batter and frost a cake, you can make this. I’ve walked my teenage son through it over FaceTime, and he did great.
- Impressive but Not Overwhelming — It looks like you spent hours in the kitchen, but it’s actually quite straightforward. The visual impact of a tall, pink, sprinkle-covered cake is huge. People will assume you bought it from a fancy bakery. Shhh.
This recipe has saved me more times than I can count. It’s reliable, delicious, and always gets compliments. No complicated techniques, no weird ingredients, just reliable, delicious food that makes everyone happy.
Ingredients You’ll Need
Here’s the best part: you probably have most of these ingredients already. This isn’t a recipe that requires a trip to three different specialty stores. I’m particular about a few things, but for the most part, this is pantry-friendly goodness.
For the Cake
All-purpose flour (2 ½ cups / 315g) — The base of your cake. Don’t use cake flour unless you want a different texture. All-purpose gives that perfect tender crumb. Spoon it into the measuring cup and level it off—don’t scoop, or you’ll pack it down and get a dense cake.
Baking powder (2 teaspoons) — And baking soda (½ teaspoon). These are your leavening agents. They’re what make the cake rise. Make sure they’re not expired! I keep a fresh jar in my pantry, but if yours has been sitting there since 2019, toss it and buy new ones.
Salt (1 teaspoon) — Essential for flavor. It balances the sweetness. Don’t skip it.
Unsalted butter (½ cup / 115g, softened) — Softened means cool to the touch but leaves an indent when you press it. Not melted! Melted butter changes the texture entirely. If you forgot to take it out, cut it into small cubes and microwave for 10 seconds at a time.
Granulated sugar (1 ½ cups / 300g) — The standard sweetener. Don’t reduce this significantly, or the cake won’t be tender. Sugar holds moisture.
Eggs (3 large, room temperature) — Room temperature eggs emulsify better with the butter and sugar. If you’re in a rush, soak them in warm water for 5 minutes. Cold eggs can cause the batter to curdle.
Vanilla extract (2 teaspoons) — Pure vanilla only. I use a high-quality brand like Nielsen-Massey. It adds depth. I’ve tried imitation vanilla, and it just tastes chemical.
Buttermilk (1 cup / 240ml) — This is the secret weapon. The acidity tenderizes the gluten, making the cake soft. If you don’t have buttermilk, make your own: add 1 tablespoon of lemon juice or white vinegar to 1 cup of milk and let it sit for 5 minutes.
Funfetti sprinkles (½ cup / 60g) — I use standard nonpareils or jimmies. Make sure they’re non-staining if you want a bright pink cake, or embrace the speckled look. I prefer non-staining for that classic funfetti look.
For the Whipped Vanilla Buttercream
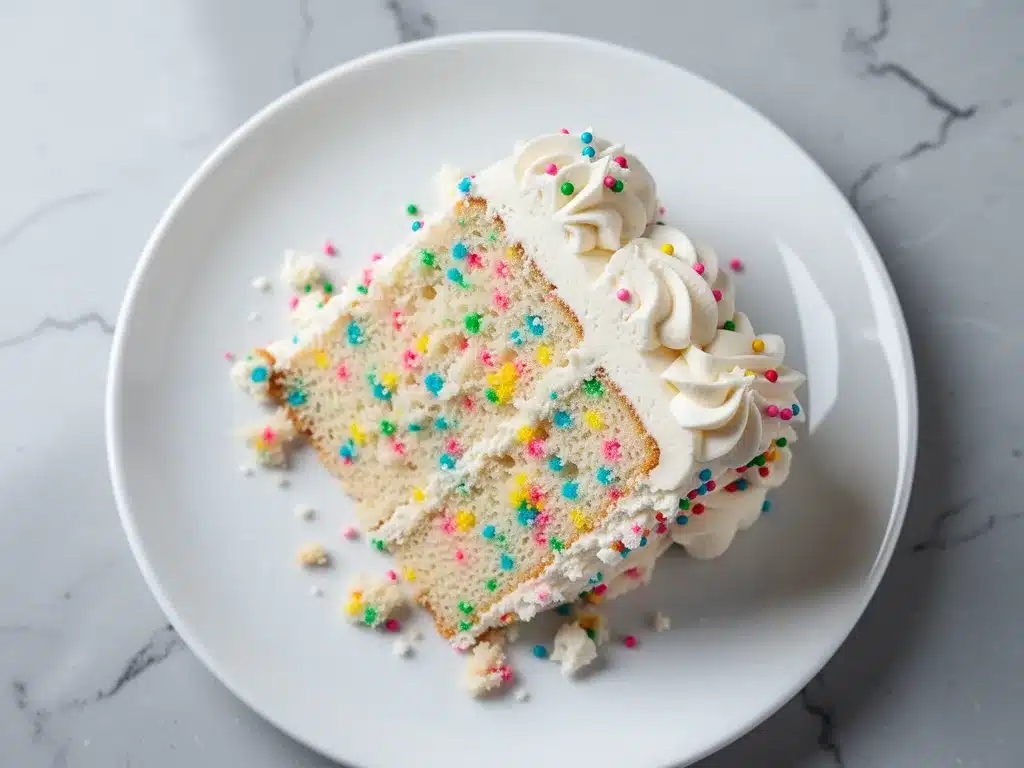
Unsalted butter (1 cup / 225g, softened) — Yes, a lot of butter. This is what makes it rich. Make sure it’s perfectly softened—like cool clay.
Powdered sugar (3-4 cups / 360-480g) — Also called confectioners’ sugar. Sift it if it’s lumpy. You want smooth buttercream, not gritty.
Heavy cream (2-3 tablespoons) — This is what makes it “whipped.” It adds air and lightness. Start with 2 tablespoons and add more if needed.
Vanilla extract (2 teaspoons) — Again, pure vanilla. It’s the star here.
Salt (¼ teaspoon) — Cuts the sweetness.
Pink food coloring (gel paste, as needed) — Gel coloring is concentrated and doesn’t add extra liquid, which would throw off the buttercream consistency. Liquid food coloring can make the frosting runny.
Equipment Needed
You don’t need fancy equipment for this. Here’s what I actually use:
Two 8-inch or 9-inch round cake pans — I prefer 8-inch for taller layers. Grease them well and line the bottoms with parchment paper. This is non-negotiable if you want clean layers.
Stand mixer or hand mixer — I use a stand mixer for the cake batter because it’s consistent. A hand mixer works fine too, but it takes more arm strength.
Mixing bowls — One large bowl for dry ingredients, one for wet.
Rubber spatula — For scraping down the sides of the bowl. You want every bit of batter incorporated.
Cooling rack — Essential for cooling the cakes evenly. If you leave them in the pans, they’ll steam and get soggy.
Offset spatula — For spreading the frosting smoothly. A regular spoon works in a pinch, but an offset spatula makes your life easier.
Parchment paper — For lining the pans. Trust me on this.
How to Make It: Step-by-Step
Alright, let’s make this! I’m walking you through exactly how I do it, including the little tricks I’ve picked up over the years.
Step 1: Prep Your Pans and Oven (10 minutes)
Preheat your oven to 350°F (175°C). Grease your cake pans with butter or non-stick spray. Then, line the bottoms with parchment paper. This ensures the cakes never stick. Dust the pans with a little flour, tapping out the excess. It’s an old-school trick that helps with release.
Step 2: Mix Dry Ingredients (2 minutes)
In a large bowl, whisk together the flour, baking powder, baking soda, and salt. Sifting is optional but recommended if your flour is clumpy. Whisking ensures the leavening agents are evenly distributed so your cake rises uniformly.
Step 3: Cream Butter and Sugar (3-4 minutes)
In the bowl of your stand mixer (or a large bowl if using a hand mixer), beat the softened butter and sugar on medium-high speed for about 3-4 minutes. You’re looking for a pale, fluffy mixture. This step incorporates air, which is crucial for a light cake. Don’t rush this!
Step 4: Add Eggs and Vanilla (2 minutes)
Add the eggs one at a time, beating well after each addition. Scrape down the sides of the bowl. Mix in the vanilla extract. The mixture might look slightly curdled at this point—don’t panic. It will come together when you add the flour and buttermilk.
Step 5: Combine Wet and Dry (3 minutes)
Reduce the mixer speed to low. Add the dry ingredients in three additions, alternating with the buttermilk in two additions. Start and end with the dry ingredients. Mix just until combined. Overmixing develops gluten, which makes the cake tough. Stop as soon as you see no more streaks of flour.
Step 6: Fold in Sprinkles (1 minute)
Remove the bowl from the mixer. Gently fold in the funfetti sprinkles with a rubber spatula. Be gentle so you don’t break the sprinkles or deflate the batter too much.
Step 7: Bake (25-30 minutes)
Pour the batter evenly into the prepared pans. Bake for 25-30 minutes. The cakes are done when a toothpick inserted into the center comes out clean or with just a few moist crumbs. Do not overbake! The cakes will continue to cook slightly in the pan.
Step 8: Cool Completely (1 hour)
Let the cakes cool in the pans for 10 minutes, then turn them out onto a cooling rack to cool completely. This is the hardest part, but you must wait. If you try to frost a warm cake, the buttercream will melt and slide off. It’s a disaster.
Step 9: Make the Buttercream (10 minutes)
While the cakes cool, make the whipped vanilla buttercream. Beat the softened butter on medium-high speed until creamy and smooth, about 2 minutes. Add the powdered sugar one cup at a time, mixing on low. Once all sugar is added, increase speed to high and beat for 3 minutes until fluffy. Add vanilla, salt, and heavy cream. Beat on high for another 2 minutes. The buttercream should be light, airy, and hold soft peaks.
Step 10: Color and Frost (15 minutes)
Divide the buttercream into two bowls. Add pink gel food coloring to one bowl (or all of it, if you want a solid pink cake). Mix until the color is even. Place the first cake layer on your serving plate. Spread a generous layer of buttercream on top. Add the second layer. Frost the top and sides. Decorate with extra sprinkles.
Expert Tips & Tricks
Here’s everything I’ve learned from making this dozens of times. These tips will save you from my mistakes.
Room Temperature Ingredients Are Key
I cannot stress this enough. Cold eggs and cold butter won’t emulsify properly. Your batter will look grainy and separate. Take your butter and eggs out of the fridge at least an hour before you start. If you forget, there are quick tricks (warm water for eggs, microwave bursts for butter), but plan ahead.
Don’t Overmix the Batter
Once you add the flour, mix until just combined. Overmixing leads to a dense, chewy cake instead of a tender, fluffy one. It’s a common mistake, but a quick mix is all you need.
Use Gel Food Coloring
For that vibrant pink hue, use gel food coloring. Liquid food coloring adds too much water, which can thin out your buttercream and make it runny. Gel coloring is concentrated and gives you bold color without changing the consistency.
Level Your Cakes
After baking, your cakes might have a domed top. Use a serrated knife to slice off the dome so the layers are flat. This makes stacking and frosting much easier and gives you a professional look.
Chill Before Serving
Once frosted, put the cake in the fridge for 30 minutes before serving. This sets the buttercream, making it easier to slice cleanly. It also makes the cake firmer and easier to handle.
Variations & Substitutions
Once you’ve nailed the basic version, here’s how you can mix it up. I’ve tried all of these.
Chocolate Funfetti
Substitute ½ cup of the flour with unsweetened cocoa powder. The cake will be chocolate, and the sprinkles will look like confetti on a dark background. Delicious.
Strawberry Funfetti
Add ¼ cup of freeze-dried strawberry powder to the dry ingredients. It adds a natural pink color and intense strawberry flavor. No food coloring needed!
Gluten-Free
Use a 1:1 gluten-free flour blend. Make sure it contains xanthan gum, or add ½ teaspoon. The texture will be slightly different but still moist and delicious.
Dairy-Free
Use dairy-free butter sticks and almond milk or oat milk for the buttermilk substitute. For the frosting, use dairy-free butter and coconut cream. It’s not quite the same, but it’s surprisingly good.
Mini Cupcakes
This batter makes about 24 cupcakes. Bake at 350°F for 18-20 minutes. Perfect for party favors or smaller gatherings.
Serving & Storage
How to serve this homemade funfetti birthday cake with whipped vanilla buttercream:
Best Way to Serve
Serve at room temperature. Cold cake doesn’t have the same flavor or texture. Take it out of the fridge 30 minutes before serving. Pair it with a simple green salad or some fresh fruit for a balanced meal.
Storage
Store leftovers in an airtight container at room temperature for up to 2 days. The buttercream is stable enough to stay out. If it’s very hot and humid, store it in the fridge, but bring it to room temperature before serving.
Freezing
You can freeze the unfrosted cake layers. Wrap them tightly in plastic wrap and then foil. They’ll keep for up to 3 months. Thaw overnight in the fridge before frosting. Do not freeze the frosted cake—the buttercream will separate and look weird when thawed.
Nutrition Information
I’m not a nutritionist, but here’s the breakdown if you’re tracking. This is a rich, indulgent cake, so enjoy in moderation.
Per Serving (based on 12 slices):
- Calories: 450
- Protein: 4g
- Carbs: 60g
- Fat: 20g
- Sugar: 45g
- Sodium: 250mg
Look, this is comfort food with butter and sugar. It’s not a diet recipe. But it’s way better than store-bought, and you know exactly what’s in it. When I want to make it lighter, I use less frosting and add fresh berries on top. But usually? I just eat a reasonable slice and enjoy it.
Final Thoughts
So that’s my homemade funfetti birthday cake with whipped vanilla buttercream! I’ve probably talked your ear off at this point, but when you make a recipe this often, you have a lot to say about it.
This cake has saved me more times than I can count. It’s my answer to “what dessert should I make?” when I want something special but manageable. My kids are happy, my friends are impressed, and I’m happy because I’m not stressed about cooking. It’s reliable, delicious, and always gets compliments.
Make it yours! Try different sprinkle colors, add fresh fruit between the layers, or adjust the vanilla flavor. The best recipes are the ones you adapt to your family’s tastes.
If you make this, drop a comment and let me know what you think! I love hearing how recipes turn out in your kitchen. And if something doesn’t work, tell me that too—I’m here to help troubleshoot.
Happy baking! And I hope your kitchen smells half as good as mine does right now.
Frequently Asked Questions
Can I use cake flour instead of all-purpose flour?
You can, but the texture will be different. Cake flour is finer and will make the cake even more tender, but it can also be more delicate. All-purpose flour gives that classic funfetti cake texture. If you use cake flour, add 2 tablespoons of cornstarch per cup to mimic the protein level of all-purpose.
Why did my cake sink in the middle?
This usually happens if the oven temperature is too high, or if you opened the oven door too early. Don’t open the oven until at least 20 minutes have passed. Also, make sure you’re not overmixing the batter, which can create too much air that collapses.
Can I make this cake ahead of time?
Yes! Bake the cakes a day ahead, wrap them tightly, and store at room temperature. Make the frosting the day of, or up to 2 days ahead. Assemble the cake just before serving. This actually helps the flavors meld.
Why is my buttercream too runny?
It’s likely because the butter was too warm or you added too much liquid. Put the bowl in the fridge for 15 minutes, then beat it again. If it’s still runny, add more powdered sugar. For future batches, make sure your butter is cool and firm.
Can I use liquid food coloring?
You can, but it will thin out the buttercream and make it less vibrant. Gel food coloring is highly recommended for buttercream. If you must use liquid, use very little and add a bit more powdered sugar to compensate.
How do I get clean slices?
Chill the cake for 30 minutes before cutting. Use a sharp knife, and wipe it clean between cuts. Dip the knife in hot water and dry it for super clean slices.
Can I add fresh fruit to the cake?
Absolutely! Add a layer of sliced strawberries or raspberries between the cake layers. Just make sure to pat them dry so they don’t make the cake soggy. It adds a fresh contrast to the sweet frosting.
Pin This Recipe!
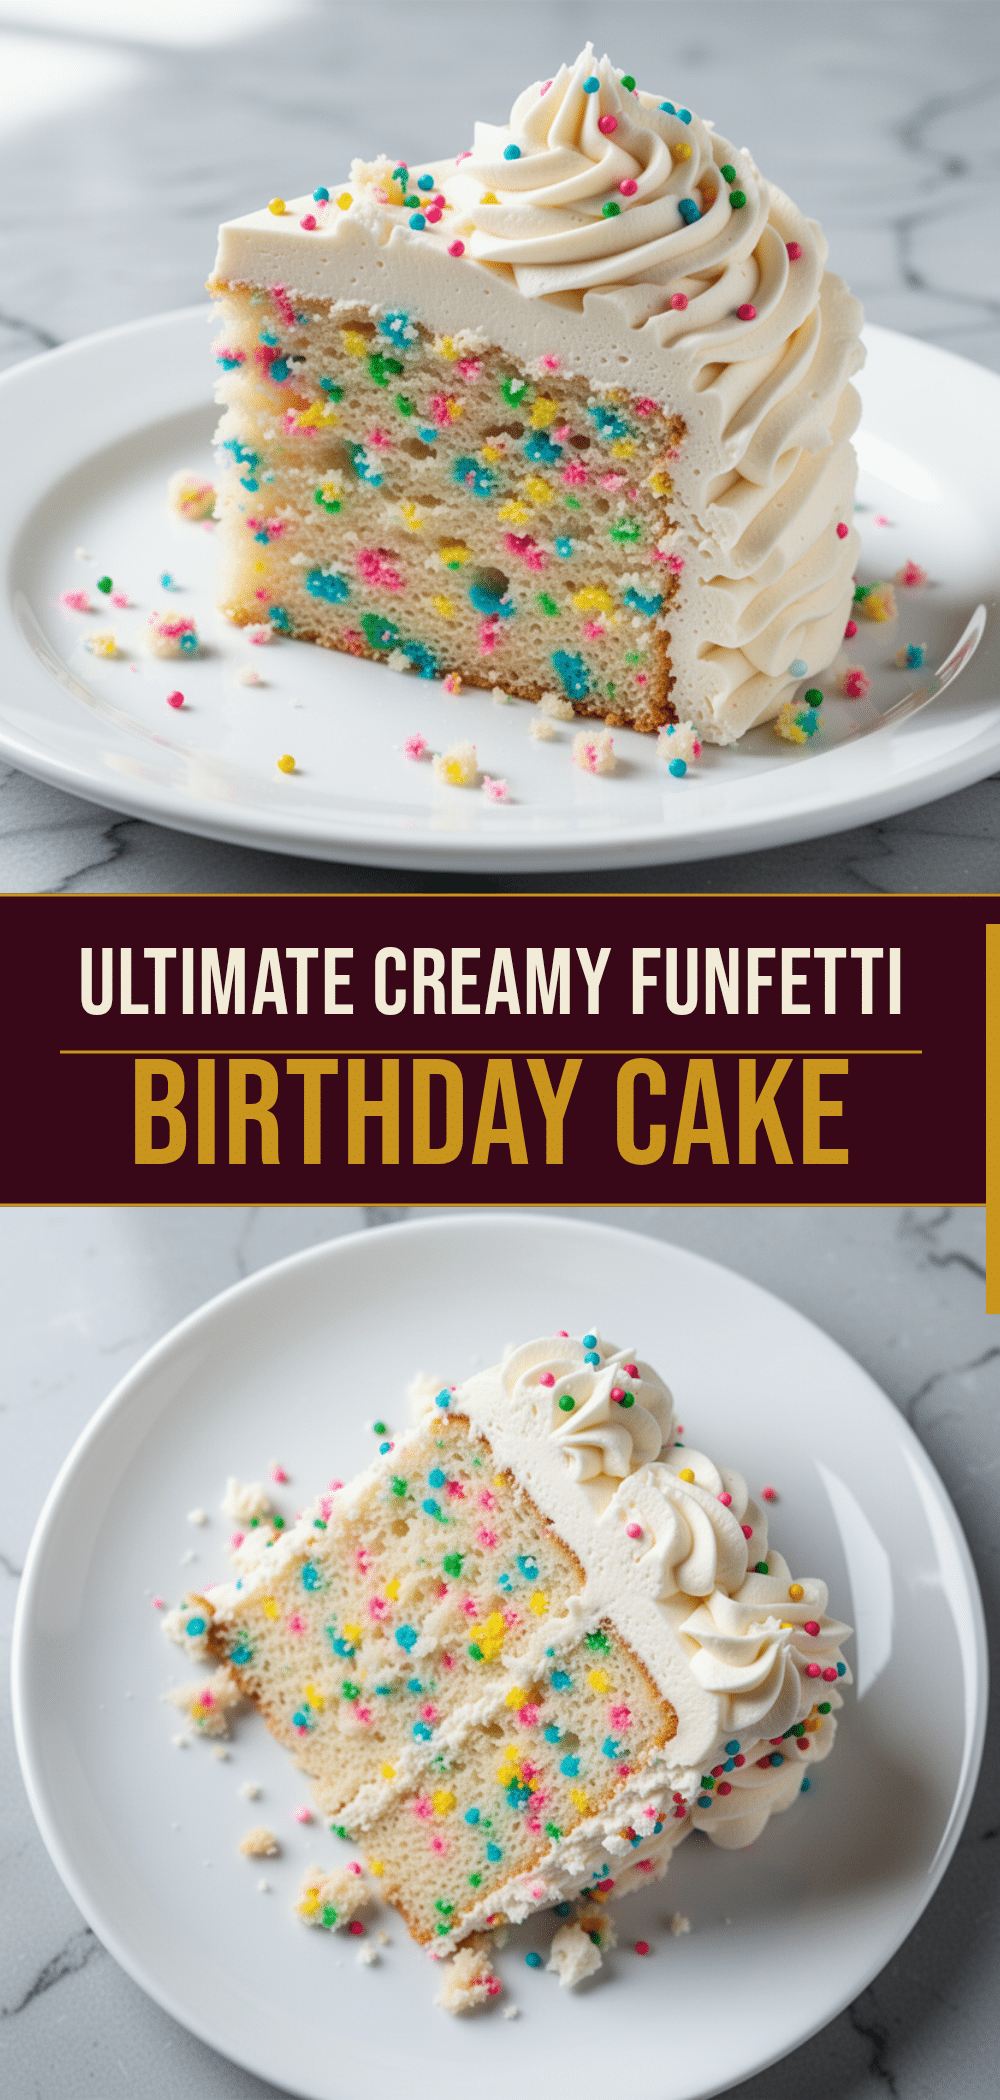
Homemade Funfetti Birthday Cake: Best Easy Recipe
- Total Time: 1 hour 30 minutes
- Yield: 12 servings 1x
Description
A tender, moist, and vibrant pink homemade funfetti birthday cake topped with a light, airy whipped vanilla buttercream. This beginner-friendly recipe uses simple pantry ingredients for a sophisticated, nostalgic dessert that stays fresh for days.
Ingredients
- 2 ½ cups all-purpose flour
- 2 teaspoons baking powder
- ½ teaspoon baking soda
- 1 teaspoon salt
- ½ cup unsalted butter, softened
- 1 ½ cups granulated sugar
- 3 large eggs, room temperature
- 2 teaspoons pure vanilla extract
- 1 cup buttermilk
- ½ cup non-staining funfetti sprinkles
- 1 cup unsalted butter, softened (for frosting)
- 3–4 cups powdered sugar (for frosting)
- 2–3 tablespoons heavy cream (for frosting)
- 2 teaspoons pure vanilla extract (for frosting)
- ¼ teaspoon salt (for frosting)
- Pink gel food coloring (for frosting)
Instructions
- Preheat oven to 350°F (175°C). Grease two 8-inch or 9-inch round cake pans, line bottoms with parchment paper, and dust with flour.
- In a large bowl, whisk together the flour, baking powder, baking soda, and salt.
- In a stand mixer bowl, beat the softened butter and granulated sugar on medium-high speed for 3-4 minutes until pale and fluffy.
- Add eggs one at a time, beating well after each addition. Mix in vanilla extract.
- Reduce mixer speed to low. Add dry ingredients in three additions, alternating with buttermilk in two additions, starting and ending with dry ingredients. Mix just until combined.
- Gently fold in the funfetti sprinkles with a rubber spatula.
- Pour batter evenly into prepared pans and bake for 25-30 minutes, or until a toothpick inserted comes out clean.
- Let cakes cool in pans for 10 minutes, then turn out onto a cooling rack to cool completely.
- While cakes cool, make the buttercream: Beat softened butter until creamy. Add powdered sugar one cup at a time on low speed. Increase speed to high and beat for 3 minutes until fluffy.
- Add vanilla, salt, and heavy cream to the buttercream. Beat on high for 2 minutes until light and airy.
- Divide buttercream and add pink gel food coloring to desired portion. Level cake layers if necessary.
- Place first cake layer on serving plate, spread with buttercream, add second layer, and frost top and sides. Decorate with extra sprinkles.
- Chill cake for 30 minutes before serving to set the buttercream.
Notes
Ensure all ingredients, especially butter and eggs, are at room temperature for proper emulsification. Do not overmix the batter once flour is added to prevent a dense texture. Use gel food coloring for vibrant color without thinning the buttercream. For best results, chill the frosted cake for 30 minutes before slicing.
- Prep Time: 30 minutes
- Cook Time: 30 minutes
- Category: Dessert
- Cuisine: American
Nutrition
- Serving Size: 1 slice
- Calories: 450
- Sugar: 45
- Sodium: 250
- Fat: 20
- Saturated Fat: 12
- Carbohydrates: 60
- Fiber: 1
- Protein: 4
Keywords: funfetti cake, birthday cake, homemade cake, vanilla buttercream, easy cake recipe, moist cake, pink cake, party dessert



