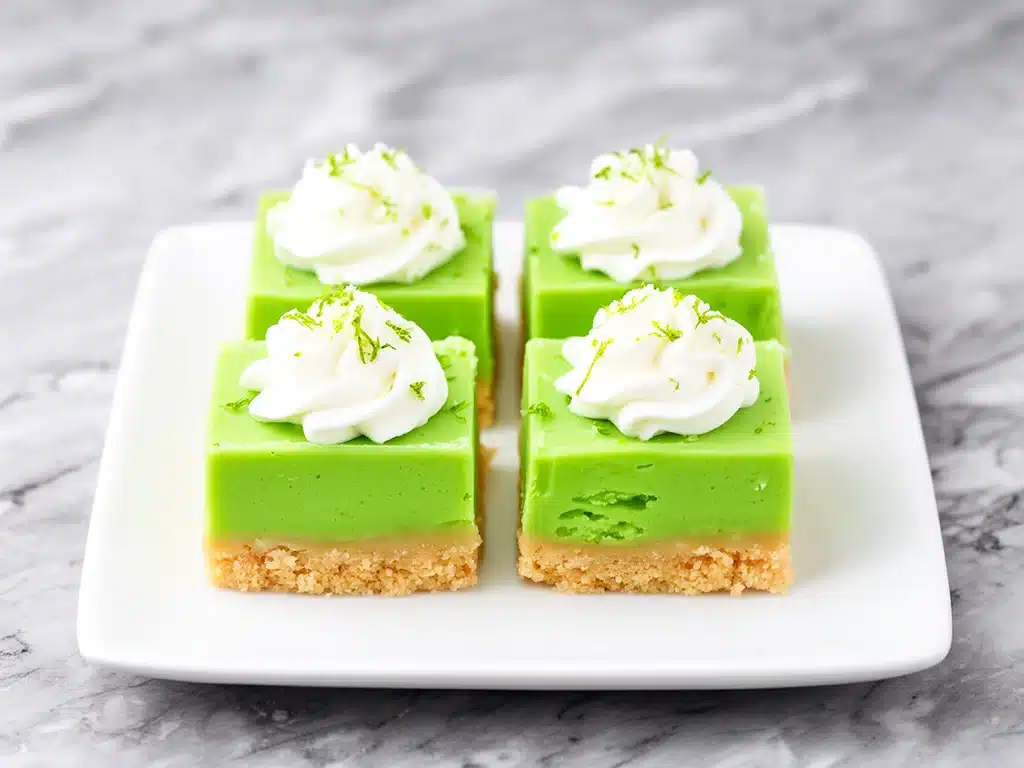
It’s 2:00 PM on a Sunday in late August. The humidity is sticking your shirt to your back, the grill is smoking like crazy, and the neighbors are already asking what’s for dessert. I’m standing in my kitchen, sweating over a hot oven, and I suddenly realize I have absolutely zero appetite for anything that requires turning on the heat. I want something cold. Something bright. Something that tastes like a vacation but doesn’t require a flight.
That’s when I turn to the no-bake key lime pie bars. They’ve saved me more times than I can count, especially during summer holidays when the last thing you want to do is bake. Last Labor Day, I made these bars because I was tired of the usual chocolate chip cookies and brownies that everyone brings to potlucks. I cut a few slices, set them on the table, and within ten minutes, the plate was empty. My sister-in-law, who usually complains about “too tart” desserts, asked for the recipe twice.
There’s something magical about key lime pie in bar form. It’s portable, it’s stable (doesn’t fall apart like a traditional slice), and that tangy, sweet flavor cuts through the heavy, smoky flavors of Labor Day barbecue. It’s the perfect palate cleanser after ribs and brisket. I’ve tested this recipe about a dozen times now, tweaking the crust ratio and the filling consistency, and I’m finally confident enough to say: this is the best easy Labor Day dessert you can make. Seriously. It’s foolproof.
Why You’ll Love This No-Bake Key Lime Pie Bars Recipe
I know what you’re thinking. “Another no-bake bar?” But hear me out. This recipe solves a real problem: summer cooking fatigue. Here’s why these bars keep me coming back to the kitchen (without actually heating it up):
- Zero Oven Required — This is the biggest selling point. In August, my kitchen is already a sauna. Turning on the oven feels like a punishment. These bars stay cool, keeping your house temperature manageable. It’s a win for everyone.
- Make-Ahead Friendly — You can make these up to three days in advance. I usually prep them on Friday afternoon so I’m not stressed on Sunday. They actually taste better after chilling overnight, as the flavors meld together.
- Portable & Stable — Traditional key lime pie is tricky to serve. It slides around. It cracks. These bars hold their shape. You can cut them into squares, wrap them in foil, and take them to the park, the beach, or a picnic table without worrying about a mess.
- Bright & Refreshing — After a day of grilling heavy meats, you don’t want another heavy dessert. The acidity of the key lime cuts through the richness of the crust and the cream cheese filling. It’s light, zesty, and incredibly satisfying.
- Uses Simple Ingredients — You probably have most of this already. Graham crackers, butter, cream cheese, condensed milk, and key lime juice. No fancy gadgets or obscure ingredients from a specialty store.
This recipe has completely changed how I approach holiday desserts. It’s reliable, it’s delicious, and it makes me look like I spent hours in the kitchen (even though I didn’t). Perfect for those busy weekend gatherings where you want to impress without the stress.
Ingredients You’ll Need for No-Bake Key Lime Pie Bars
Here’s the best part: you don’t need a special trip to the grocery store for this. The ingredients are standard, but a few specifics matter. I’m particular about the lime juice and the cream cheese, so pay attention to those notes.
For the Crust
Graham Cracker Crumbs (2 cups / 200g) — I use standard honey graham cracker crumbs for that classic sweet base. If you can’t find crumbs, just crush a sleeve of graham crackers in a food processor. It takes two minutes. Avoid the flavored ones; you want a neutral, buttery base.
Unsalted Butter (½ cup / 115g, melted) — This binds the crust. Use good quality butter. If you use salted butter, reduce the added salt in the filling by half. Melt it in the microwave or a small saucepan—don’t burn it.
Granulated Sugar (2 tablespoons / 25g) — Just a little bit to sweeten the crust and balance the tartness. Don’t skip this, or the crust will taste bland.
Pinch of Salt — Enhances the flavor. Always a good idea.
For the Filling
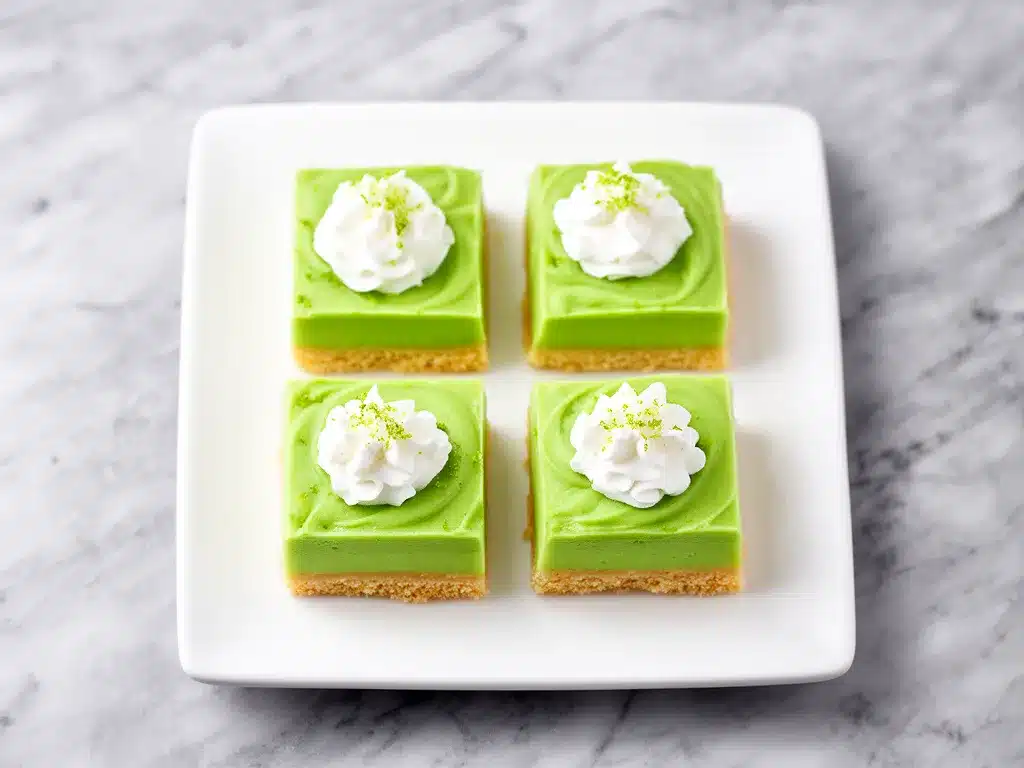
Full-Fat Cream Cheese (2 blocks / 16oz / 450g) — This is crucial. Use room temperature cream cheese. If it’s cold, it won’t blend smoothly, and you’ll end up with lumpy bars. Let it sit on the counter for at least an hour before you start.
Heavy Cream (1 cup / 240ml) — Whip this to stiff peaks. It adds air and lightness to the filling. Don’t use whipped topping from a can; it tastes artificial. Whip it yourself for the best texture.
Key Lime Juice (½ cup / 120ml) — This is the star. Use fresh-squeezed key lime juice if you can find it. If not, regular Persian lime juice works, but key lime has a distinct floral note. Bottled lime juice often has preservatives that taste metallic, so avoid it if possible. I keep a bottle of real key lime juice in the fridge specifically for this.
Key Lime Zest (2 tablespoons) — The zest adds aroma. If you use regular limes, the zest is still great. Just make sure the limes are clean and organic if you’re using the peel.
Sweetened Condensed Milk (1 can / 14oz / 397g) — This provides sweetness and thickness. It’s the glue that holds the filling together. Don’t swap this for evaporated milk; it won’t be sweet enough or thick enough.
Vanilla Extract (1 teaspoon) — Just a splash to round out the flavors. Pure vanilla, not imitation.
Equipment Needed
You don’t need fancy equipment for this. Here’s what I actually use:
9×13 Inch Baking Pan — Line it with parchment paper, leaving an overhang on the sides. This is non-negotiable. It makes removing the bars so much easier. You can use foil if you don’t have parchment, but parchment is smoother.
Food Processor or Ziplock Bag — To crush the graham crackers. A food processor is faster, but a rolling pin and a heavy bag work just as well if you’re trying to save cleanup.
Electric Mixer — Handheld or stand mixer. You need to whip the cream cheese and cream to a smooth, fluffy consistency. Doing this by hand is possible but exhausting. Trust me, use a mixer.
Microplane or Zester — For getting that fine lime zest. A regular grater works too, but you might get too much pith, which is bitter.
Spatula — For spreading the filling. A silicone spatula is best because it scrapes the bowl clean.
How to Make It: Step-by-Step
Alright, let’s make these no-bake key lime pie bars. I’m walking you through exactly how I do it, including the little tricks I’ve picked up over the years.
Step 1: Prep Your Pan and Crust (10 minutes)
Line your 9×13 inch pan with parchment paper. Set it aside. In a food processor, pulse the graham cracker crumbs until they’re fine. Add the melted butter, sugar, and salt. Pulse until the mixture looks like wet sand. If you pinch some between your fingers, it should hold together. Press this mixture firmly and evenly into the bottom of your prepared pan. Use the bottom of a measuring cup to pack it down tight. You don’t want gaps. Place the crust in the fridge to set while you make the filling.
Step 2: Whip the Cream (5 minutes)
In a large bowl, whip the cold heavy cream until stiff peaks form. This means when you lift the beater, the cream stands up straight. Be careful not to over-whip it into butter, but get it nice and firm. This step adds volume and makes the bars light. Set the whipped cream aside.
Step 3: Blend the Filling Base (5 minutes)
In another large bowl, beat the room-temperature cream cheese until smooth and creamy. No lumps allowed. Add the sweetened condensed milk, key lime juice, key lime zest, and vanilla extract. Beat on medium speed until everything is fully combined and smooth. This mixture will be thick and tangy. Taste it—it should be pretty strong. Don’t worry, it will mellow out once chilled.
Step 4: Fold It All Together (3 minutes)
Gently fold the whipped cream into the cream cheese mixture. Do this in two batches. Use a spatula and fold gently from the bottom up. You want to keep as much air in the cream as possible. If you stir too vigorously, you’ll deflate the cream, and the bars will be dense. The final mixture should be light, fluffy, and pale green (if you used key limes) or pale yellow.
Step 5: Assemble and Chill (4+ hours)
Pour the filling over the chilled crust. Spread it out evenly with a spatula. Smooth the top until it’s flat. Cover the pan with plastic wrap or foil. Place it in the refrigerator for at least 4 hours, but overnight is best. The bars need time to set. If you cut them too soon, they’ll be mushy. Patience is key here.
Step 6: Cut and Serve
Once set, lift the bars out of the pan using the parchment paper overhang. Place them on a cutting board. Use a sharp knife to cut into squares. Wipe the knife clean between cuts for clean edges. Dust with powdered sugar or add a dollop of whipped cream if you’re feeling fancy. Serve chilled.
Expert Tips & Tricks for Perfect Bars
Here’s everything I’ve learned from making these dozens of times. These tips will save you from my mistakes.
Room Temperature Cream Cheese is Non-Negotiable
If your cream cheese is cold, it will be lumpy. And nobody wants lumpy key lime bars. I set my cream cheese out the night before. If I forget, I microwave it in 10-second bursts, checking frequently, until it’s soft. It’s worth the extra effort.
Don’t Skip the Zest
The juice provides the flavor, but the zest provides the aroma. Without the zest, it just tastes like sweet lime. With the zest, it tastes like key lime pie. Use a microplane for the finest zest. Avoid the white pith, which is bitter.
Whip the Cream Properly
If your whipped cream is under-whipped, the filling won’t hold its shape. If it’s over-whipped, it’ll be grainy. Aim for stiff peaks. The filling should hold its shape when you scoop it.
Chill Long Enough
I know it’s tempting to eat them right away. But the bars need time to set. If you cut them after 2 hours, they’ll fall apart. 4 hours is the minimum, but overnight is ideal. The flavors also improve with time.
Sharp Knife for Clean Cuts
Use a sharp chef’s knife. Dip it in hot water and wipe it dry between cuts. This ensures clean, neat squares. Dull knives will crush the bars.
Variations & Substitutions
Once you’ve nailed the basic version, here’s how you can mix it up. I’ve tried all of these.
Mint Key Lime Bars
Add 1 teaspoon of peppermint extract to the filling. It creates a refreshing twist that’s perfect for summer. The mint pairs beautifully with the lime.
Coconut Key Lime Bars
Replace half the graham cracker crumbs with shredded coconut in the crust. Add a tablespoon of coconut extract to the filling. It gives it a tropical vibe.
Regular Lime Version
If you can’t find key limes, use regular Persian limes. The juice is slightly less tart, so you might need a bit more zest. The flavor is still delicious, just slightly different.
Gluten-Free Option
Use gluten-free graham cracker crumbs. Most brands work well. Just make sure they’re finely ground. The rest of the ingredients are naturally gluten-free.
Dairy-Free Option
Use dairy-free cream cheese and coconut cream instead of heavy cream. Whip the coconut cream like regular cream. It’s not quite the same, but it’s still tasty. My lactose-intolerant friend loves this version.
Serving & Storage
How to Serve:
I usually serve these straight from the fridge. They’re best cold. I like to dust them with powdered sugar right before serving. It looks elegant. You can also add a small dollop of whipped cream and a lime wedge on top.
Side Dishes:
These bars pair well with light desserts. I sometimes serve them with fresh berries or a simple fruit salad. They’re also great alongside coffee or tea.
Storage Instructions:
Store in an airtight container in the refrigerator for up to 5 days. They last longer than traditional pie because the crust is more stable. If you need to transport them, keep them cold. A cooler with ice packs works well for picnics.
Freezing:
You can freeze these bars. Wrap them tightly in plastic wrap and then foil. They’ll last for up to 3 months. Thaw them in the refrigerator overnight before serving. The texture might be slightly softer, but it’s still good.
Nutrition Information
I’m not a nutritionist, but here’s the breakdown if you’re tracking. Note that this is an estimate.
Per Serving (based on 16 bars):
- Calories: 280
- Protein: 4g
- Carbs: 32g
- Fiber: 0.5g
- Sugar: 24g
- Fat: 16g
- Saturated Fat: 9g
- Cholesterol: 45mg
- Sodium: 180mg
What’s Good:
It’s a relatively light dessert compared to baked goods. The cream cheese adds some protein. It’s easy to control portion sizes with bars.
What to Know:
It’s higher in sugar due to the condensed milk. If you’re watching sugar, consider reducing the condensed milk slightly, though it might affect the texture. It contains dairy and gluten.
Final Thoughts
So that’s my go-to no-bake key lime pie bars! I’ve probably talked your ear off at this point, but when you make a recipe this often, you have a lot to say about it. This has saved me more summer dinners than I can count. It’s my answer to “what’s for dessert” when I’m tired, hot, and don’t want to bake.
My family loves them, my friends request them, and I love making them because they’re so easy. Make it yours! Try different toppings, swap in your favorite citrus, or adjust the sweetness to your taste. The best recipes are the ones you adapt to your family’s tastes.
If you make this, drop a comment and let me know what you think! I love hearing how recipes turn out in your kitchen. And if something doesn’t work, tell me that too—I’m here to help troubleshoot.
Happy cooking! And I hope your kitchen smells half as good as mine does right now.
Frequently Asked Questions
Can I use bottled lime juice?
You can, but the flavor won’t be as bright. Bottled lime juice often has preservatives that taste metallic. If you must use it, mix it with a little lemon juice to brighten it up. Fresh-squeezed is always best, especially for key lime pie.
Why did my bars fall apart when I cut them?
They probably weren’t chilled long enough. The filling needs time to set. Make sure you chill them for at least 4 hours, preferably overnight. Also, make sure you packed the crust down firmly. A loose crust won’t support the filling.
Can I make these ahead of time?
Yes! In fact, they taste better made ahead. You can make them up to 3 days in advance. Store them in the fridge. They also freeze well for up to 3 months if you wrap them tightly.
Can I use regular limes instead of key limes?
Absolutely. Key limes are smaller and more tart, but regular Persian limes work fine. You might need to use a bit more zest to get that strong lime flavor. The taste will be slightly different, but still delicious.
How do I store leftovers?
Store in an airtight container in the refrigerator for up to 5 days. They stay fresh and cold. If you need to transport them, keep them in a cooler with ice packs.
Can I double this recipe?
Yes, double everything and use a 9×13 inch pan. The cooking times stay the same. I do this when I’m feeding a crowd. Just make sure your mixer can handle the larger volume.
What if I don’t have a food processor?
You can crush the graham crackers in a ziplock bag with a rolling pin. It takes a bit more effort, but it works just as well. Just make sure the crumbs are fine for the best texture.
Pin This Recipe!
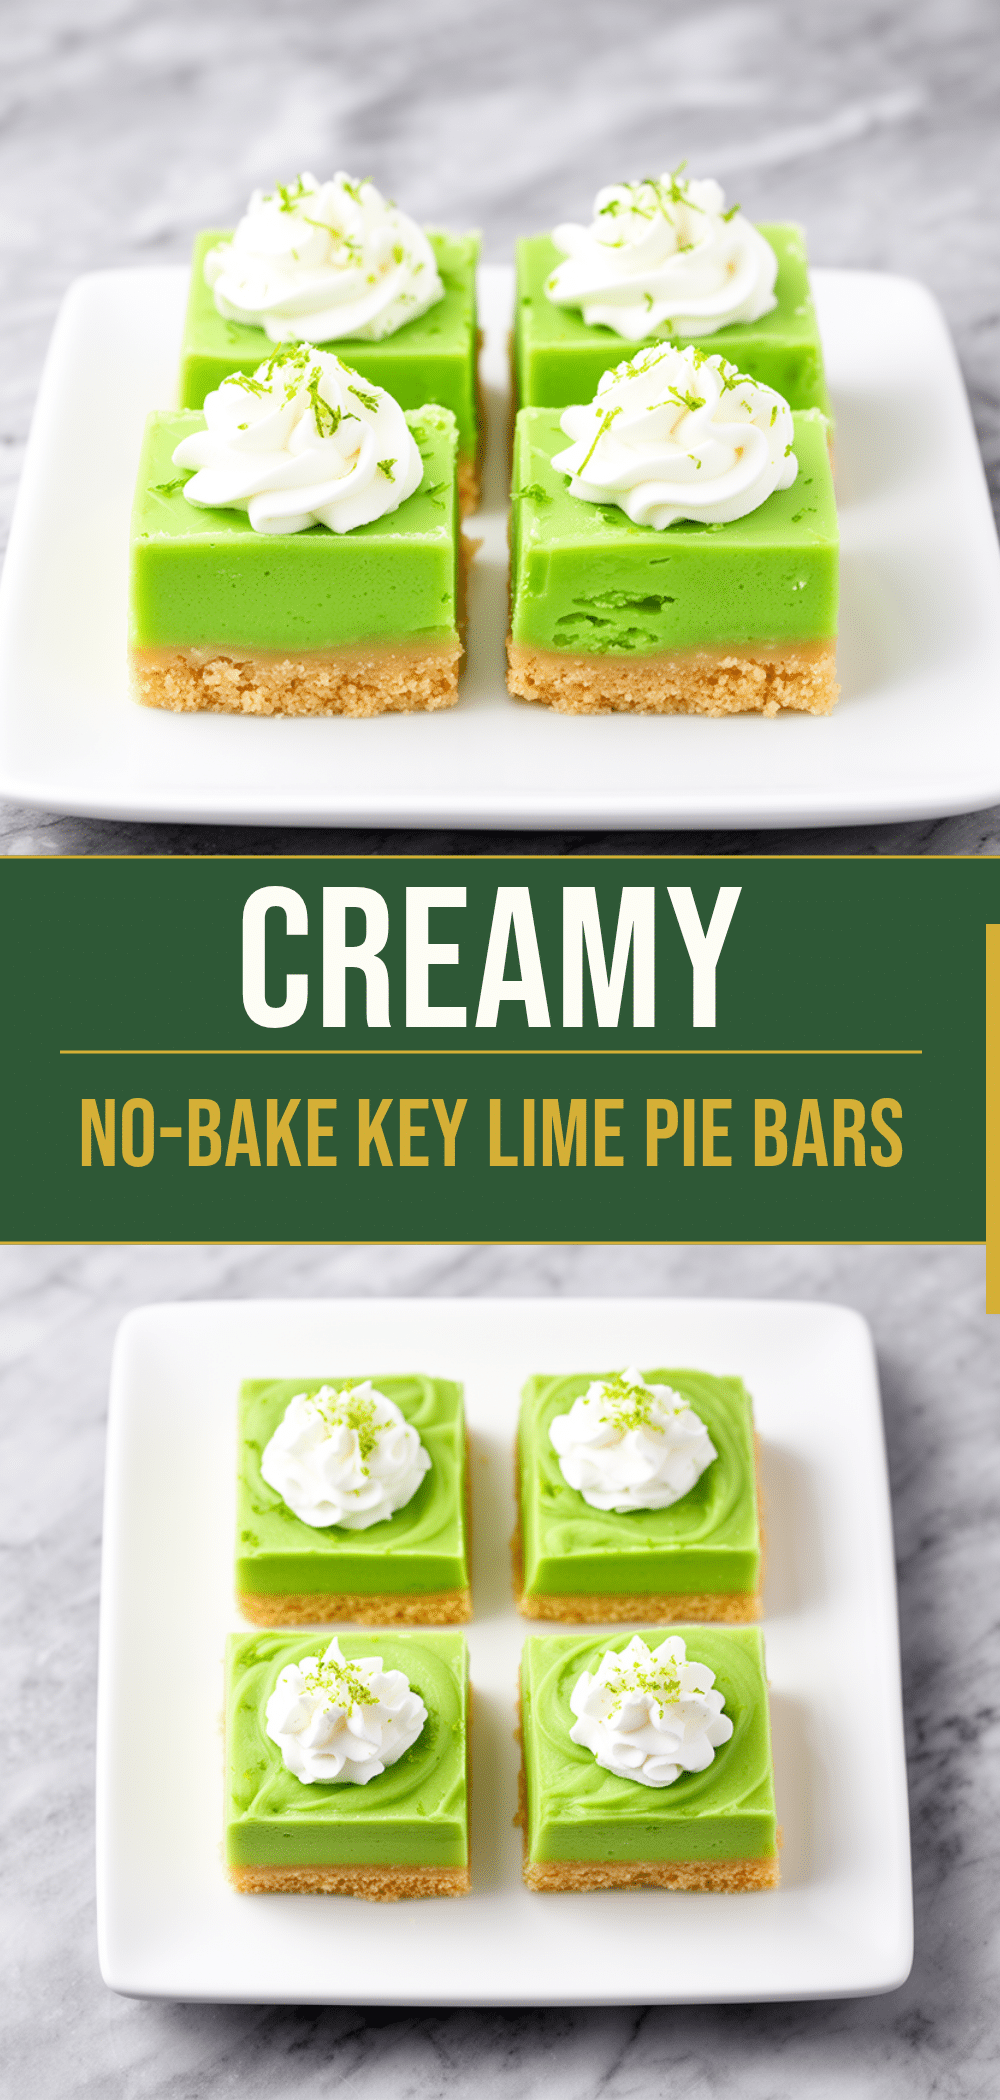
No-Bake Key Lime Pie Bars: Best Easy Labor Day Dessert
- Total Time: 4 hours 23 minutes
- Yield: 16 servings 1x
Description
These no-bake key lime pie bars are the perfect summer dessert, offering a bright, tangy, and creamy treat without turning on the oven. They are make-ahead friendly, portable, and incredibly easy to prepare.
Ingredients
- 2 cups (200g) graham cracker crumbs
- 1/2 cup (115g) unsalted butter, melted
- 2 tablespoons granulated sugar
- Pinch of salt
- 2 blocks (16oz / 450g) full-fat cream cheese, room temperature
- 1 cup (240ml) heavy cream, cold
- 1/2 cup (120ml) key lime juice, fresh-squeezed
- 2 tablespoons key lime zest
- 1 can (14oz / 397g) sweetened condensed milk
- 1 teaspoon vanilla extract
Instructions
- Line a 9×13 inch baking pan with parchment paper, leaving an overhang on the sides.
- In a food processor, pulse graham cracker crumbs until fine. Add melted butter, sugar, and salt; pulse until the mixture resembles wet sand.
- Press the crust mixture firmly and evenly into the bottom of the prepared pan. Place in the fridge to set.
- In a large bowl, whip the cold heavy cream until stiff peaks form. Set aside.
- In another large bowl, beat the room-temperature cream cheese until smooth. Add sweetened condensed milk, key lime juice, key lime zest, and vanilla extract. Beat on medium speed until fully combined and smooth.
- Gently fold the whipped cream into the cream cheese mixture in two batches, using a spatula to keep the air in the cream.
- Pour the filling over the chilled crust and spread evenly. Cover with plastic wrap or foil.
- Refrigerate for at least 4 hours, preferably overnight, until set.
- Lift the bars out of the pan using the parchment overhang. Cut into squares with a sharp knife and serve chilled.
Notes
Ensure cream cheese is at room temperature to avoid lumps. Use fresh-squeezed key lime juice for the best flavor, avoiding bottled juice if possible. Chill bars for at least 4 hours, but overnight is ideal for setting and flavor melding. Use a sharp knife dipped in hot water for clean cuts.
- Prep Time: 23 minutes
- Cook Time: 0 minutes
- Category: Dessert
- Cuisine: American
Nutrition
- Serving Size: 1 bar
- Calories: 280
- Sugar: 24
- Sodium: 180
- Fat: 16
- Saturated Fat: 9
- Carbohydrates: 32
- Fiber: 0.5
- Protein: 4
Keywords: no-bake, key lime pie bars, summer dessert, labor day dessert, easy dessert, make-ahead dessert, key lime, graham cracker crust



