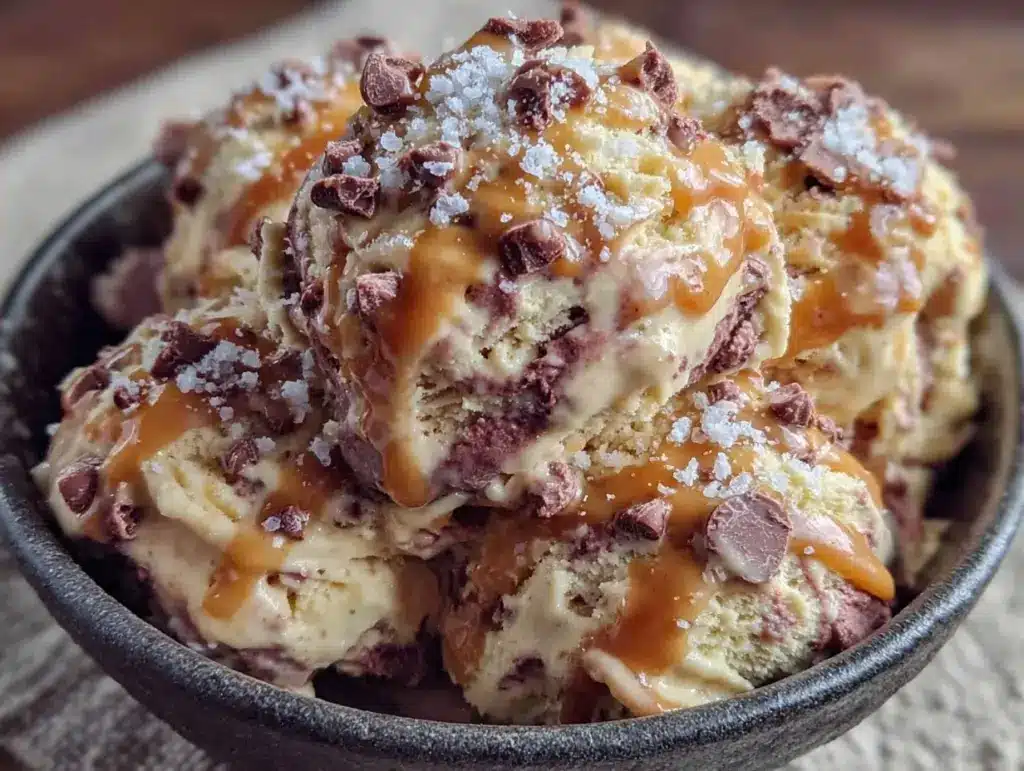
Last July, I was staring at a freezer full of empty containers and a four-year-old who had decided that store-bought ice cream was “too boring.” He wanted swirls. He wanted salt. He wanted chocolate. And he wanted to make it himself. I looked at my ice cream maker, which had been collecting dust since 2019, and then I looked at him. We didn’t have time to wait for a machine to churn, and honestly, I didn’t want to deal with the cleanup of one either. So I made a promise: we were going to make ice cream without a machine. That promise turned into the best summer tradition we have. Now, every time the weather warms up, my son asks for “the salted caramel chocolate one” before he even asks for breakfast.
This no-churn salted caramel ice cream with dark chocolate swirl is the recipe that changed our kitchen dynamic. It’s not just about the dessert (though it is ridiculously good). It’s about the time we spend standing side-by-side at the counter, whisking cream and watching the caramel ribbon through the white mixture. It’s safe, it’s simple, and it requires zero special equipment. Just a bowl, a whisk, and a little patience. If you’ve been intimidated by making ice cream at home, let me tell you: you don’t need a fancy machine. You just need this recipe and a kid who wants to help.
I’ve made this batch at least twenty times since that first July afternoon. I’ve tweaked the saltiness, adjusted the chocolate swirl thickness, and even let my daughter help when she turned five. It’s become my go-to when I want to create a memory, not just a treat. The smell of caramel filling the house is enough to make anyone smile, and the taste? It’s better than anything from a pint container. Plus, it’s surprisingly easy to make ahead. You can prep the caramel and chocolate the day before, so the actual ice cream making is just a fun, quick afternoon activity.
Why You’ll Love This Recipe
There are a lot of reasons to make this ice cream, but let’s be honest: the main reason is that it’s the only dessert my kids will happily help you make without complaining. But beyond the shared time, here’s why this no-churn salted caramel ice cream with dark chocolate swirl keeps us coming back:
- Kid-Safe & Simple — Seriously, if your child can stir, they can help. There’s no cooking on the stove required for the ice cream base itself (though we make the caramel ahead). They can measure, pour, and swirl. It’s hands-on without any heat or sharp knives involved during the mixing phase.
- Zero Fancy Equipment — No ice cream maker? No problem. No freezer space? It fits in a standard loaf pan. I’ve made this in small batches in plastic containers and big batches in metal loaf pans. It works either way. It’s the most forgiving recipe I know.
- Restaurant-Quality Taste — I’m not exaggerating when I say this tastes better than the expensive stuff from the grocery store. The homemade caramel is richer, and the dark chocolate adds a sophisticated depth that balances the sweetness. My husband says it’s “too good for a weeknight,” but I say it’s perfect for a lazy Saturday.
- Make-Ahead Magic — This is the ultimate prep-ahead dessert. You can make the caramel sauce and chop the chocolate on Sunday. Then, on Friday or Saturday afternoon, you just whip the cream, mix it up, and freeze it. It’s like having a personal ice cream parlor on demand.
- Customizable Swirls — While the salted caramel and dark chocolate is our favorite, this base is a blank canvas. You can swap the chocolate for peanut butter cups, mix in cookie dough, or add crushed candy bars. It’s a recipe that grows with your kids’ interests.
This isn’t just about feeding them something sweet. It’s about giving them a task they’re proud of. When they scoop their own creation later, they eat it faster because they made it. And for me? It’s quiet time with a purpose. We’re not just making ice cream; we’re making memories.
Ingredients You’ll Need
Here’s the best part: you probably have most of this already. This isn’t a recipe that requires a trip to three different specialty stores. It’s pantry staples and a few key items. I’m particular about the chocolate, though. Use something you’d actually enjoy eating on its own.
For the Homemade Salted Caramel
Yes, we’re making the caramel from scratch. It sounds scary, but it’s just sugar, butter, and cream. It takes 10 minutes. Don’t buy the bottle stuff; you’ll taste the difference immediately.
- Granulated sugar (1 cup / 200g) — This is the base. White sugar is best for a clear, golden caramel. Brown sugar makes it too molasses-heavy for this specific flavor profile.
- Unsalted butter (½ cup / 115g, cubed) — Room temperature butter melts faster and incorporates easier. I cube it beforehand so I don’t have to wait.
- Heavy cream (½ cup / 120ml) — Warm it up slightly in the microwave for 20 seconds. Pouring cold cream into hot sugar can cause it to seize up and splatter. Safety first!
- Flaky sea salt (1 teaspoon) — I use Maldon or similar flaky salt. It gives those beautiful crunchy bits of salt in every bite. Table salt works, but it’s just salt, not a flavor experience.
For the Ice Cream Base
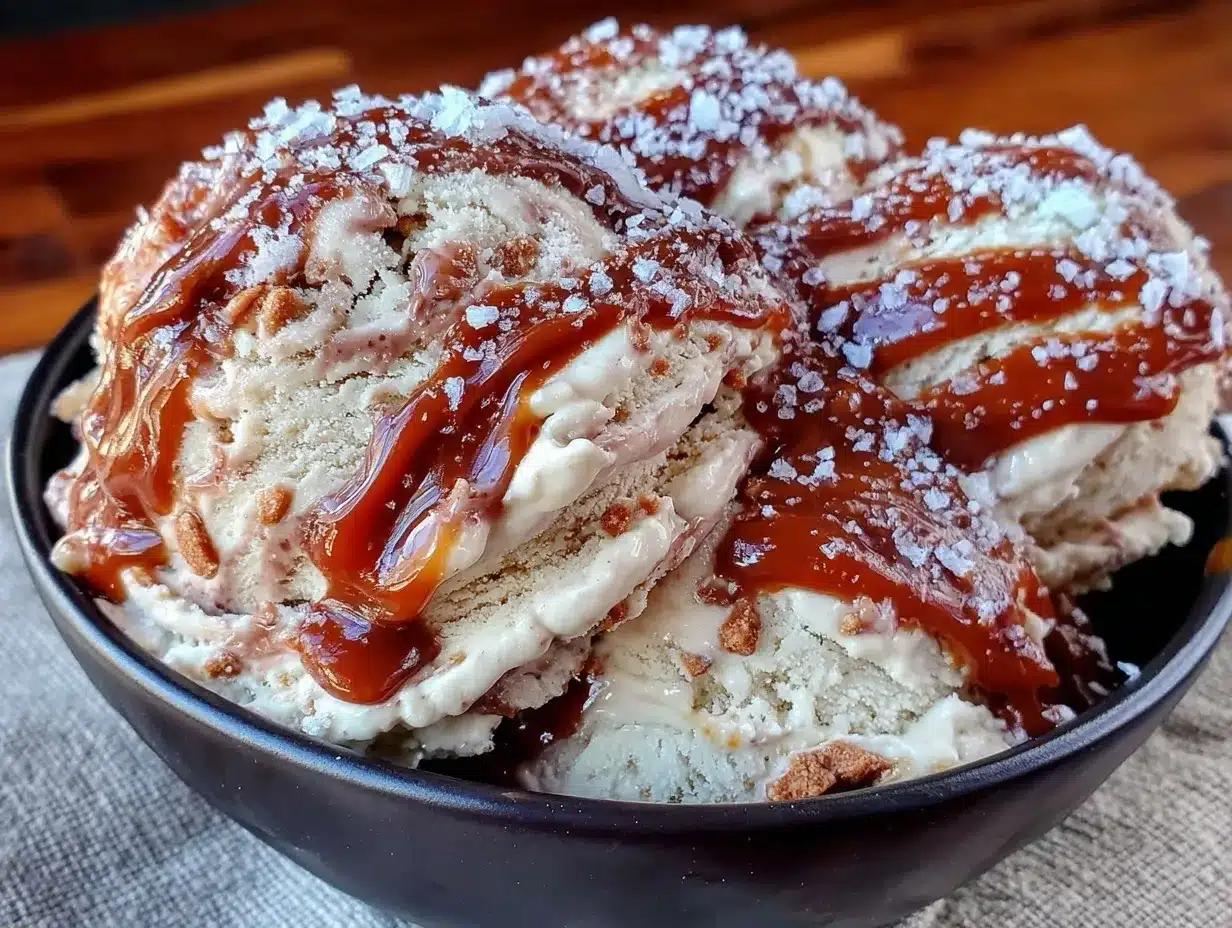
This is where the magic happens. Two main ingredients, whipped to perfection.
- Heavy whipping cream (2 cups / 480ml, cold) — This is non-negotiable. It has to be cold, and it has to be high fat (at least 35%). If your cream is lukewarm, it won’t whip. I keep mine in the fridge until the last minute.
- Confectioners’ sugar (1 cup / 120g) — Also known as powdered sugar. It dissolves instantly, so you don’t get gritty ice cream. Make sure it’s sifted if it’s lumpy.
- Vanilla extract (2 teaspoons) — Use real vanilla, not imitation. The flavor is the backbone of the cream.
- Salt (½ teaspoon) — Just a pinch to balance the sweetness of the sugar.
For the Dark Chocolate Swirl
We’re chopping our own chocolate for texture. Pre-chips are fine, but chunks feel more “homemade” and give better mouthfeel.
- Dark chocolate bars (6 ounces / 170g, chopped) — I use 60-70% cocoa. It’s sweet enough for kids but has enough bitterness to cut the caramel. Chop it into small, irregular pieces.
Pro Tip: If you want to make this dairy-free, you can use coconut cream (the hard part from the top of a can of full-fat coconut milk) instead of heavy cream. It whips similarly and adds a nice coconut flavor that pairs well with the caramel. My lactose-intolerant friend loves this version!
Equipment Needed
You don’t need fancy gadgets. Here’s what I actually use, and what you can skip.
- Medium saucepan — For melting the sugar and making the caramel. Stainless steel is nice because you can see the color change clearly. Non-stick works too, but you can’t use metal utensils.
- Whisk — A simple balloon whisk is perfect for stirring the caramel and whipping the cream.
- Mixing bowl — A large glass or metal bowl. Glass is nice because you can see the cream stiffen.
- Electric hand mixer or stand mixer — Optional but helpful. Whipping 2 cups of cream by hand takes about 10 minutes of arm work. A mixer takes 3. I use my hand mixer, but my kids love using the whisk attachment on the stand mixer.
- Loaf pan — A standard 9×5 inch loaf pan works perfectly. It’s the right size for the freezer and makes it easy to scoop later. You can also use a large plastic container.
- Parchment paper — To line the pan. This is crucial for easy removal later.
Tool Tip: Don’t have a loaf pan? Any airtight container will work. Just make sure it’s deep enough so the ice cream doesn’t spill over when you’re swirling it.
How to Make It: Step-by-Step
Alright, let’s make this! I’m walking you through exactly how I do it, including the little tricks I’ve picked up over the years. Remember, this is a two-day process if you’re making the caramel fresh, but you can prep the caramel ahead.
Step 1: Make the Salted Caramel (15 minutes)
Line a small bowl with parchment paper or a silicone mat. This is where you’ll pour the hot caramel later.
In a medium saucepan, add the sugar. Turn the heat to medium. Don’t stir it! Just let it melt. You’ll see it start to liquefy in the center. Gently swirl the pan occasionally to ensure even melting. It will go from clear to amber to dark amber. This takes about 5-7 minutes. Watch it closely. If it starts smoking, it’s burning. You want a deep golden color.
Once it’s amber, carefully add the cubed butter. It will bubble up violently. Stir constantly until the butter is melted and incorporated. This might take a minute. Then, slowly pour in the warm heavy cream while stirring. The mixture will bubble up again. Keep stirring until it’s smooth. Remove from heat and stir in the flaky sea salt.
Pour the caramel into your prepared bowl. Let it cool to room temperature, then refrigerate for at least 30 minutes until it’s thick but still pourable. If it gets too hard, just microwave it for 10 seconds.
Step 2: Whip the Cream (5 minutes)
In a large mixing bowl, combine the cold heavy cream, confectioners’ sugar, vanilla, and salt. Using an electric mixer on medium-high speed, beat until stiff peaks form. This means when you lift the beater, the cream stands up straight and doesn’t droop. Don’t over-whip it into butter, though! Stop as soon as it holds its shape.
Step 3: Fold in the Chocolate
Gently fold the chopped dark chocolate into the whipped cream. Use a spatula and fold from the bottom up. You want to keep as much air in the cream as possible. If you stir too vigorously, you’ll deflate the cream and end up with dense ice cream. Just 20-30 folds should do it.
Step 4: Assemble the Ice Cream
Line your loaf pan with parchment paper, leaving an overhang on the sides. This acts as a handle for lifting the ice cream out later.
Spread half of the chocolate-chunk cream into the bottom of the pan. Drizzle about half of the cooled salted caramel over the top. Use a knife to gently swirl the caramel into the cream—don’t mix it completely. You want ribbons.
Add the remaining cream on top. Drizzle the rest of the caramel. Now, take a knife and swirl it through the top layer. Create those beautiful marbled patterns. This is the part my kids love most. Let them go wild.
Step 5: Freeze
Cover the pan tightly with plastic wrap or a lid. Freeze for at least 6 hours, but overnight is best. The ice cream needs time to firm up completely.
Total Time: About 20 minutes active, plus freezing time.
Built-in Troubleshooting:
- Caramel too hard? Microwave for 10-15 seconds to soften it up.
- Cream won’t whip? Check that your bowl and beaters were cold. Chill them in the freezer for 15 minutes first.
- Ice cream too soft? It needs more time in the freezer. Try 8-12 hours.
Expert Tips & Tricks
Here’s everything I’ve learned from making this dozens of times. These tips will save you from my mistakes.
Keep Everything Cold
The secret to fluffy no-churn ice cream is cold cream. If your kitchen is hot, put your mixing bowl in the fridge for 10 minutes before whipping. Cold cream whips faster and holds more air. Air is what makes it creamy instead of icy.
Don’t Skip the Salt
I know it’s called “salted caramel,” but the salt in the base is just as important. It balances the sweetness of the sugar and the cream. Don’t be shy with it. Taste the cream before you freeze it. It should taste slightly sweet but with a savory kick.
Chop Chocolate Small
If your chocolate chunks are too big, they’ll be hard to chew once frozen. Aim for small, pea-sized pieces. They distribute better and make the swirl more consistent. My kids prefer smaller pieces because they don’t have to work as hard to bite through them.
Use a Loaf Pan
It’s the perfect shape. It freezes evenly and is easy to serve. If you use a wide, shallow container, the ice cream might freeze too hard on top. A deep pan keeps the texture consistent.
Let It Sit Before Scooping
When you take it out of the freezer, let it sit on the counter for 5-10 minutes. It’s much easier to scoop and serves better. Hard-as-rock ice cream is fun to look at, but not fun to eat.
Variations & Substitutions
Once you’ve nailed the basic version, here’s how you can mix it up. I’ve tried all of these, and they’re all winners.
Peanut Butter Swirl
Swap the dark chocolate for peanut butter cups chopped up, or swirl in peanut butter instead of caramel. My son loves this version. It’s like a Reese’s cup in ice cream form.
Cookie Dough
Fold in mini chocolate chips and a few chunks of edible cookie dough. It’s a crowd-pleaser for birthday parties. Just make sure the cookie dough is egg-free!
Strawberry Swirl
Use fresh strawberry puree instead of caramel. Mix it with a little sugar and freeze it into a sauce first. It’s lighter and more fruity.
Gluten-Free
This recipe is naturally gluten-free, provided your chocolate bar is GF. Check the label, as some dark chocolates have wheat starch. Most are safe, though.
Dairy-Free
Use full-fat coconut cream instead of heavy cream. You’ll need to chill the can overnight and scoop out the solid part. Whip it like regular cream. The caramel can be made with coconut milk and vegan butter. It tastes amazing, too.
Serving & Storage
How to Serve:
I usually serve this straight from the loaf pan. It looks rustic and homemade. I scoop it into small bowls and let the kids decorate their own with extra caramel drizzle or chocolate chips. It’s a fun, interactive dessert.
Side Dishes:
This is rich, so it pairs well with lighter desserts. I sometimes serve it with fresh berries or a simple fruit salad to balance the sweetness. It’s also great with a slice of fall honeycrisp apple crisp if you want a warm-and-cold contrast.
Storage:
Store in an airtight container in the freezer for up to 2 weeks. It might get a bit hard, so let it sit for 10 minutes before serving. It doesn’t freeze rock-hard like store-bought ice cream because of the whipped cream, which is nice.
Reheating:
You don’t need to reheat it, just soften it. If it’s too hard, let it sit out for 5-10 minutes. Never microwave it, or you’ll melt the swirls.
Nutrition Information
I’m not a nutritionist, but here’s the breakdown if you’re tracking. This is a rich dessert, so portion control is key.
Per Serving (based on 8 servings):
– Calories: 380
– Protein: 4g
– Carbs: 35g
– Fiber: 1g
– Sugar: 32g
– Fat: 24g
– Saturated Fat: 15g
– Cholesterol: 65mg
– Sodium: 120mg
What’s Good:
– Real ingredients
– No artificial additives
– Can be made with dark chocolate for antioxidants
What to Know:
– High in sugar and fat (it’s ice cream, after all)
– Contains dairy
– Moderate sodium
My Take:
“Look, this is a treat. It’s not a health food. But it’s better than the stuff with preservatives and stabilizers. When I make it, I use real vanilla and good chocolate. It’s worth the calories for the joy it brings my family.”
Final Thoughts
So that’s my go-to no-churn salted caramel ice cream with dark chocolate swirl! I’ve probably talked your ear off at this point, but when you make a recipe this often, you have a lot to say about it. This has saved our summer evenings more times than I can count. It’s my answer to “what’s for dessert” when I want something special but don’t want to bake a cake. My kids are happy, my husband’s happy, and I’m happy because we made it together.
Make it yours! Try different add-ins, swap in your favorite chocolate, or let your kids choose the swirl. The best recipes are the ones you adapt to your family’s tastes. If you make this, drop a comment and let me know what you think! I love hearing how recipes turn out in your kitchen. And if something doesn’t work, tell me that too—I’m here to help troubleshoot.
Happy cooking! And I hope your kitchen smells half as good as mine does right now.
Frequently Asked Questions
Q: Can I use a food processor instead of a mixer?
A: You can, but it’s harder. A food processor can over-whip the cream quickly. If you use one, pulse it and check frequently. I prefer a hand mixer or stand mixer for control.
Q: Why did my ice cream turn out icy?
A: This usually means the cream wasn’t whipped enough, or the ice cream wasn’t frozen long enough. Make sure you whip it to stiff peaks, and freeze it for at least 6 hours. Also, make sure your cream was very cold.
Q: Can I make this ahead?
A: Yes! You can make the caramel and chop the chocolate a few days ahead. Store the caramel in the fridge and the chocolate in an airtight container. Then, just whip and freeze when you’re ready.
Q: Can I use milk instead of heavy cream?
A: No. Milk doesn’t have enough fat to whip. You need heavy cream or coconut cream for this recipe to work. Without the fat, you’ll just get sweetened milk ice.
Q: How do I store the leftovers?
A: Keep it in an airtight container in the freezer. It will last for up to 2 weeks. Let it sit on the counter for 10 minutes before scooping.
Q: Can I use brown sugar for the caramel?
A: You can, but it will change the flavor. Brown sugar caramel is more molasses-heavy and less sweet. For the classic salted caramel taste, stick with white sugar.
Q: Is this recipe safe for kids to help with?
A: Yes! The only part that involves heat is the caramel, which should be done by an adult. The mixing and swirling are perfect for kids. They can measure the sugar, stir the cream (with a whisk), and create the swirl patterns.
Pin This Recipe!
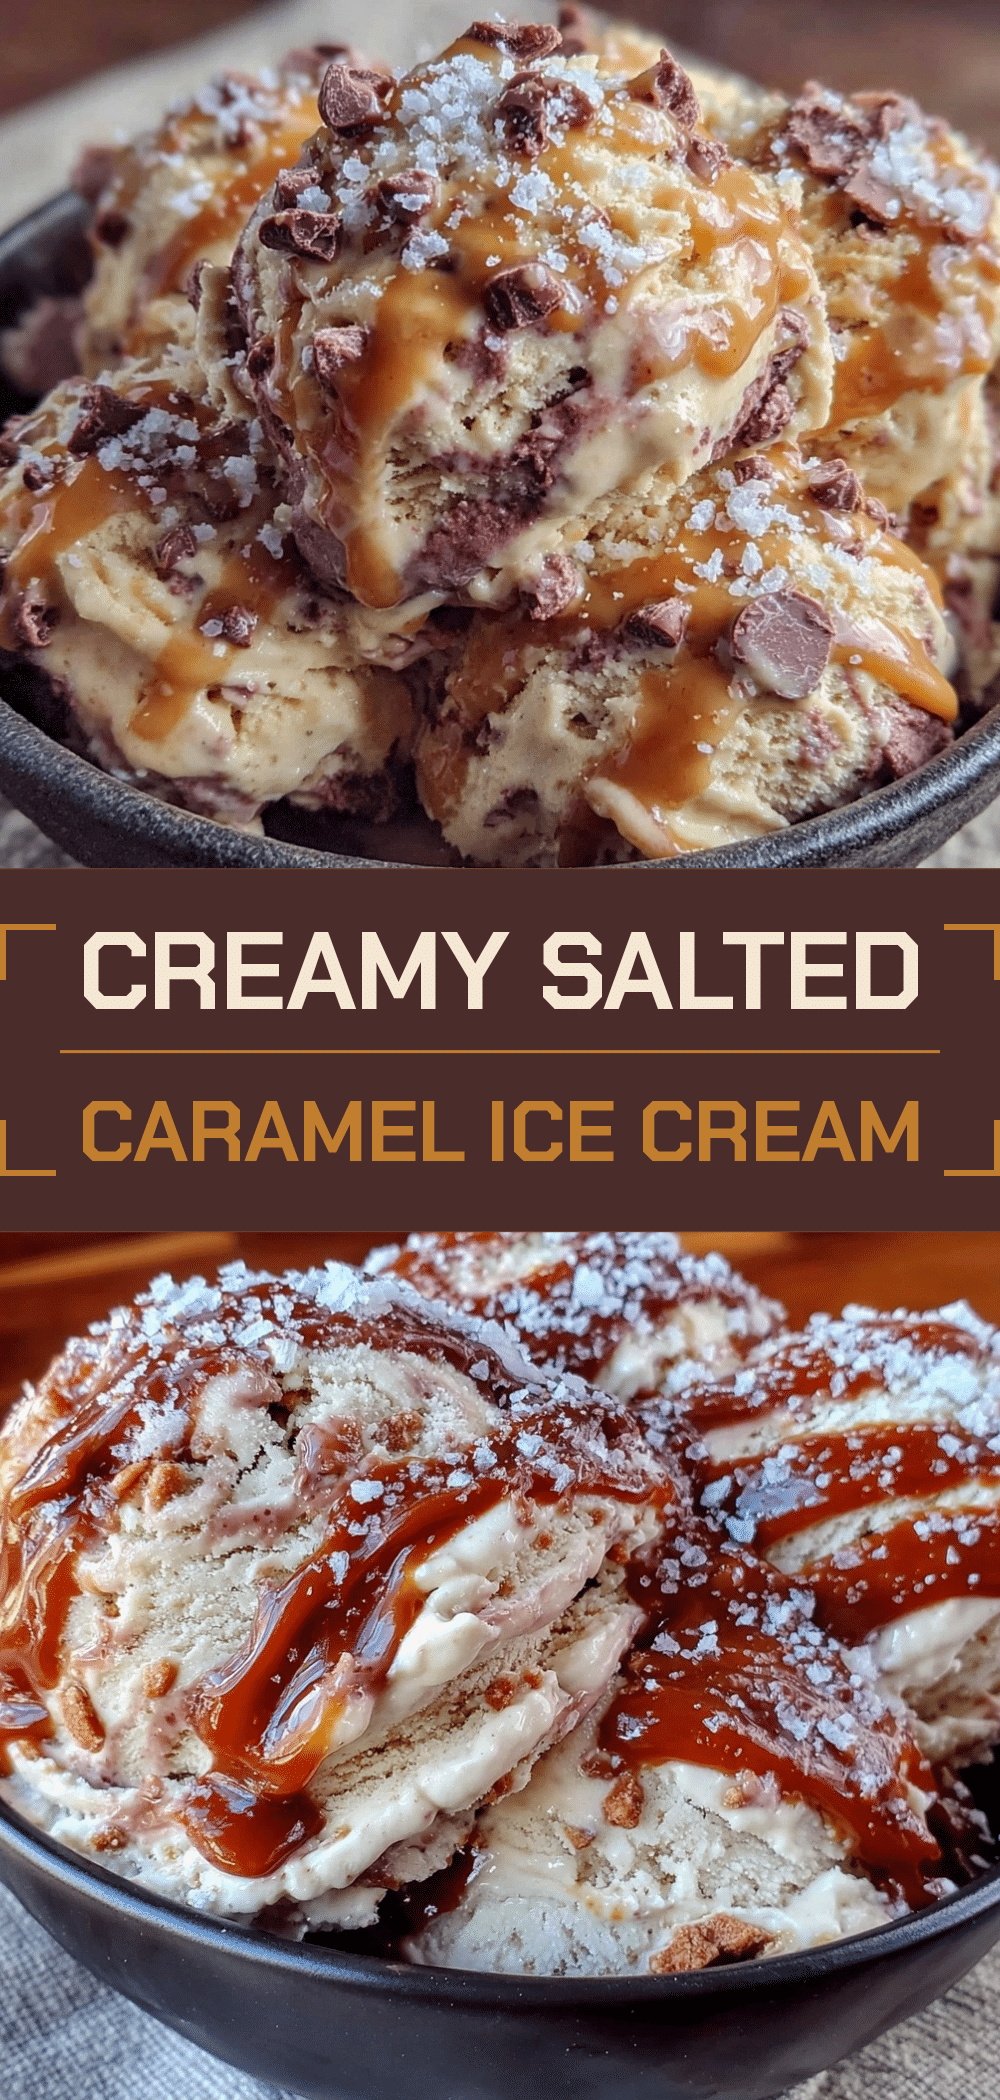

No-Churn Salted Caramel Ice Cream: Kids Love Helping!
- Total Time: 6 hours 35 minutes
- Yield: 8 servings 1x
Description
A simple, kid-friendly no-churn salted caramel ice cream with dark chocolate swirls that requires no ice cream maker. This recipe creates a rich, restaurant-quality dessert perfect for family memories.
Ingredients
- 1 cup (200g) granulated sugar
- ½ cup (115g) unsalted butter, cubed and room temperature
- ½ cup (120ml) heavy cream, warmed
- 1 teaspoon flaky sea salt
- 2 cups (480ml) heavy whipping cream, cold
- 1 cup (120g) confectioners’ sugar, sifted
- 2 teaspoons vanilla extract
- ½ teaspoon salt
- 6 ounces (170g) dark chocolate bars (60-70% cocoa), chopped
Instructions
- Line a small bowl with parchment paper or a silicone mat for the caramel.
- In a medium saucepan over medium heat, melt the sugar without stirring, swirling occasionally until it turns deep amber (5-7 minutes).
- Carefully add the cubed butter; stir constantly until melted and incorporated.
- Slowly pour in the warm heavy cream while stirring; the mixture will bubble. Stir until smooth.
- Remove from heat and stir in the flaky sea salt. Pour into the prepared bowl and cool to room temperature, then refrigerate for at least 30 minutes until thick but pourable.
- In a large mixing bowl, combine the cold heavy cream, confectioners’ sugar, vanilla, and salt.
- Using an electric mixer on medium-high speed, beat until stiff peaks form.
- Gently fold the chopped dark chocolate into the whipped cream using a spatula, folding from the bottom up to maintain airiness.
- Line a 9×5 inch loaf pan with parchment paper, leaving an overhang on the sides.
- Spread half of the chocolate-chunk cream into the bottom of the pan.
- Drizzle half of the cooled salted caramel over the cream and gently swirl with a knife to create ribbons.
- Add the remaining cream on top, drizzle with the rest of the caramel, and swirl again to create marbled patterns.
- Cover the pan tightly with plastic wrap or a lid and freeze for at least 6 hours, preferably overnight.
Notes
Keep all equipment and cream cold for best whipping results. If the caramel hardens in the fridge, microwave for 10 seconds to soften. Let ice cream sit on the counter for 5-10 minutes before scooping for easier serving. For dairy-free, substitute heavy cream with chilled coconut cream and butter with vegan butter.
- Prep Time: 20 minutes
- Cook Time: 15 minutes
- Category: Dessert
- Cuisine: American
Nutrition
- Serving Size: 1 slice or scoop
- Calories: 380
- Sugar: 32
- Sodium: 120
- Fat: 24
- Saturated Fat: 15
- Carbohydrates: 35
- Fiber: 1
- Protein: 4
Keywords: no-churn ice cream, salted caramel, dark chocolate, kid-friendly dessert, homemade ice cream, summer treats, easy dessert



