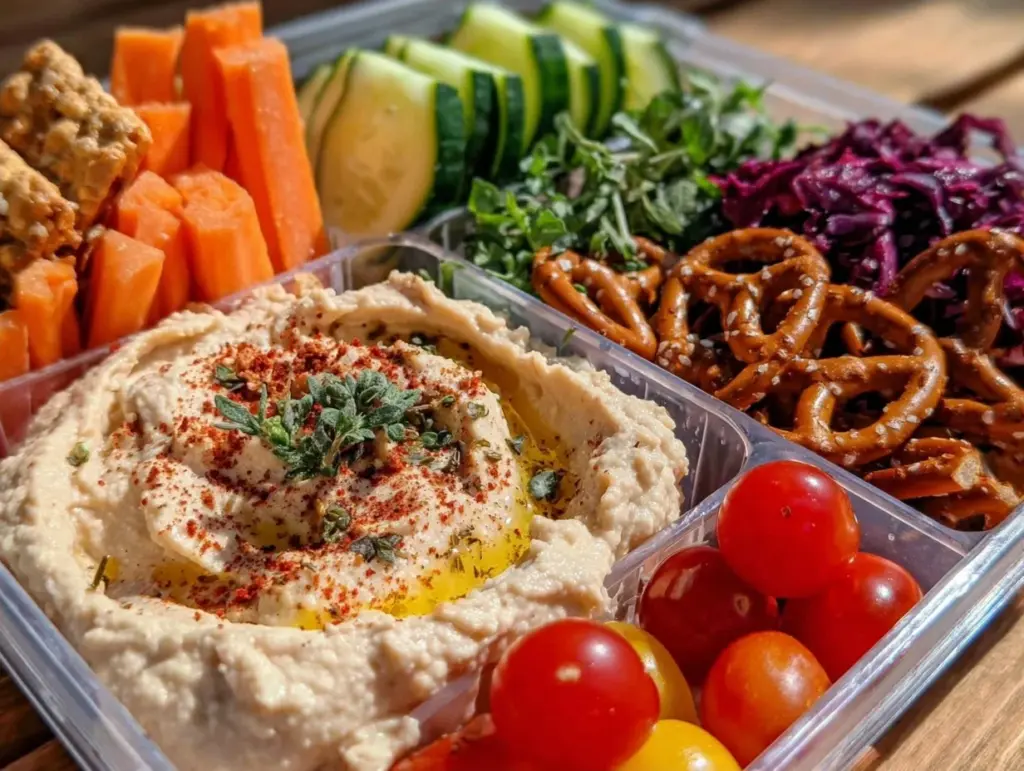
I have a confession to make. I used to spend twenty minutes every morning staring into the fridge, trying to conjure something “healthy” for my kids that wouldn’t result in a negotiation at the school bus stop. You know the drill. They want a granola bar. I want them to have actual vegetables. It’s a standoff, and usually, the granola bar wins because I’m too tired to argue.
Then I stopped trying to be a chef and started being a packer. I realized that if I could just make rainbow veggie hummus snack boxes a thing, everything changed. No cooking. No chopping (okay, one quick chop). Just assembly. I threw together my first one on a Tuesday morning, mostly because I was running late and grabbed whatever was in the crisper drawer. I expected a sad, brown mess. Instead, I got a colorful, crunchy, creamy box that made my daughter ask, “Can we have this every day?” Spoiler alert: We did. For three weeks straight.
This isn’t about meal prepping like a military operation. It’s about having a template that works so well you can do it in your sleep. You really can’t mess this up. If you can open a container and pour something into it, you can make this. And honestly? It’s better than any store-bought snack pack because it’s actually full of stuff that grows in the ground.
Why You’ll Love This Hummus Snack Box
There’s a reason this has replaced everything else in my lunch rotation. It’s not just “healthy”—it’s satisfying. Here’s the breakdown of why this works so hard for such little effort:
- Zero Cooking Required — Seriously. If you can buy hummus and wash a cucumber, you can make this. I’ve made this while brushing my teeth in the morning. It’s that fast.
- The “I Don’t Like Veggies” Test — My pickiest eater (who currently survives on breadsticks and cheese) will eat these. The hummus acts as a dip, which changes the texture game entirely. It’s not “eating a carrot”; it’s dipping a carrot. Huge difference.
- Visual Appeal That Actually Works — Kids eat with their eyes. A box with bright orange peppers, green cucumbers, and yellow squash looks like a toy set. It’s playful. It invites them to dig in without feeling like a chore.
- Protein and Fiber Combo — This isn’t just empty calories. The hummus provides protein and healthy fats, while the veggies give fiber. It keeps them full. I’ve noticed they aren’t hungry by 3 PM anymore. That’s a win in my book.
- Reusable Container Friendly — Once you get the bento box system down, you can swap ingredients based on what’s on sale. It’s flexible. It’s forgiving. It’s yours.
This is the snack box that saves my sanity. No more begging. No more guilt. Just a pretty box of good food.
Ingredients You’ll Need
Here’s the best part: you probably have half of this already. This recipe is built on pantry staples and whatever fresh stuff is looking good at the market. I’m keeping it simple because complexity is the enemy of consistency.
For the Hummus Base
Chickpea Hummus (1 cup / 240g) — I buy the plain tub. Don’t overthink the flavor. Garlic or plain works best. If you’re feeling fancy, you can make your own, but store-bought is 100% fine here. I use it straight from the tub. It’s creamy, salty, and perfect for dipping.
Olive Oil (1 teaspoon) — Optional, but I like to drizzle a tiny bit on top of the hummus right before packing. It adds a nice sheen and keeps the hummus from drying out if it sits for a few hours.
Cherry Tomatoes (10-12, whole) — These are non-negotiable in my house. They add a burst of juice that balances the dry crunch of the veggies. Make sure they’re dry when you pack them so they don’t get soggy.
For the Rainbow Veggie Mix
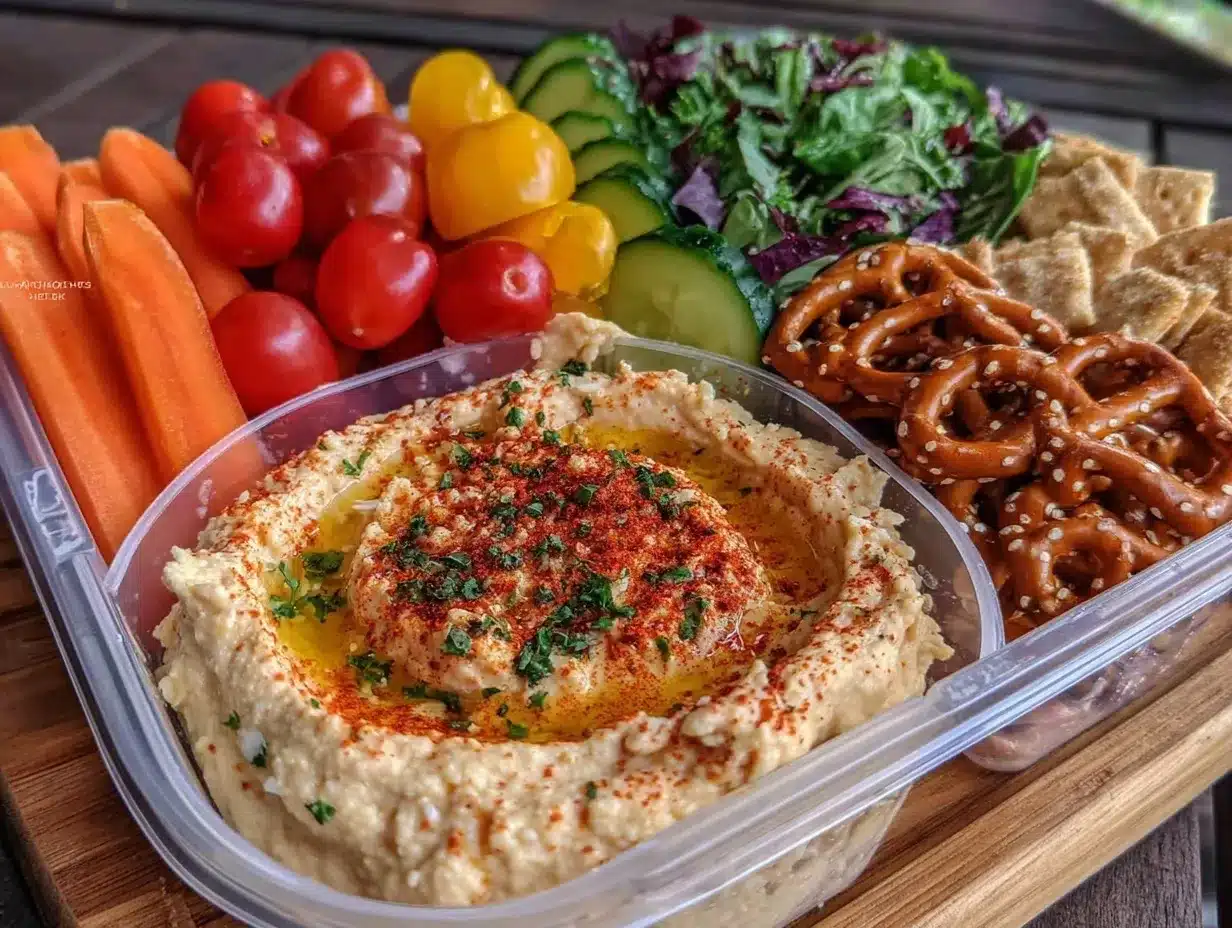
Cucumber (1 medium, cut into sticks) — English cucumbers are best because they’re less seedy and thinner-skinned. Cut them into “popsicle” sticks. If you use a regular cucumber, maybe peel the skin if your kids are picky about texture.
Red Bell Pepper (1 medium, cut into strips) — The red ones are sweeter, which helps with the “healthy” transition. Cut into thin strips that fit comfortably in a small container. Aim for about 1 cup.
Cherry Tomatoes (10-12, halved or whole) — I mentioned these above, but let’s be clear: they are the star of the show. They add sweetness and color. Use red or yellow cherry tomatoes for maximum rainbow effect.
Carrots (2 medium, cut into sticks) — Raw carrots are classic. Use a peeler to make them wide and flat, or a knife for thick sticks. They’re sturdy and don’t get mushy. If your kids hate raw carrots, try steaming them lightly first, but raw is easier.
Snap Peas or Snow Peas (1 cup) — These are the “fun” veggie. They’re sweet and crunchy. Leave them whole or cut in half. They add a different texture than the carrot and cucumber.
Yellow Squash or Zucchini (1 small, cut into half-moons) — I like the yellow squash for the color pop. Cut it into thin rounds or half-moons. It’s mild and tender. If you don’t have it, use more bell pepper.
Optional Add-Ins
Feta Cheese (¼ cup, crumbled) — If your kids eat dairy, a little crumbled feta on top of the hummus or mixed with the veggies adds a salty kick. It makes it feel like a mini salad.
Black Olives (¼ cup, sliced) — For a Mediterranean vibe. Slice them thinly. They add a briny contrast to the sweet peppers.
Whole Wheat Pita Chips (1 small packet) — I usually skip these because the veggies are the star, but if you want a “cracker” element, pita chips are better than pretzels. They hold up well in the box.
Equipment Needed
You don’t need fancy gadgets. I’m a minimalist cook, and I like my cleanup to be minimal too. Here’s what you actually need:
Bento Box or Divided Snack Containers — I use these little plastic containers with 3-4 compartments. They’re cheap, stackable, and perfect for portion control. You can find them at any dollar store or online. The key is that they keep the hummus separate from the veggies until eating time.
Sharp Knife — For cutting the peppers and cucumbers. A dull knife is dangerous and frustrating. I use my standard chef’s knife. It’s the only tool I need.
Peeler — Optional, but great for making wide carrot sticks or peeling cucumber skins if needed. I keep a simple Y-peeler in my drawer.
Small Bowl — Just to hold the hummus while you’re packing. Or use the tub directly if it fits in your box.
Spoons or Tongs — For scooping the hummus. A small spoon works fine. No need for fancy tongs for veggies.
Water Spray Bottle or Colander — For washing the veggies. Keep them dry! Wet veggies make for soggy boxes. I pat them dry with a paper towel before packing. It takes 30 seconds and makes a huge difference.
How to Make It: Step-by-Step
Alright, let’s get this together. It’s going to take you about five minutes. Maybe ten if you’re being extra precise with your cuts. But really, five minutes.
Step 1: Wash and Dry Everything
Before you cut anything, wash all your veggies. I know it’s tempting to skip this, but no one wants a gritty snack. After washing, dry them thoroughly. Use a clean kitchen towel or paper towels. Moisture is the enemy of crunch. If the veggies are wet, the box will get soggy by lunchtime. This step is crucial for texture.
Step 2: Cut the Veggies into Uniform Sizes
Cut your cucumber into sticks. Aim for about ¼-inch thick. Cut your bell pepper into strips of the same width. Cut your carrots into sticks. If you’re using yellow squash, cut it into half-moons or rounds. The goal is uniformity. It looks prettier, and it’s easier for little hands to pick up. Don’t worry about being perfect. Choppy is fine. Just try to keep them similar in size.
Step 3: Prepare the Hummus
If your hummus is thick, stir it with a spoon to loosen it up. You want it to be dip-able, not spread-able. If you’re adding olive oil, drizzle it in now and stir. Taste it. If it needs salt, add a pinch. But usually, store-bought hummus is seasoned enough.
Step 4: Pack the Box
Start with the hummus. Scoop it into the largest compartment of your bento box. Flatten the top with the back of a spoon. It creates a nice bed for the veggies. If you’re adding feta or olives, sprinkle them on top of the hummus now.
Next, pack the veggies. Start with the sturdy ones: carrots and cucumbers. Pack them tightly so they don’t roll around. Then add the softer veggies: bell peppers and squash. Finally, tuck the cherry tomatoes in the gaps. They’re like puzzle pieces. Try to distribute the colors evenly so every bite looks colorful.
Step 5: Seal and Store
Close the lid tightly. If you’re packing these for school, make sure the lid is secure. I’ve had leaks before, and it’s a mess. Store them in the fridge until you’re ready to go. They’ll keep for up to 3 days in the fridge, but they’re best eaten within 24 hours for maximum crunch.
Step 6: Pack for School
Place the box in a lunch bag with an ice pack. No napkins needed if you’re using the hummus as the dip. But if you want, add a small packet of wet wipes for sticky fingers. That’s it. You’re done.
Expert Tips & Tricks
I’ve made these boxes hundreds of times. Here’s what I’ve learned to keep them from falling apart.
Keep the Hummus Cold
Hummus is dairy-free, but it still spoils if it gets too warm. Always pack an ice pack. If the hummus gets warm, it can separate and look weird. Cold hummus is thick and creamy. Warm hummus is runny. Don’t risk it.
Prevent Sogginess
The #1 mistake people make is packing wet veggies. I can’t stress this enough. Wash, then dry. Then dry again. If you’re in a rush, use a salad spinner. It’s worth the 30 seconds. Dry veggies stay crisp for hours. Wet veggies turn into mush by 11 AM.
Use a Variety of Textures
Don’t just pack carrots and cucumbers. Add something crunchy (snap peas), something soft (tomatoes), and something sweet (bell peppers). Texture variety keeps it interesting. My kids get bored if every bite is the same crunch.
Make It a Game
If your kids are hesitant, let them choose the colors. “Can we make a red, green, and yellow box?” It gives them control. They’re more likely to eat what they helped pick. I’ve found that asking “Which color do you want first?” works better than “Eat your veggies.”
Batch Prep the Veggies
If you’re making these for the whole week, wash and cut all your veggies on Sunday. Store them in airtight containers in the fridge. Then, assembly takes 2 minutes in the morning. This is my secret weapon. I prep on Sunday, pack on Monday-Friday.
Variations & Substitutions
Once you get the hang of this, you can mix it up. Here are some variations I’ve tried and loved.
Mediterranean Style
Add kalamata olives, crumbled feta, and a drizzle of oregano. Use hummus as the base. It’s like a salad in a box. My husband loves this version. It’s savory and salty.
Asian-Inspired
Skip the hummus. Use a soy-ginger dipping sauce. Pack edamame, snap peas, shredded carrots, and bell peppers. Add a side of rice crackers. It’s a different vibe, but just as easy.
Guacamole Dip
Swap hummus for guacamole. Pack corn chips, cucumber sticks, and tomato wedges. It’s fresh and zesty. Great for summer. Make sure the guac is well-seasoned with lime and salt.
Bean Dip Variation
Use black bean dip instead of hummus. Pack tortilla chips and veggie sticks. It’s high in protein and fiber. A great alternative if you’re out of hummus.
Gluten-Free
This recipe is naturally gluten-free if you use gluten-free pita chips or skip them entirely. Check your hummus label to be sure, but most are GF.
Dairy-Free
This is already dairy-free. Hummus is chickpeas, tahini, lemon, and garlic. No cheese needed unless you want it. If you add feta, it’s no longer dairy-free. Keep it simple.
Serving & Storage
How to Serve
These are best served cold. Straight from the fridge. The cold veggies are crisp and refreshing. If you’re packing them for school, they’ll stay cold in the box with the ice pack. At lunchtime, they’ll be ready to eat. No microwaving needed.
Side Dishes
These boxes are complete snacks. But if you want to add more, pair them with a piece of fruit. An apple or a banana works well. Or a granola bar if you need extra carbs. But usually, the veggies and hummus are enough.
Storage Instructions
Refrigerator: Store packed boxes in the fridge for up to 3 days. The veggies will stay crisp if they’re dry. The hummus will keep for the same time. Just make sure the lid is tight.
Freezing: Do not freeze these. Veggies get mushy when thawed. Hummus separates. Keep them fresh in the fridge.
Meal Prep: Prep veggies on Sunday. Pack boxes in the morning or the night before. This is the most efficient way to do it.
Nutrition Information
I’m not a nutritionist, but here’s the general breakdown. This is a healthy, balanced snack.
Per Box (approximate):
- Calories: 150-200
- Protein: 6-8g
- Carbs: 15-20g
- Fiber: 5-7g
- Fat: 8-10g
- Sodium: 200-300mg (depends on hummus brand)
It’s low in calories but high in volume. You can eat a lot of it without feeling heavy. It’s a great afternoon snack because it won’t make you sleepy like a carb-heavy snack might.
Final Thoughts
So that’s it. Rainbow veggie hummus snack boxes. It’s simple, it’s colorful, and it’s surprisingly satisfying. I’ve stopped stressing about what to pack because I know this works. It’s my go-to when I don’t want to cook but still want my kids to eat well.
Make it yours. Add whatever veggies you like. Swap the hummus for a dip you love. The key is the assembly. It’s easy. It’s fast. And it tastes good. If you can only make one snack box this week, make this one. You really can’t mess it up.
Happy packing! And I hope your kids love these as much as mine do.
Frequently Asked Questions
Can I use store-bought veggies?
Absolutely. If you buy pre-cut veggie trays, just wash them and dry them. It saves time. The only thing I recommend cutting yourself is the cucumbers and peppers for better texture, but pre-cut is fine if you’re in a rush.
Why is my hummus watery?
Humus can separate. Just stir it well before packing. If it’s too thin, add a spoonful of tahini or chickpeas to thicken it. But usually, stirring is enough.
Can I pack this the night before?
Yes. In fact, I prefer it. The veggies absorb some of the hummus flavor overnight. Just make sure they’re dry. If they’re wet, they’ll get soggy. Pack it at night, keep it in the fridge, and grab it in the morning.
What if my kids don’t like hummus?
Try a different dip. Guacamole, bean dip, or even a yogurt-based dip. The concept is the same: dip veggies. If they hate all dips, try roasting the veggies first. Roasted carrots and peppers are sweeter and more appealing to picky eaters.
How long do these last in the lunchbox?
With an ice pack, they’ll stay cold and safe for 4-5 hours. That’s usually enough for a school day. After that, the veggies might start to soften, but they’ll still be edible. Just don’t leave them in a hot car.
Can I make these for adults?
Yes! Adults love these too. Just use a larger container and add more protein. Maybe some grilled chicken strips or hard-boiled eggs. It’s a great lunch option for work. I pack these for myself sometimes when I want a light lunch.
Is this gluten-free?
Yes, if you use gluten-free hummus and no pita chips. Most hummus is naturally gluten-free, but check the label. It’s a safe option for gluten-free diets.
Pin This Recipe!
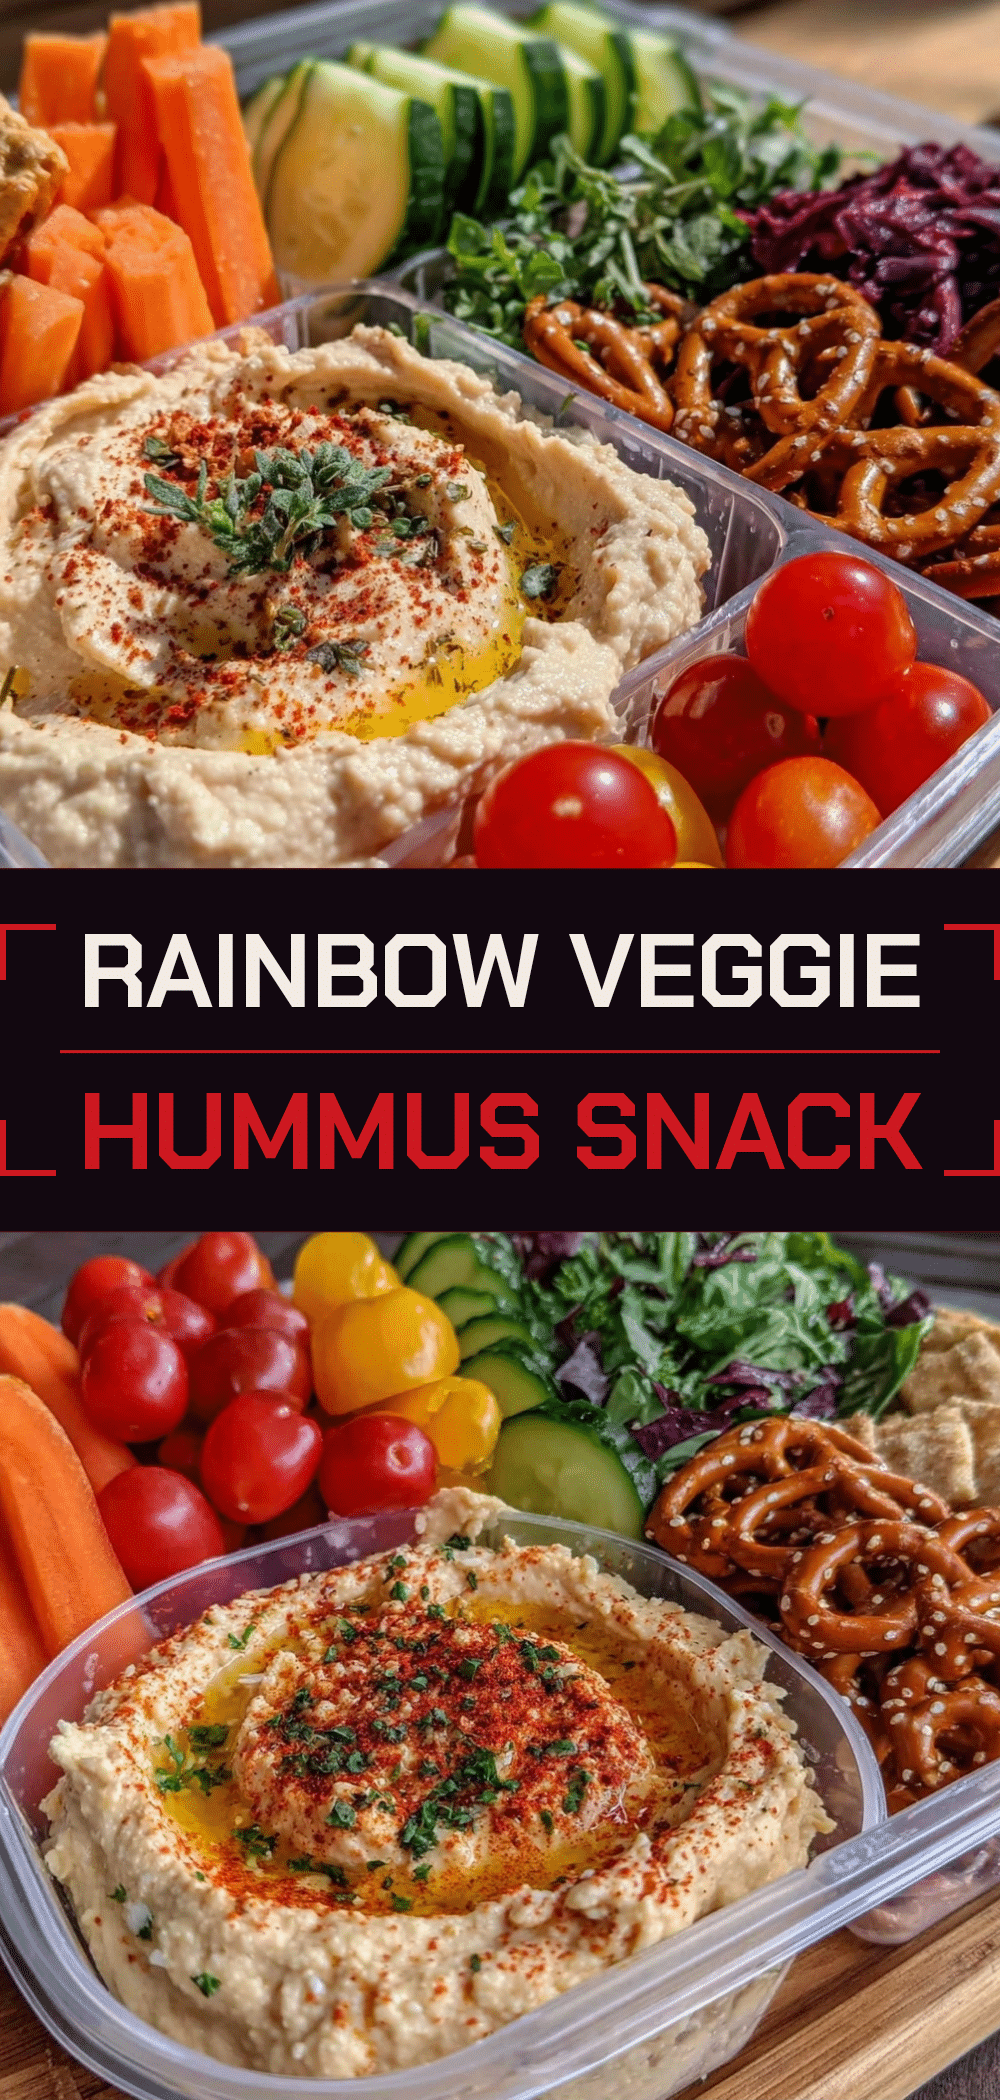
Rainbow Veggie Hummus: 5-Min Beginner Snack Box
- Total Time: 5 minutes
- Yield: 1 serving 1x
Description
A quick, no-cook snack box featuring creamy hummus and a variety of colorful, crunchy vegetables. Perfect for kids and adults alike, this recipe requires minimal prep time and offers a healthy, satisfying alternative to processed snacks.
Ingredients
- 1 cup (240g) plain or garlic chickpea hummus
- 1 teaspoon olive oil (optional)
- 1 medium cucumber, cut into sticks
- 1 medium red bell pepper, cut into strips
- 10–12 cherry tomatoes, halved or whole
- 2 medium carrots, cut into sticks
- 1 cup snap peas or snow peas
- 1 small yellow squash or zucchini, cut into half-moons
- Optional: ¼ cup crumbled feta cheese
- Optional: ¼ cup sliced black olives
- Optional: 1 small packet whole wheat pita chips
Instructions
- Wash all vegetables thoroughly and dry them completely using a clean kitchen towel or paper towels to prevent sogginess.
- Cut the cucumber into ¼-inch thick sticks, bell pepper into strips, carrots into sticks, and yellow squash into half-moons or rounds.
- If the hummus is thick, stir it with a spoon to loosen it. Drizzle with olive oil if desired and stir to combine.
- Scoop the hummus into the largest compartment of a bento box or divided container, flattening the top with the back of a spoon.
- Pack sturdy vegetables (carrots, cucumbers) tightly into the container first.
- Add softer vegetables (bell peppers, squash) and tuck cherry tomatoes into the gaps to distribute colors evenly.
- If using optional add-ins like feta or olives, sprinkle them on top of the hummus.
- Seal the container tightly and store in the refrigerator until ready to pack.
- For school or travel, place the box in a lunch bag with an ice pack to keep the hummus cold and veggies crisp.
Notes
Ensure vegetables are completely dry before packing to maintain crunch and prevent sogginess. Hummus should be kept cold with an ice pack. These boxes are best eaten within 24 hours for maximum freshness, though they can last up to 3 days in the fridge. Do not freeze as vegetables will become mushy.
- Prep Time: 5 minutes
- Cook Time: 0 minutes
- Category: Snack
- Cuisine: Mediterranean
Nutrition
- Serving Size: 1 snack box
- Calories: 175
- Sugar: 6
- Sodium: 250
- Fat: 9
- Saturated Fat: 2
- Carbohydrates: 17
- Fiber: 6
- Protein: 7
Keywords: hummus snack, veggie box, kid-friendly snacks, healthy lunch, no-cook recipes, bento box, gluten-free snack, dairy-free snack



