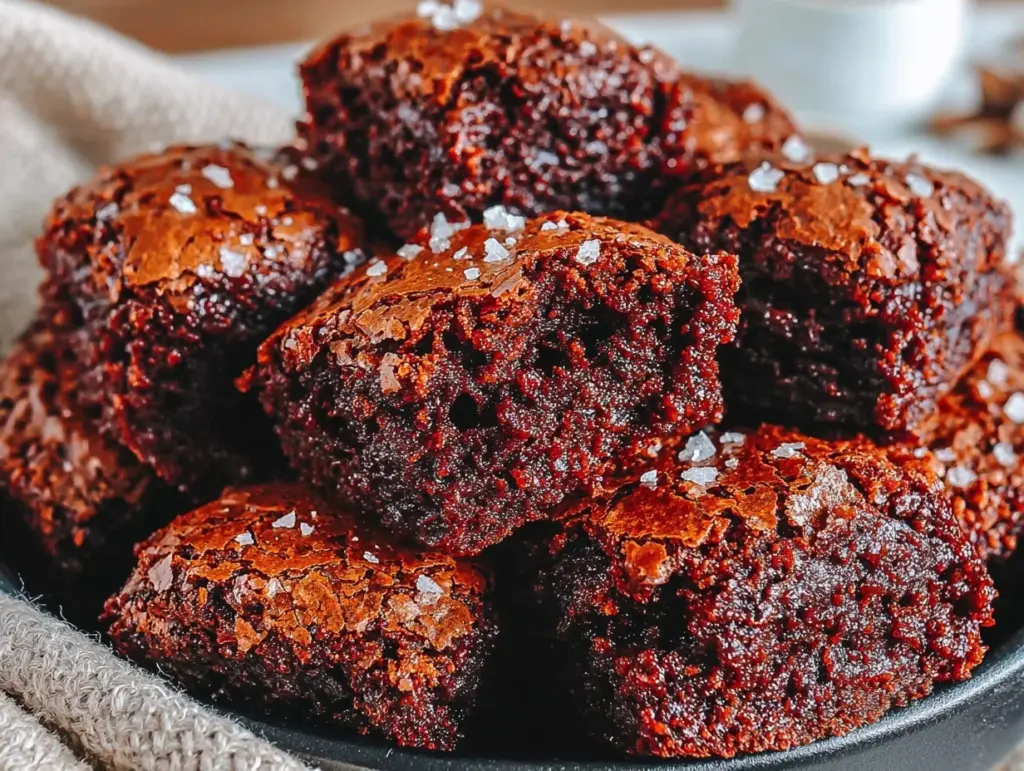
There is a specific kind of shame that comes with scraping burnt chocolate out of a non-stick pan at 11 PM on a Tuesday. I’ve been there. I’ve stared at those shiny, crackly brownie tops that looked like they belonged in a bakery window, only to realize I’d overmixed the batter or used the wrong kind of chocolate. The result? Dense, cakey, and frankly, boring. Not the fudgy, gooey, rich squares we all crave.
That was me, three years ago. I was trying to make a small batch of brownies for a friend who was visiting, and I wanted them to be perfect. I wanted that signature shiny, foil-like crust that cracks when you break the square. Instead, I got a sad, matte disk of chocolate dough. It tasted okay, sure, but it didn’t feel special.
So I went back to the drawing board. I tested every trick I could find online, read a dozen blogs, and even watched a few videos from people who seem to have magic hands. And here’s the thing: the secret isn’t a fancy ingredient or a complicated technique. It’s chemistry. Specifically, the way sugar interacts with butter and eggs under heat.
After about ten failed attempts (yes, ten. My husband thought I was losing my mind), I finally nailed it. This small batch fudgy brownies with shiny crackly tops recipe is the one. It’s forgiving. It’s simple. You really can’t mess it up if you follow the steps. It’s the kind of dessert that makes you look like a pro baker, even if you’ve never baked anything more complex than a microwave mug cake. If you can only make one thing this weekend, let it be these. They’re the only brownies I’ll ever make again.
Why You’ll Love This Small Batch Fudgy Brownies with Shiny Crackly Tops
I know, I know. There are a million brownie recipes out there. Why this one? Because it solves the two biggest brownie problems: being too big for one person and looking like a brick.
- Actually Small Batch — Most “small batch” recipes still make 8-9 squares. This makes 4 perfect, thick, gooey squares. Enough for two people, or a very serious solo indulgence. No wasted batter, no leftover crumbs drying out in the fridge.
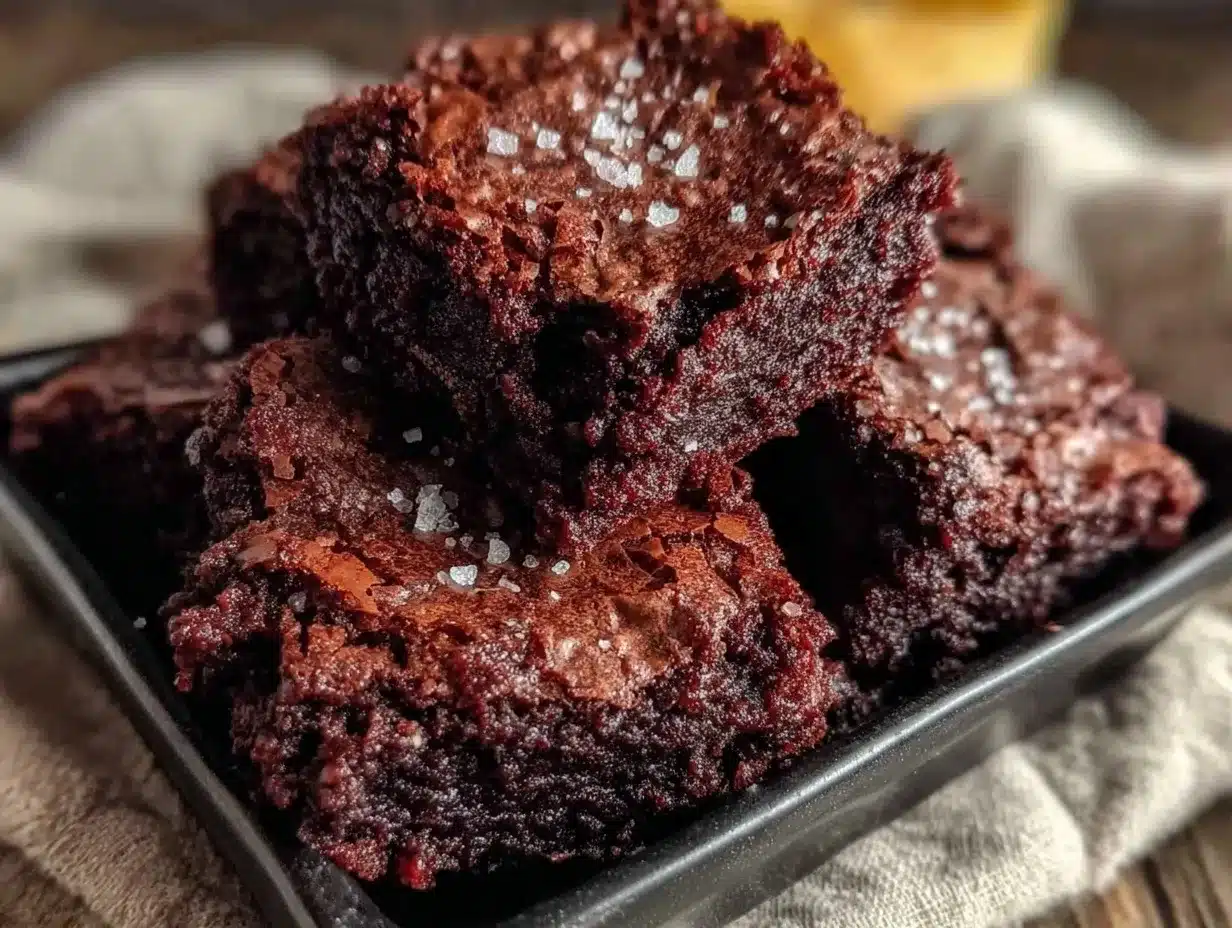
- The Crackly Top is Real — I’m not exaggerating. These come out with that glossy, crinkly surface that makes you want to touch them. It’s not just for show; it signals that the interior is properly fudgy.
- Fudgy, Not Cakey — This is the golden rule. No dry edges, no spongy texture. Just dense, rich chocolate that melts in your mouth. It’s the difference between a brownie and a dessert.
- One Bowl — Seriously. One bowl. One spoon. No mixer required. You don’t need fancy equipment or a clean kitchen. Just melt, mix, bake, eat.
- Beginner Proof — I’ve made these for my niece who is just learning to cook. She didn’t burn them. She didn’t undercook them. She made perfect brownies. If she can do it, you can too.
These are my go-to when I need a quick treat that feels luxurious. They’re better than the ultra gooey chocolate chip cookie bars because they’re richer and more intense. They’re easier than the homemade chocolate fudge because you don’t need a candy thermometer. Just simple, honest chocolate goodness.
Ingredients You’ll Need
Here’s the best part: you probably have most of these in your pantry. This isn’t a recipe that requires a trip to the grocery store for obscure items. It’s minimal, which means it’s forgiving.
The Basics (The Good Stuff)
Unsalted Butter (4 tablespoons / 57g) — This is your fat base. I use unsalted because it gives you control over the saltiness. Don’t use margarine. Don’t use oil. Butter tastes better and creates that rich texture. Melt it in the microwave or on the stove. It doesn’t need to be browned, just melted.
Semi-Sweet Chocolate Chips (½ cup / 85g) — Here’s my honest opinion: use good quality chips. Ghirardelli or Lindt work great. Cheap chips with weird waxy coatings can make the brownies grainy. You want chocolate that melts smoothly. If you don’t have chips, chop up a chocolate bar. Same thing.
Granulated Sugar (½ cup / 100g) — This is crucial for the crackly top. The sugar needs to dissolve into the melted butter and eggs to create that shiny crust. Don’t use brown sugar if you want that specific crackly texture; it makes them chewier but matte. White sugar is your friend here.
Egg (1 large) — Room temperature is best, but cold works if you’re in a hurry. Just give it a quick whisk. The egg binds everything together and adds structure. One egg is perfect for this small batch.
Vanilla Extract (1 teaspoon) — Pure vanilla, please. The fake stuff tastes chemical. It enhances the chocolate flavor without overpowering it.
The Dry Stuff
All-Purpose Flour (¼ cup / 30g) — Just a little bit. This isn’t a cake. We want fudgy, so we use minimal flour. Sift it if you can, but honestly, I just whisk it in. Don’t overmeasure. If you pack the flour, you’ll get dry brownies. Spoon it into the cup and level it off.
Cocoa Powder (2 tablespoons / 10g) — Unsweetened cocoa powder adds that deep chocolate flavor. Use regular unsweetened cocoa, not Dutch-processed unless you like things extra dark. It balances the sweetness of the sugar.
Salt (¼ teaspoon) — Salt is the secret ingredient. It makes the chocolate taste more like chocolate. Don’t skip it. If you use salted butter, reduce this to a pinch.
Optional: Chocolate Chips (2 tablespoons) — I like to fold in a few extra chips for pockets of melted chocolate. It’s like getting a little bonus in every bite.
Equipment Needed
You don’t need much. I promise. Here’s what I actually use.
- Small Saucepan or Microwave-Safe Bowl — For melting the butter and chocolate. A glass bowl works great in the microwave. If using a pan, keep the heat low so you don’t burn the chocolate.
- Mixing Bowl — A small bowl is perfect. Just big enough to hold the batter.
- Fork or Whisk — You don’t need an electric mixer. A fork works fine for mixing this by hand. It’s part of the charm.
- 4×4 Inch Pan (or similar small square pan) — This is key for the “small batch” aspect. If you don’t have one, use a small round cake pan or even a ramekin. Just adjust the baking time slightly.
- Parchment Paper — Line your pan. It makes cleanup effortless and ensures the brownies don’t stick. Trust me on this.
That’s it. No stand mixer, no food processor, no fancy pans. Just basic kitchen tools.
How to Make It: Step-by-Step
Alright, let’s make these. I’m walking you through exactly how I do it, including the little tricks that make the difference between good and great.
Step 1: Prep Your Pan and Oven
Preheat your oven to 350°F (175°C). Line your 4×4 inch pan with parchment paper, leaving a little overhang on the sides. This is your “handle” for lifting the brownies out later. It’s a game-changer for clean removal.
Step 2: Melt the Butter and Chocolate
In your saucepan or microwave-safe bowl, combine the melted butter and chocolate chips. Heat in 30-second intervals in the microwave, stirring in between, until smooth. If using a pan, melt over low heat, stirring constantly. The mixture should be glossy and smooth. Don’t rush this. If the chocolate is lumpy, the brownies won’t be fudgy.
Step 3: Whisk in the Sugar
This is the most important step for the crackly top. Add the granulated sugar to the warm chocolate mixture. Whisk vigorously for about 1-2 minutes. You want the sugar to dissolve into the fat. The mixture will look shiny and slightly thicker. This is what creates that foil-like crust. If you skip this whisking, you’ll get a matte top.
Step 4: Add the Egg and Vanilla
Crack the egg into the bowl. Add the vanilla extract. Whisk again until the mixture is uniform and glossy. It might look a little separated at first, but keep whisking. It will come together. The mixture should be dark, shiny, and smell incredible.
Step 5: Fold in the Dry Ingredients
Add the flour, cocoa powder, and salt. Use a fork or spatula to gently fold them in. Stop as soon as the flour disappears. Do not overmix. Overmixing develops gluten, which makes brownies cakey. We want fudgy, so gentle folds only. If you want extra chocolate chips, fold them in now.
Step 6: Bake
Pour the batter into your prepared pan. Smooth the top with a spatula. Bake for 18-22 minutes. Here’s the trick: you want the edges to be set, but the center to still look slightly underdone. It should jiggle just a little when you shake the pan. It will continue to cook as it cools. If you bake it until it’s firm in the center, it will be dry.
Step 7: Cool and Serve
Let the brownies cool in the pan for at least 10 minutes. This is hard, I know. But cutting them hot will make them crumble. Once they’re cool enough to handle, lift them out using the parchment paper. Cut into 4 squares. Enjoy immediately. Or save them for later (though I doubt you will).
Expert Tips & Tricks
Here’s everything I’ve learned from making this dozens of times. These tips will save you from my mistakes.
Don’t Overbake — This is the #1 mistake. Brownies continue to cook on the hot pan after you take them out of the oven. If they look done, they’re done. A moist center is your friend. It means fudgy interior.
Whisk the Sugar Well — I cannot stress this enough. The crackly top comes from the sugar dissolving into the butter and egg. If you don’t whisk enough, you won’t get the shine. Take the extra minute.
Use Good Chocolate — I know it’s more expensive, but it tastes different. Cheap chocolate has more stabilizers and less cocoa butter. It doesn’t melt the same way. Your taste buds will notice.
Room Temperature Egg — If your egg is cold, it can seize the chocolate mixture. Let it sit out for 15 minutes before you start. It helps the batter emulsify better.
Check Early — Ovens vary. Check your brownies at 18 minutes. If they’re set, take them out. If they’re still wet, give them 2 more minutes. Better to slightly underbake than overbake.
Variations & Substitutions
Once you’ve nailed the basic version, here’s how you can mix it up. I’ve tried all of these.
Chocolate Chip Explosion — Add an extra ¼ cup of chocolate chips. Or use a mix of dark and milk chocolate chips for different flavor profiles.
Nutty Brownies — Fold in ¼ cup of chopped walnuts or pecans. It adds crunch and balances the sweetness. My husband loves this version.
Espresso Brownies — Add 1 teaspoon of instant espresso powder to the dry ingredients. It enhances the chocolate flavor without making them taste like coffee. Just a hint.
Gluten-Free — Use a 1:1 gluten-free flour blend. The texture will be slightly different, but still fudgy. I’ve used Bob’s Red Mill and it works well.
Dairy-Free — Use coconut oil instead of butter and dairy-free chocolate chips. The texture will be slightly softer, but still delicious.
Double Chocolate — Add an extra tablespoon of cocoa powder. For serious chocolate lovers.
If you like these, you might also enjoy the sugar-free vanilla almond butter cookies for a different kind of sweet treat, or the chocolate zucchini cake if you want something a bit more substantial.
Serving & Storage
How to Serve:
I usually serve these warm, straight out of the pan. They’re best with a cold glass of milk or a cup of coffee. You can also serve them with a dollop of whipped cream or a scoop of vanilla ice cream. But honestly, they’re perfect on their own.
Storage:
Store leftovers in an airtight container at room temperature for up to 3 days. They’ll stay fudgy if you keep them sealed. If they start to dry out, microwave a square for 10 seconds. It brings back the gooeyness.
Freezing:
You can freeze these brownies. Wrap them individually in plastic wrap, then put them in a freezer bag. They’ll last for up to 2 months. Thaw at room temperature before eating. They freeze surprisingly well because of the high fat content.
Pro Tip:
If you’re making these for a gift, let them cool completely, then wrap them tightly in plastic wrap and put them in a small box. Add a note about letting them sit for 10 minutes after baking for best texture. It shows you care.
Nutrition Information
I’m not a nutritionist, but here’s the breakdown if you’re tracking. Keep in mind, this is an estimate.
Per Serving (1 square, based on 4 servings):
| Nutrient | Amount |
|---|---|
| Calories | 280 |
| Fat | 16g |
| Saturated Fat | 9g |
| Carbs | 32g |
| Fiber | 2g |
| Sugar | 24g |
| Protein | 3g |
| Sodium | 120mg |
Look, this is a dessert. It’s rich, it’s sweet, and it’s made with butter and sugar. It’s not a health food. But it’s better than store-bought brownies, which are often full of preservatives and weird ingredients. When I make these, I know exactly what’s in them. And I know they’re worth the calories. Enjoy them mindfully. They’re a treat, not a meal.
Final Thoughts
So that’s my small batch fudgy brownies with shiny crackly tops. I’ve probably talked your ear off at this point, but when you make a recipe this often, you have a lot to say about it.
This has saved my dessert game more times than I can count. It’s my answer to “I want something sweet” when I don’t want to order takeout or make a huge mess. My kids love them, my husband loves them, and I love them because they’re easy. They’re the perfect balance of simple and impressive.
Make them your own. Add nuts, add chips, add espresso. The base recipe is forgiving, so don’t be afraid to experiment. The best recipes are the ones you adapt to your tastes. And if you make these, drop a comment and let me know what you think! I love hearing how recipes turn out in your kitchen. And if something doesn’t work, tell me that too—I’m here to help troubleshoot.
Happy baking! And I hope your kitchen smells half as good as mine does right now.
Frequently Asked Questions
Can I use dark chocolate instead of semi-sweet?
Yes! I often use 60% dark chocolate chips. They make the brownies less sweet and more intense. If you use very dark chocolate (80% or higher), you might want to add a tablespoon more sugar to balance the bitterness. It’s a matter of preference.
Why didn’t my brownies get a crackly top?
This usually happens if you didn’t whisk the sugar into the melted butter/egg mixture long enough. The sugar needs to dissolve completely to create that shiny crust. Also, if you overbaked them, the top might dry out and lose its shine. Try whisking for a full 2 minutes next time.
Can I double this recipe?
Absolutely. Just double the ingredients and use an 8×8 inch pan. The baking time will increase to about 25-30 minutes. Check them at 25 minutes to make sure they don’t overbake. The same rules apply: slightly underdone is better than dry.
Can I make these in a microwave?
You can make a single-serving mug brownie in the microwave, but the texture will be different. It will be more cake-like and less fudgy. For the best crackly top and fudgy center, the oven is the way to go. But if you’re in a hurry, a mug brownie works in a pinch.
How do I know when they’re done?
Insert a toothpick into the center. It should come out with a few moist crumbs attached, but not wet batter. If it comes out clean, they’re overbaked. If it comes out with wet batter, they need more time. A few moist crumbs is the sweet spot.
Can I use cocoa powder instead of chocolate chips?
If you use cocoa powder, you’ll need to adjust the recipe. You’ll need more butter and sugar to compensate for the lack of fat in the cocoa. This recipe is specifically designed for chocolate chips. If you want to use cocoa powder, look for a cocoa-based brownie recipe instead.
Why are my brownies cakey?
Cakey brownies usually result from overmixing the flour or using too much flour. Remember, we want fudgy, so fold the flour in gently and stop as soon as it disappears. Also, make sure you’re measuring the flour correctly. Spoon and level, don’t scoop and pack.
Pin This Recipe!
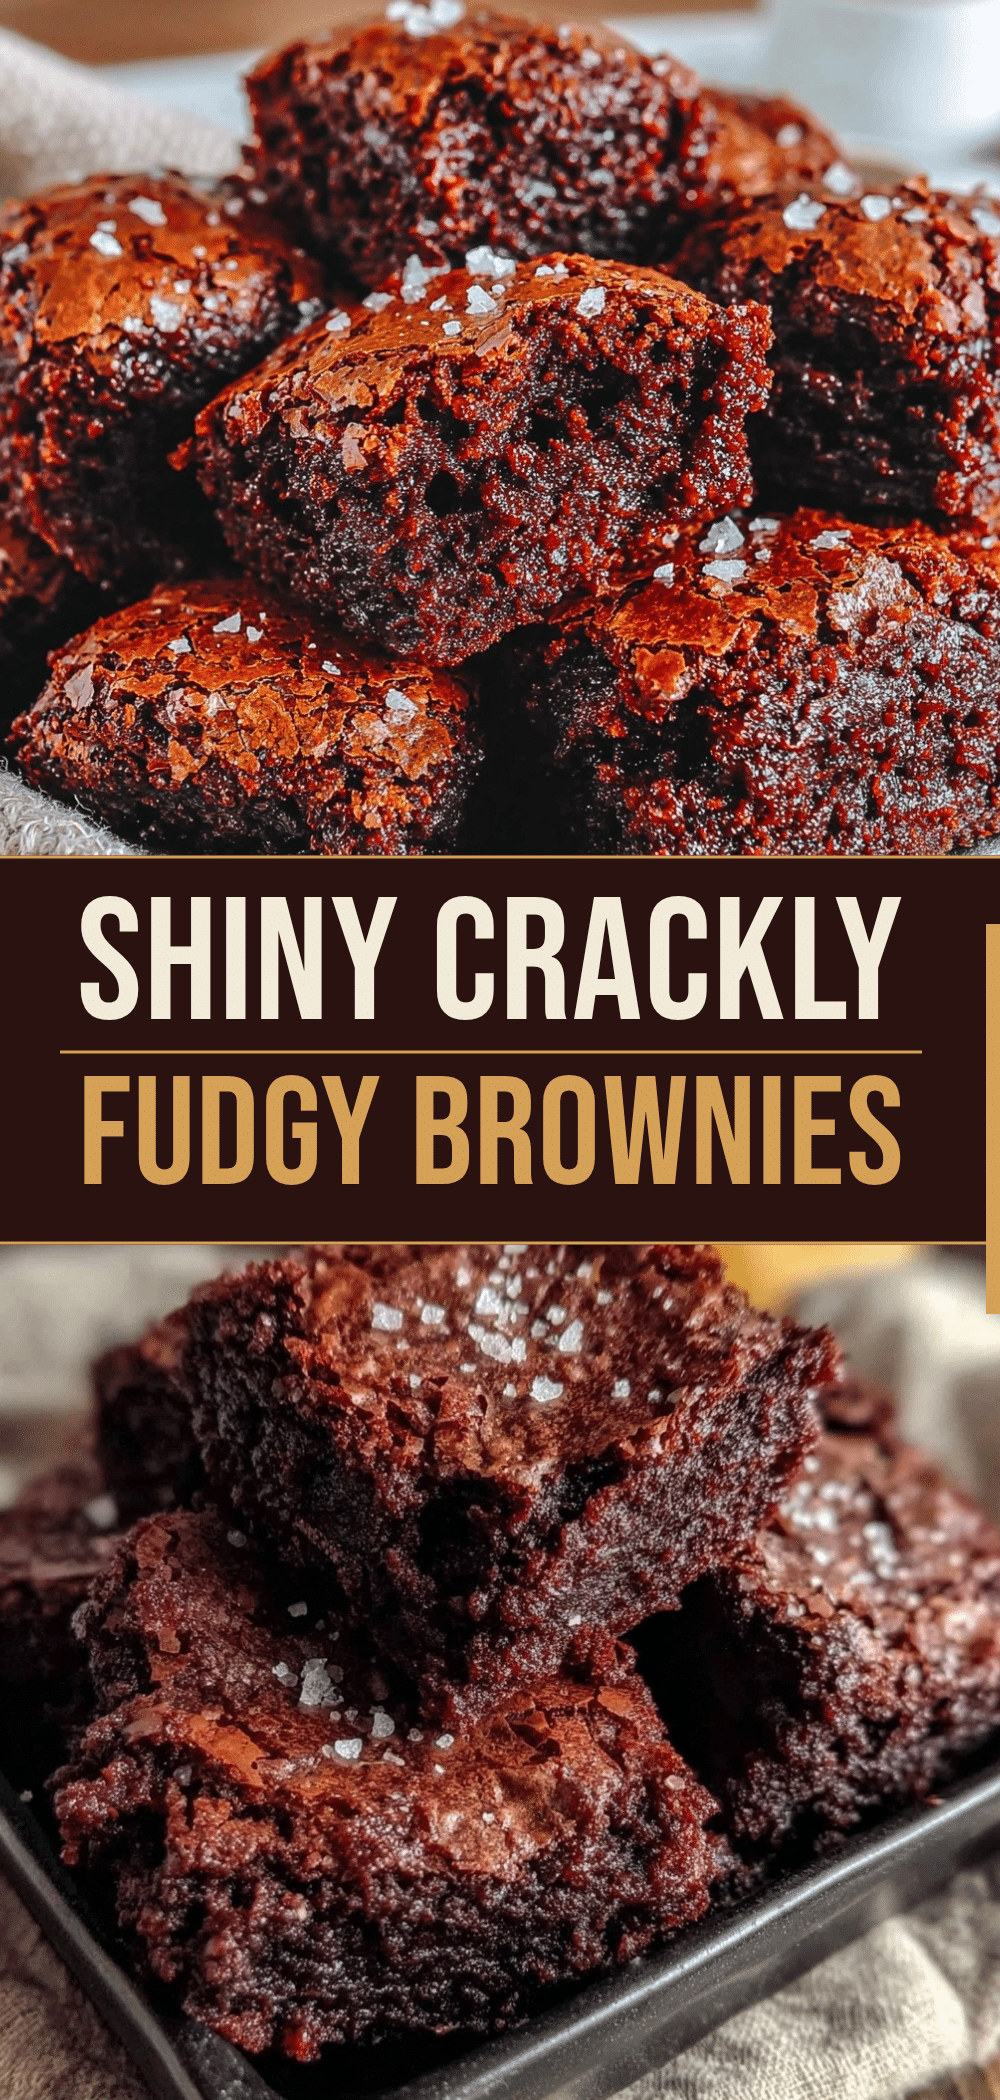
Small Batch Fudgy Brownies: Easy Crackly Top Recipe
- Total Time: 30 minutes
- Yield: 4 servings 1x
Description
These small batch fudgy brownies yield four perfect, thick squares with a signature shiny, crackly top. Made in one bowl with simple ingredients, they are dense, rich, and beginner-proof.
Ingredients
- 4 tablespoons (57g) unsalted butter
- ½ cup (85g) semi-sweet chocolate chips
- ½ cup (100g) granulated sugar
- 1 large egg, room temperature
- 1 teaspoon vanilla extract
- ¼ cup (30g) all-purpose flour
- 2 tablespoons (10g) unsweetened cocoa powder
- ¼ teaspoon salt
- 2 tablespoons chocolate chips (optional, for folding in)
Instructions
- Preheat oven to 350°F (175°C). Line a 4×4 inch pan with parchment paper, leaving an overhang on the sides.
- Melt the butter and chocolate chips together in a microwave-safe bowl or saucepan over low heat until smooth and glossy.
- Add the granulated sugar to the warm chocolate mixture and whisk vigorously for 1-2 minutes until the sugar dissolves and the mixture is shiny.
- Whisk in the egg and vanilla extract until the mixture is uniform, dark, and glossy.
- Gently fold in the flour, cocoa powder, and salt using a fork or spatula. Stop as soon as the flour disappears to avoid overmixing. Fold in optional extra chocolate chips if using.
- Pour the batter into the prepared pan and smooth the top.
- Bake for 18-22 minutes. The edges should be set, but the center should still look slightly underdone and jiggle slightly.
- Let the brownies cool in the pan for at least 10 minutes before lifting them out using the parchment paper and cutting into 4 squares.
Notes
Do not overbake; brownies continue to cook on the hot pan after removal. Whisk the sugar vigorously to ensure a crackly top. Use room temperature eggs to help the batter emulsify. For gluten-free, use a 1:1 gluten-free flour blend. For dairy-free, substitute butter with coconut oil and use dairy-free chocolate chips.
- Prep Time: 10 minutes
- Cook Time: 20 minutes
- Category: Dessert
- Cuisine: American
Nutrition
- Serving Size: 1 square
- Calories: 280
- Sugar: 24
- Sodium: 120
- Fat: 16
- Saturated Fat: 9
- Carbohydrates: 32
- Fiber: 2
- Protein: 3
Keywords: small batch brownies, fudgy brownies, crackly top brownies, easy brownie recipe, one bowl brownies, beginner baking



