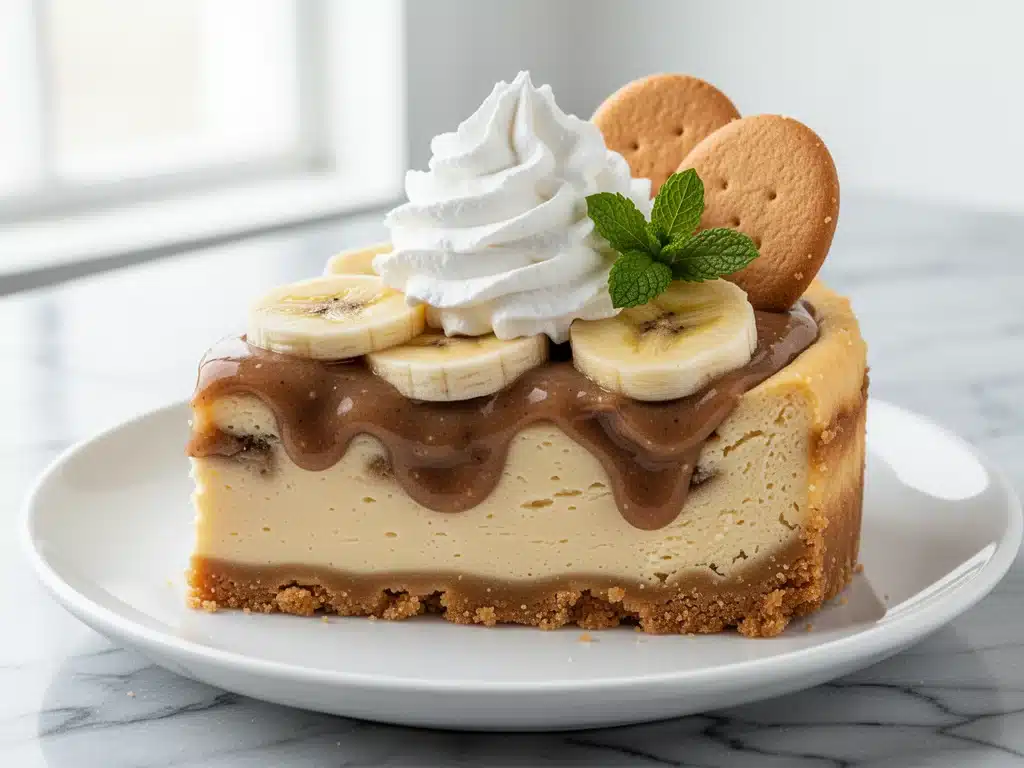
It was the third time I made this Southern Banana Pudding Cheesecake in a single week, and my husband finally stopped asking if I was running a bakery out of our kitchen. He just pointed at the empty springform pan and said, “Do it again. But maybe buy two boxes of vanilla wafers this time.” That’s when I knew I had something special. I’ve always loved the individual components—the creamy, dreamy banana pudding and the rich, tangy cheesecake—but combining them felt like a gamble. Would the bananas get mushy? Would the layers separate? Would it be too sweet?
Turns out, it’s the best of both worlds. This Southern Banana Pudding Cheesecake with Vanilla Wafer Crust is the ultimate comfort dessert. It takes all the nostalgia of a classic Southern dessert and elevates it into something that looks fancy enough for a dinner party but tastes like a hug from your grandma. I’ve tested this recipe about ten times, tweaking the ratios of cream cheese to pudding mix until I got that perfect balance of tangy richness and sweet, creamy banana goodness. The result is a three-layer masterpiece that sits in your fridge for days (if you can keep your hands off it) and brings everyone to the table.
There’s something magical about how the textures work together. You get the crunch of the vanilla wafer crust, the dense, smooth cheesecake layer, and then the soft, whipped pudding and banana topping that just melts on your tongue. It’s not just a dessert; it’s an experience. And the best part? You don’t need to be a professional baker to pull this off. I’m going to walk you through exactly how I make it, including the little tricks that keep the bananas from turning brown and the cheesecake from cracking. Let’s get into it.
Why You’ll Love This Recipe
There are plenty of cheesecakes out there, and plenty of banana puddings too. But this Southern Banana Pudding Cheesecake with Vanilla Wafer Crust? It’s a game-changer. Here’s why it’s become my absolute favorite dessert to make and share:
- Nostalgia on a Plate — It tastes like summer in the South. Every bite reminds me of porch sitting and family gatherings. My kids, who usually prefer chocolate, actually asked for this. That’s a win in my book.
- No-Bake Option Available — Well, sort of. The cheesecake layer is baked, but it’s a gentle bake. If you want to skip the oven entirely, I’ll show you how to make a fully no-bake version that still sets up perfectly. It’s great for hot summer days when you don’t want to heat up the kitchen.
- Make-Ahead Friendly — This dessert actually gets better the next day. The flavors meld together, the crust softens just enough, and the pudding sets into a beautiful, firm layer. I love making this the night before a party because it’s stress-free.
- Crowd-Pleasing Texture — The contrast is everything. Crunchy crust, creamy cheesecake, fluffy pudding, soft bananas. It’s a textural dream. People ask for the recipe every single time I serve it.
- Simple Ingredients — You probably have most of this already. Cream cheese, vanilla wafers, bananas, instant pudding mix. It’s accessible, affordable, and delicious.
This is my go-to when I need to impress without spending hours in the kitchen. It’s reliable, it’s delicious, and it’s guaranteed to disappear.
Ingredients You’ll Need
Here’s the best part: you don’t need anything fancy or hard to find. This Southern Banana Pudding Cheesecake with Vanilla Wafer Crust relies on quality basics and a few key choices that make a huge difference. I’m particular about three things here: the bananas, the pudding mix, and the cream cheese. Let’s break it down.
For the Vanilla Wafer Crust
Vanilla wafers (2 cups / about 200g, crushed) — I use Nilla Wafers. They’re the classic for a reason. You can use vanilla sandwich cookies, but they’re sweeter and might overpower the crust. If you crush them by hand, you’ll get chunkier pieces, which I like. If you pulse them in a food processor, you get a finer, sandier crust. Both work.
Unsalted butter (6 tablespoons / 85g, melted) — Use real butter. Margarine makes the crust soggy and lacks flavor. Melt it completely so it binds the crumbs evenly.
Granulated sugar (2 tablespoons / 25g) — Just a little bit to sweeten the crust. Don’t skip it; it helps the crust crisp up slightly.
Salt (¼ teaspoon) — A pinch of salt balances the sweetness and brings out the vanilla flavor. Don’t leave this out.
For the Cheesecake Layer
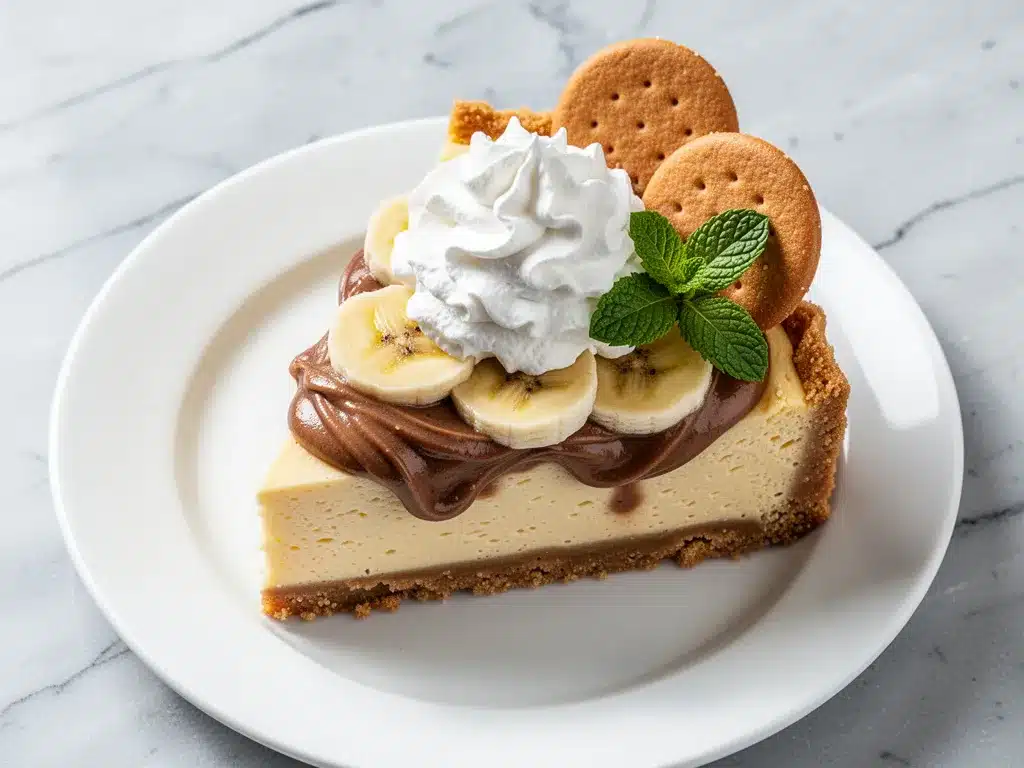
Cream cheese (24 ounces / 680g, full-fat, softened) — This is crucial. It must be full-fat and softened to room temperature. If it’s cold, you’ll get lumps. If you use light cream cheese, the texture will be watery and tangy in a bad way. I buy the big blocks and let them sit on the counter for an hour before I start.
Granulated sugar (¾ cup / 150g) — Standard amount for sweetness. If you prefer less sweet, you can reduce to ½ cup, but I like it balanced against the tartness of the cream cheese.
Vanilla extract (1 tablespoon / 15ml) — Use real vanilla extract, not imitation. The flavor is so prominent here that fake vanilla will taste chemical. If you have vanilla bean paste, even better.
Eggs (3 large, room temperature) — Room temp eggs emulsify better into the batter. Cold eggs can cause the mixture to split. Crack them out in the morning if you forget the night before.
Sour cream (½ cup / 120g) — This adds tang and keeps the cheesecake moist. It also helps prevent cracking. Full-fat sour cream is best.
For the Banana Pudding Topping
Instant vanilla pudding mix (2 boxes / 5.1 oz each) — I use Jell-O brand. It’s the standard. Some people make pudding from scratch, but for this dessert, the instant mix gives that classic, light, airy texture that contrasts with the dense cheesecake. Don’t use the “fast set” version if you can avoid it; regular instant works best.
Whole milk (4 cups / 960ml, cold) — Cold milk is essential for instant pudding. It helps the mix dissolve smoothly without clumps. If your milk is warm, the pudding will be runny.
Heavy whipping cream (2 cups / 480ml, cold) — This is what makes the pudding fluffy. You’ll whip this separately and fold it into the pudding. Don’t use light cream; it won’t hold peaks.
Fresh bananas (4 large, sliced) — This is the star. Use bananas that are ripe but still firm. If they’re too brown and mushy, they’ll turn to sludge. If they’re too green, they’ll be starchy and bland. Look for bright yellow with a few brown spots.
Vanilla wafers (1 sleeve / about 50 cookies) — For layering between the pudding and bananas. This adds structure and crunch. If you run out, you can skip this layer, but it’s worth it.
Lemon juice (1 teaspoon) — Optional, but I always add this to the sliced bananas. It prevents browning and adds a tiny hint of brightness that cuts through the sweetness.
Equipment Needed
You don’t need a fancy kitchen for this. Here’s what I actually use:
9-inch springform pan — Essential for cheesecakes. The sides come off, making it easy to remove the cake without damaging it. Make sure the bottom is tight; I sometimes wrap the outside in foil just in case.
Food processor or zip-top bag — For crushing the vanilla wafers. If you don’t have a processor, put the cookies in a bag and crush them with a rolling pin. It’s a workout, but it works.
Electric mixer — Stand mixer or hand mixer. You need to beat the cream cheese until it’s perfectly smooth. Doing this by hand is possible but painful. I won’t lie, my arm gets tired.
Large mixing bowls — You’ll need two large bowls: one for the cheesecake batter and one for whipping the cream. Make sure they’re clean and dry, especially for whipping cream.
Whisk — For mixing the pudding. A whisk works better than a spoon to avoid lumps.
Offset spatula — For spreading the layers evenly. A regular spatula works too, but an offset gives you better control.
Refrigerator — Yes, really. This dessert needs time to set. Plan ahead.
How to Make It: Step-by-Step
Alright, let’s make this Southern Banana Pudding Cheesecake with Vanilla Wafer Crust! I’m walking you through exactly how I do it, including the little tricks I’ve picked up over the years.
Step 1: Prepare the Crust (10 minutes)
Preheat your oven to 325°F (160°C). Take your vanilla wafers and crush them until they resemble fine sand. If you like chunks, leave some larger pieces. Put the crumbs in a bowl and add the melted butter, sugar, and salt. Mix until it looks like wet sand. Press this mixture firmly into the bottom of your springform pan. Use the bottom of a glass to pack it down tight. A loose crust means a messy slice. Bake for 8-10 minutes until it smells toasted. Let it cool completely. While it cools, you can start the cheesecake.
Step 2: Make the Cheesecake Batter (15 minutes)
In a large bowl, beat the softened cream cheese on medium-high speed until it’s completely smooth and creamy. This takes about 3-4 minutes. Scrape down the sides of the bowl. Add the sugar and vanilla extract. Beat until combined. Add the sour cream and mix on low speed just until incorporated. Finally, add the eggs one at a time, mixing on low speed after each addition. Do not overmix once the eggs are in, or you’ll incorporate too much air, which can cause cracking. Pour the batter over the cooled crust.
Step 3: Bake the Cheesecake (45-50 minutes)
Place the springform pan in the oven. Bake at 325°F for 45-50 minutes. The edges should be set, but the center should still jiggle slightly like Jell-O when you shake the pan. It will firm up as it cools. If the center looks wet, give it 5 more minutes. Remove from the oven and let it cool in the pan on a wire rack for 1 hour. This gradual cooling helps prevent cracks. Once cool, refrigerate for at least 2 hours, or preferably overnight. I know it’s hard to wait, but patience pays off.
Step 4: Make the Pudding Cream (10 minutes)
While the cheesecake chills, make the pudding. In a medium bowl, whisk together the dry pudding mix and cold milk for 2 minutes. Let it sit for 5 minutes to thicken. In a separate large bowl, whip the heavy cream until stiff peaks form. Gently fold the whipped cream into the thickened pudding. Use a spatula and fold carefully to keep the air in. You want a light, fluffy, marshmallow-like texture.
Step 5: Assemble the Dessert (15 minutes)
Take your chilled cheesecake out of the fridge. Slice your bananas and toss them with lemon juice. Now, the layering begins. Start with a layer of vanilla wafers on top of the cheesecake. Then, spread half of the pudding cream mixture over the wafers. Add a layer of sliced bananas. Repeat: more wafers, more pudding, more bananas. Top with a final layer of pudding and garnish with a whole vanilla wafer or a few banana slices on top. The visual is stunning.
Step 6: Chill and Serve
Place the assembled dessert in the fridge for at least 4 hours, or overnight. This allows the pudding to set and the flavors to meld. When you’re ready to serve, run a hot knife around the edge of the springform pan, unlock the sides, and remove them. Slice with a clean, sharp knife. Serve cold. Enjoy every creamy, crunchy bite.
Expert Tips & Tricks
Here’s everything I’ve learned from making this dessert dozens of times. These tips will save you from my mistakes.
Room Temperature is Key — I can’t stress this enough. Your cream cheese and eggs must be room temperature. Cold cream cheese creates lumps that you can’t beat out. Cold eggs can cause the batter to separate. Plan ahead and take them out 1-2 hours before you start.
Don’t Overmix the Batter — Once you add the eggs, mix on low speed just until combined. Overmixing adds air bubbles, which expand in the oven and then collapse, causing cracks. If you want a crack-free top, you can also bake it in a water bath, but for this recipe, gentle mixing is usually enough.
Use Firm Bananas — Ripe bananas are sweeter, but if they’re too soft, they’ll turn mushy in the fridge. Look for bananas that are yellow with just a few brown spots. Slice them right before assembling to prevent browning.
Fold, Don’t Stir — When combining the whipped cream and pudding, use a folding motion. Stirring vigorously will deflate the cream, and your topping will be dense and heavy instead of light and fluffy.
Let It Set — I know you want to eat it immediately, but this dessert needs time. The pudding needs to firm up, and the layers need to settle. If you cut it too soon, it will be messy. Aim for at least 4 hours of chilling, but overnight is best.
Storage Tip — This dessert keeps well in the fridge for up to 5 days. Cover it tightly with plastic wrap or foil. Do not freeze it. The bananas will turn brown and mushy, and the texture of the cheesecake will change. Make it fresh or store it in the fridge.
Variations & Substitutions
Once you’ve nailed the basic version, here’s how you can mix it up. I’ve tried all of these.
Chocolate Version — Swap the vanilla pudding for chocolate pudding mix. Use chocolate sandwich cookies for the crust. It’s a decadent twist that kids love.
Strawberry Banana — Add a layer of sliced strawberries between the banana and pudding layers. The tartness of the strawberries balances the sweetness perfectly. It’s like a strawberry shortcake meets banana pudding.
Graham Cracker Crust — If you’re out of vanilla wafers, you can use graham crackers for the crust. It’s a bit more buttery and less sweet, which works well.
Lighter Version — Use light cream cheese and low-fat milk for the pudding. You’ll need to add a bit more gelatin to the pudding to help it set, as low-fat milk doesn’t thicken as well. The texture will be lighter but still tasty.
No-Bake Cheesecake — Skip the baking step entirely. Use 2 cups of whipped cream in the cheesecake layer instead of eggs and sour cream. Chill the crust, then spread the no-bake cheesecake layer, and proceed with the pudding topping. This is great for hot weather.
Gluten-Free — Use gluten-free vanilla wafers and gluten-free pudding mix. Most pudding mixes are naturally gluten-free, but check the label. The rest of the ingredients are naturally gluten-free.
Serving & Storage
How to Serve: I usually serve this straight from the springform pan. It looks rustic and beautiful. But here are other ways I’ve enjoyed it:
- Side Dishes: This is a dessert, so it doesn’t need sides. But if you’re serving it after a meal, a simple green salad with a light vinaigrette can cut through the richness.
- Toppings: I like to keep it simple. Maybe a drizzle of caramel sauce or a sprinkle of crushed vanilla wafers on top. Fresh mint leaves add a nice pop of color.
- Wine Pairing: Not a wine expert, but a sweet dessert wine like Moscato or a late-harvest Riesling pairs beautifully with this. The acidity cuts through the creaminess.
Storage Instructions:
Refrigerator: Store in an airtight container or covered tightly with plastic wrap for up to 5 days. The pudding may release a little liquid over time, which is normal. Just stir it gently before serving if needed.
Reheating: Do not reheat this dessert. It’s meant to be eaten cold. Reheating will melt the pudding and make the bananas mushy.
Freezing: I don’t recommend freezing this dessert. The bananas will turn brown and watery, and the texture of the cheesecake will become grainy. It’s best enjoyed fresh from the fridge.
Pro tip: If you’re making this for a party, assemble it the night before. It’ll be set and ready to go, and the flavors will have time to meld. It’s a huge time-saver on the day of the event.
Nutrition Information
I’m not a nutritionist, but here’s the breakdown if you’re tracking. This is a rich, indulgent dessert, so portion control is key.
Per Serving (based on 12 servings):
- Calories: 450
- Protein: 6g
- Carbs: 52g
- Fiber: 1g
- Sugar: 38g
- Fat: 24g
- Saturated Fat: 14g
- Cholesterol: 75mg
- Sodium: 320mg
What’s Good: It’s a good source of calcium from the cheese and milk. The bananas add some potassium.
What to Know: It’s high in sugar and saturated fat due to the cream cheese, pudding mix, and heavy cream. If you’re watching your sugar intake, consider using a sugar-free pudding mix and reducing the sugar in the cheesecake layer.
My Take: Look, this is comfort food. It’s sweet, creamy, and delicious. It’s not a diet recipe. But it’s way better than store-bought desserts, and you know exactly what’s in it. When I make it, I enjoy a small slice and savor every bite. Balance is everything.
Final Thoughts
So that’s my Southern Banana Pudding Cheesecake with Vanilla Wafer Crust! I’ve probably talked your ear off at this point, but when you make a recipe this often, you have a lot to say about it.
This has saved holiday dinners more times than I can count. It’s my answer to “what’s for dessert” when I want something that tastes amazing but doesn’t require a degree in baking. My family is happy, my guests are happy, and I’m happy because I’m not stressed about cooking.
Make it yours! Try different fruit additions, swap in your favorite cookies, or adjust the sweetness to your taste. The best recipes are the ones you adapt to your family’s tastes. If you make this, drop a comment and let me know what you think! I love hearing how recipes turn out in your kitchen. And if something doesn’t work, tell me that too—I’m here to help troubleshoot.
Happy cooking! And I hope your kitchen smells half as good as mine does right now.
Frequently Asked Questions
Q: Can I use frozen bananas?
A: I don’t recommend it. Frozen bananas release a lot of water when they thaw, which can make your pudding runny and your dessert watery. Fresh bananas are best. If you must use frozen, thaw them completely and pat them dry with paper towels, but the texture won’t be ideal.
Q: Why did my cheesecake crack?
A: Cracking is usually caused by overmixing the batter (which incorporates too much air) or baking it at too high a temperature. Make sure to mix the eggs on low speed and bake at 325°F. Also, let the cheesecake cool gradually in the oven with the door slightly ajar for the first hour.
Q: Can I make this without a springform pan?
A: It’s difficult. A springform pan is essential for removing the cake cleanly. If you don’t have one, you can bake the cheesecake layer in a regular 9-inch round cake pan, but you’ll need to invert it onto a plate to remove it, which might damage the structure. I highly recommend getting a springform pan.
Q: How long does this dessert last?
A: It lasts up to 5 days in the refrigerator. After that, the bananas may start to brown and the texture may change. For best results, eat it within 3 days.
Q: Can I use Greek yogurt instead of sour cream?
A: You can, but it will change the texture. Greek yogurt is thicker and tangier. If you use it, you may need to add a splash of milk to thin the batter. The flavor will be slightly tangier, which some people like.
Q: Can I make this in a larger pan?
A: Yes, but you’ll need to adjust the baking time. If you use a 10-inch pan, the cheesecake layer will be thinner and bake faster. Check it 10 minutes early. If you use a smaller pan, it will be taller and take longer to bake.
Q: Is there a way to make this gluten-free?
A: Yes! Use gluten-free vanilla wafers and check your pudding mix label. Most instant pudding mixes are gluten-free, but some may contain wheat starch. Stick to certified gluten-free brands to be safe.
Pin This Recipe!
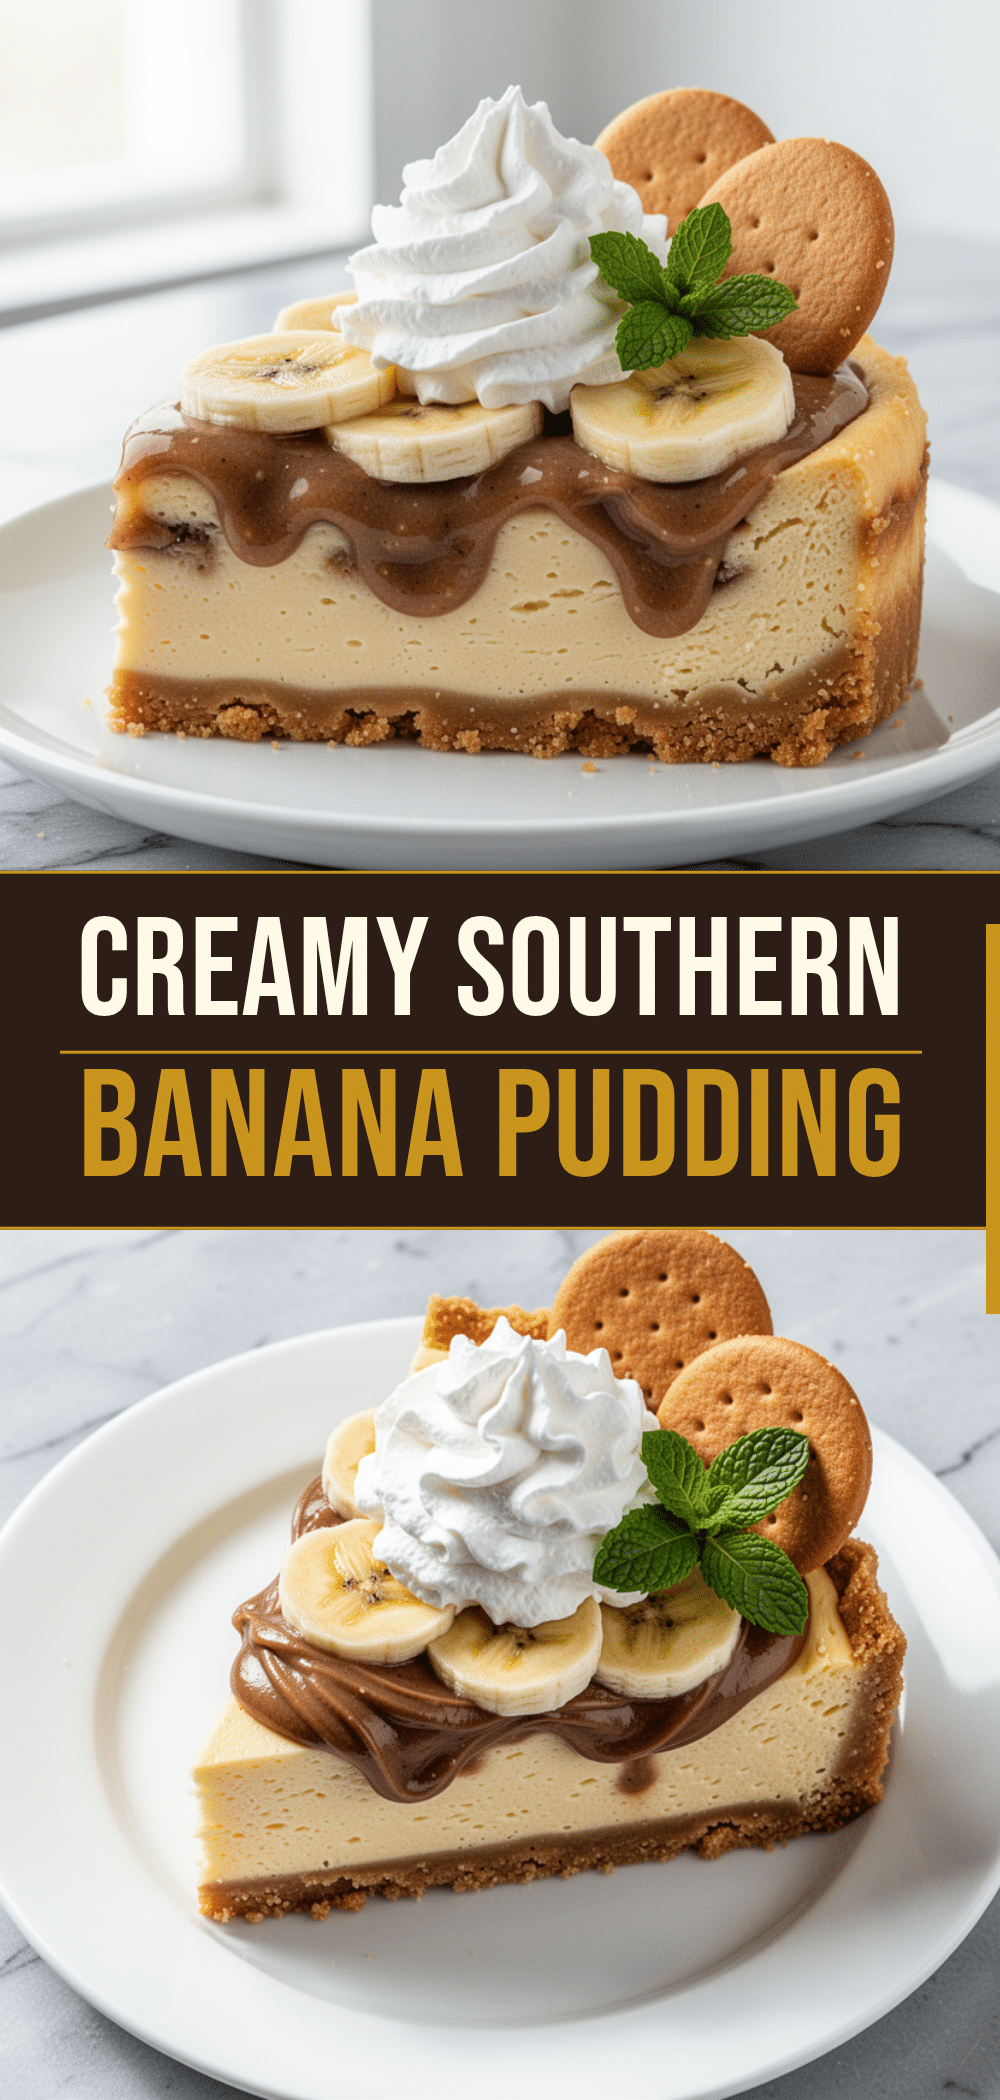
Southern Banana Pudding Cheesecake: Easy 3-Layer Dessert
- Total Time: 90 minutes
- Yield: 12 servings 1x
Description
A rich, three-layer dessert combining a crunchy vanilla wafer crust, a tangy baked cheesecake layer, and a fluffy banana pudding topping. This nostalgic Southern treat is make-ahead friendly and crowd-pleasing.
Ingredients
- 2 cups (200g) vanilla wafers, crushed
- 6 tablespoons (85g) unsalted butter, melted
- 2 tablespoons (25g) granulated sugar
- 1/4 teaspoon salt
- 24 ounces (680g) full-fat cream cheese, softened
- 3/4 cup (150g) granulated sugar
- 1 tablespoon (15ml) vanilla extract
- 3 large eggs, room temperature
- 1/2 cup (120g) full-fat sour cream
- 2 boxes (5.1 oz each) instant vanilla pudding mix
- 4 cups (960ml) whole milk, cold
- 2 cups (480ml) heavy whipping cream, cold
- 4 large fresh bananas, sliced
- 1 sleeve (50 cookies) vanilla wafers, for layering
- 1 teaspoon lemon juice
Instructions
- Preheat oven to 325°F (160°C). Crush vanilla wafers into fine sand or chunks.
- Mix crushed wafers with melted butter, 2 tablespoons sugar, and salt until resembling wet sand.
- Press mixture firmly into the bottom of a 9-inch springform pan. Bake for 8-10 minutes until toasted. Let cool completely.
- In a large bowl, beat softened cream cheese on medium-high speed until smooth (3-4 minutes). Scrape down sides.
- Add 3/4 cup sugar and vanilla extract; beat until combined.
- Add sour cream and mix on low speed just until incorporated.
- Add eggs one at a time, mixing on low speed after each addition. Do not overmix.
- Pour batter over cooled crust.
- Bake at 325°F for 45-50 minutes until edges are set but center jiggles slightly. Cool in pan on wire rack for 1 hour, then refrigerate for at least 2 hours or overnight.
- Whisk pudding mix and cold milk for 2 minutes; let sit 5 minutes to thicken.
- Whip heavy cream until stiff peaks form.
- Gently fold whipped cream into thickened pudding.
- Assemble dessert: Layer vanilla wafers on cheesecake, spread half pudding cream, add sliced bananas tossed with lemon juice. Repeat layers. Top with remaining pudding.
- Refrigerate for at least 4 hours or overnight to set before serving.
Notes
Ensure cream cheese and eggs are at room temperature to prevent lumps and separation. Do not overmix the batter once eggs are added to avoid cracking. Use firm, ripe bananas to prevent mushiness. This dessert is best stored in the refrigerator for up to 5 days; freezing is not recommended as bananas will turn brown and watery.
- Prep Time: 40 minutes
- Cook Time: 50 minutes
- Category: Dessert
- Cuisine: American
Nutrition
- Serving Size: 1 slice
- Calories: 450
- Sugar: 38
- Sodium: 320
- Fat: 24
- Saturated Fat: 14
- Carbohydrates: 52
- Fiber: 1
- Protein: 6
Keywords: banana pudding, cheesecake, southern dessert, vanilla wafer crust, no-bake option, make-ahead dessert, comfort food



