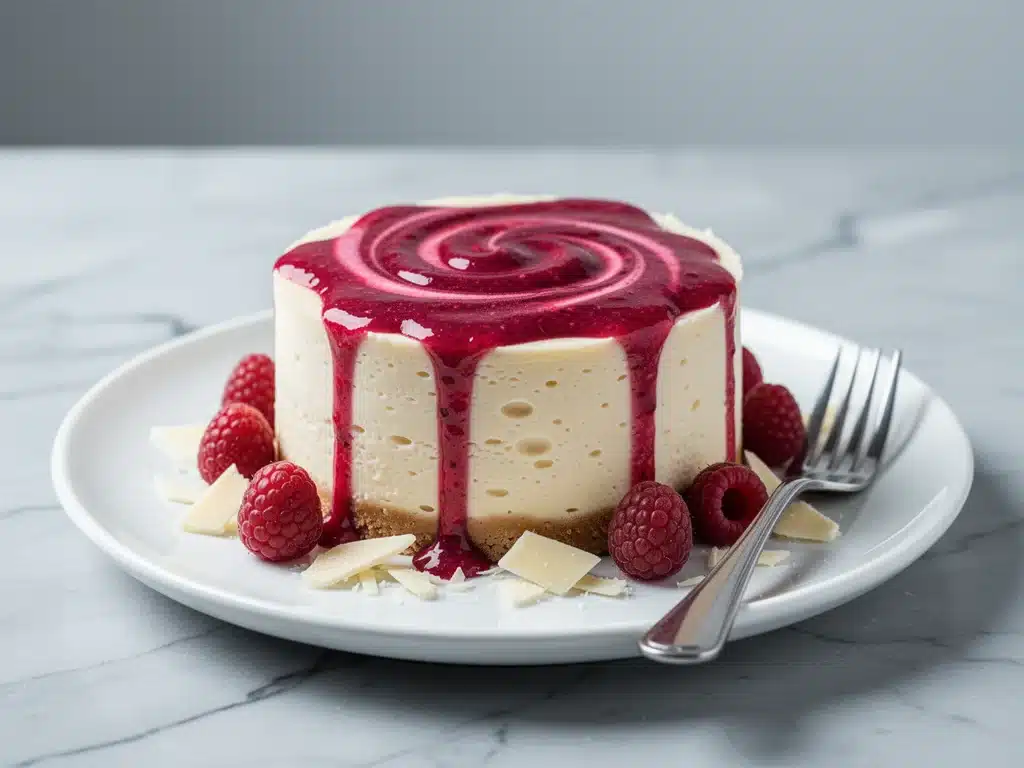
I still remember the first time I tried to make cheesecake at home. I was twenty-two, living in a tiny apartment with a fridge that rattled like a dying engine, and I was convinced I was a genius because I’d followed a recipe exactly. I baked it, I chilled it, I sliced it. And then I cut into it and watched the center collapse like a soufflé that gave up on life. It was dense, it was grainy, and it tasted like regret.
That was ten years ago. Today, I’ve made this ultra-creamy white chocolate raspberry cheesecake more times than I can count. I’ve tweaked the ratios, tested different whipping techniques, and even argued with my own cookbook about whether white chocolate counts as “real” chocolate (spoiler: it does, and it’s delicious). This recipe isn’t just a dessert; it’s my redemption arc. It’s the kind of cheesecake that looks like it came from a fancy patisserie but is actually made in your kitchen with ingredients you can find at any grocery store.
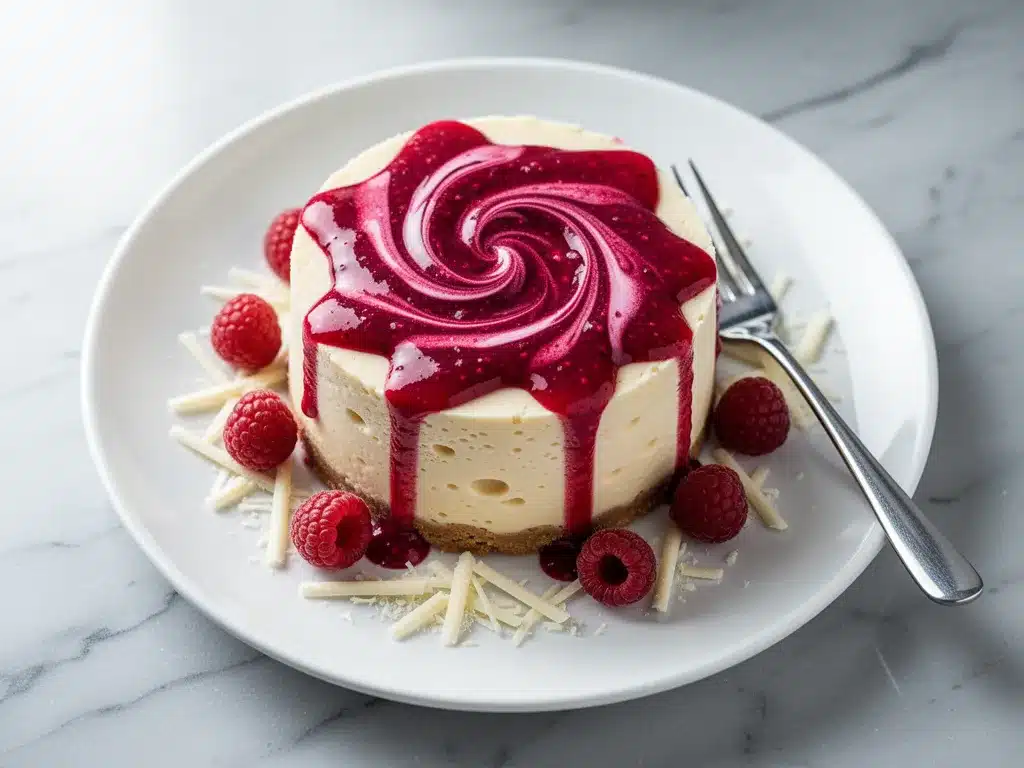
What makes this version so special? It’s the texture. We’re talking cloud-like, spoon-melt-in-your-mouth creaminess. The white chocolate adds a sweet, buttery richness that pairs perfectly with the tart, bright pop of fresh raspberries. It’s not overly sweet, it’s not heavy, and it’s definitely better than anything you’d buy at a bakery—or order from takeout, as the title promises.
People ask me all the time why their cheesecakes crack or turn out dense. Usually, it’s because they’re overmixing or baking it too hot. I’ve learned the hard way (and through many collapsed cakes) that the secret is low and slow baking, careful mixing, and a good water bath. I’m going to walk you through every step, including the mistakes I made so you don’t have to. By the end, you’ll have a cheesecake that’s so good, your friends will think you hired a professional baker.
Why You’ll Love This White Chocolate Raspberry Cheesecake
This isn’t just another dessert recipe. This is the one you make when you want to impress, when you need to celebrate, or when you just need something sweet to get through a tough week. Here’s why this ultra-creamy white chocolate raspberry cheesecake keeps me coming back to the oven:
- Insanely Creamy Texture — I’m not exaggerating when I say this melts on your tongue. I’ve made dense, cakey cheesecakes before, but this one is smooth, rich, and luxurious. The secret? I use a mix of cream cheese and sour cream, plus a careful hand with the mixer.
- Perfect Sweet-Tart Balance — White chocolate is sweet, but raspberries are tart. Together, they cancel out the cloying sugar rush and leave you with a sophisticated flavor that adults love and kids actually eat. It’s the best of both worlds.
- Looks Fancy, Actually Simple — You don’t need to be a pastry chef to make this. The crust is simple graham cracker crumbs. The filling is just a few ingredients blended until smooth. The raspberry swirl is easy (and forgiving if you mess it up slightly). It looks like a million bucks but takes less effort than a complicated dinner.
- Makes Amazing Leftovers — Seriously, this tastes even better the next day. The flavors meld together in the fridge, becoming more intense and complex. I deliberately make extra for lunch the next day because it’s the best desk lunch treat ever.
- Freezes Well (If You Can Wait) — While fresh is best, this cheesecake actually freezes beautifully for up to two months. I’ll slice it, wrap it tightly, and keep it in the freezer for special occasions. It thaws perfectly in the fridge overnight.
- Gluten-Free Option Ready — If you’re avoiding gluten, just swap the graham crackers for a gluten-free version. Everything else is naturally gluten-free. I’ve made this for my celiac friend, and she didn’t even miss the wheat.
This is my go-to dessert when I want to show love through food. It’s reliable, it’s delicious, and it always makes people happy.
Ingredients You’ll Need
Here’s the thing: cheesecake ingredients are simple, but quality matters. You don’t need fancy gadgets, but you do need good ingredients. I’m particular about three things here: the cream cheese, the white chocolate, and the raspberries. Let’s break down exactly what you need and why.
For the Crust
Graham cracker crumbs (1 ½ cups / 150g) — I use regular honey graham crackers for that classic sweet crunch. You can buy pre-made crumbs, but I prefer crushing them myself in a food processor—it takes two minutes and tastes fresher. If you want a gluten-free crust, use gluten-free graham crackers or digestive biscuits.
Unsalted butter (6 tablespoons / 85g) — Melted. I use unsalted so I can control the saltiness. If you only have salted butter, reduce the salt in the filling by half.
Granulated sugar (2 tablespoons / 25g) — Just a touch to sweeten the crust. Don’t skip it; it helps the crust hold together and caramelize slightly.
Salt (¼ teaspoon) — A pinch to balance the sweetness. Essential.
For the Filling
Full-fat cream cheese (32 ounces / 900g) — This is the star. I use Philadelphia or a similar brand. It MUST be full-fat. Low-fat cream cheese has more water and will make your cheesecake grainy and dense. Let it sit out at room temperature for at least an hour before mixing. Cold cream cheese is the enemy of smooth cheesecake.
Granulated sugar (1 cup / 200g) — This is the right amount for sweetness without being overwhelming. If you like it less sweet, drop to ¾ cup, but I recommend sticking with 1 cup.
Sour cream (1 cup / 240g) — This is my secret weapon. It adds tang and moisture, keeping the cheesecake creamy and preventing it from cracking. Use full-fat sour cream for best results.
Vanilla extract (2 teaspoons) — Pure vanilla, please. I use Nielsen-Massey or a similar high-quality brand. It adds depth and aroma.
Eggs (4 large) — Room temperature eggs blend better and prevent lumps. Crack them into a bowl first to check for shells, then add to the mixture.
White chocolate (8 ounces / 225g) — I use high-quality white chocolate chips or bars (like Ghirardelli or Lindt). Do not use white chocolate melting wafers—they have different fat content and won’t melt the same way. Chop bars into small pieces for easier melting.
For the Raspberry Swirl
Fresh raspberries (1 ½ cups / 200g) — Fresh is best, but frozen works too. If using frozen, thaw them and drain excess liquid. I like fresh because they’re brighter and easier to mash.
Granulated sugar (1 tablespoon / 15g) — To sweeten the berries slightly.
Lemon juice (1 teaspoon) — Brightens the flavor and helps prevent the raspberries from turning brown.
Equipment Needed
You don’t need fancy equipment for this. Here’s what I actually use:
9-inch springform pan — This is essential. The sides release so you can get a clean slice. Grease the bottom and sides lightly with butter or cooking spray. I also wrap the outside in foil to prevent water from seeping in during the water bath.
Food processor — For crushing graham crackers and making the crust smooth. You can use a ziplock bag and rolling pin, but it’s messier and less consistent.
Stand mixer or hand mixer — A stand mixer with a paddle attachment is ideal. I’ve made this by hand with a whisk, but it takes forever and your arms hurt. A mixer ensures a smooth, lump-free filling.
Large roasting pan — For the water bath. I use a 9×13-inch roasting pan that fits my springform pan comfortably. It needs to hold enough water to come halfway up the sides of the cheesecake.
Spatula — A silicone spatula is great for scraping the bowl and folding in the raspberry swirl. Get a flexible one that reaches the corners.
Knife — For slicing. I dip it in hot water and wipe it dry between each slice for clean cuts.
How to Make It: Step-by-Step
Alright, let’s make this! I’m walking you through exactly how I do it, including the little tricks I’ve picked up over the years.
Step 1: Prep Your Oven and Pan (5 minutes)
Preheat your oven to 325°F (160°C). This is a low temperature, which is crucial for preventing cracks. Wrap the outside of your 9-inch springform pan in two layers of heavy-duty aluminum foil. This prevents the water bath from leaking into the pan. Grease the bottom and sides lightly with butter.
Step 2: Make the Crust (5 minutes)
In a food processor, pulse the graham cracker crumbs until they’re fine. Add the melted butter, sugar, and salt. Pulse until the mixture looks like wet sand. Press this mixture firmly into the bottom of the prepared springform pan. Use the bottom of a measuring cup to pack it down evenly. Bake for 8 minutes, then remove and let it cool while you make the filling.
Step 3: Melt the White Chocolate (5 minutes)
In a microwave-safe bowl, melt the white chocolate in 30-second intervals, stirring between each. Stop when there are still a few small chunks left, then stir until smooth. Let it cool slightly so it’s warm but not hot. If it’s too hot, it will cook the eggs when you add them.
Step 4: Mix the Filling (10 minutes)
In the bowl of a stand mixer (or a large mixing bowl), beat the room-temperature cream cheese on medium speed until smooth and creamy, about 2-3 minutes. Scrape down the sides and bottom of the bowl. Add the sugar and beat until combined. Add the sour cream and vanilla extract, and mix until smooth.
Reduce the mixer speed to low. Add the eggs one at a time, mixing just until combined. Do not overmix! Overmixing incorporates air, which leads to cracks. Once the eggs are in, add the melted white chocolate and mix on low until just incorporated. The batter should be thick, smooth, and glossy.
Step 5: Prepare the Raspberry Swirl (5 minutes)
In a small bowl, mash the raspberries with a fork until they’re saucy. Stir in the sugar and lemon juice. You don’t need to strain it—just mash it up. Set aside.
Step 6: Assemble the Cheesecake (5 minutes)
Pour the filling over the cooled crust. Smooth the top with a spatula. Drop spoonfuls of the raspberry mixture over the top. Use a knife to swirl it through the batter. Don’t over-swirl; you want visible marbling, not a uniform pink color. A few gentle figure-eights are enough.
Step 7: Bake in a Water Bath (1 hour 15 minutes)
Place the springform pan in the large roasting pan. Carefully pour hot water into the roasting pan until it comes about halfway up the sides of the springform pan. This is a water bath, and it creates a humid environment that prevents the top from cracking and ensures even cooking.
Bake at 325°F (160°C) for 1 hour and 15 minutes. The edges should be set, but the center should still jiggle slightly like Jell-O when you shake the pan. It will continue to set as it cools.
Step 8: Cool and Chill (4+ hours)
Turn off the oven and crack the door open. Let the cheesecake cool in the oven for 1 hour. This gradual cooling prevents cracking. Remove it from the oven and water bath, and let it cool completely on a wire rack. Then, refrigerate for at least 4 hours, but overnight is best. The longer it chills, the firmer and better it tastes.
Expert Tips & Tricks
Here’s everything I’ve learned from making this dozens of times. These tips will save you from my mistakes.
- Room Temperature Ingredients — This is non-negotiable. Cream cheese, eggs, and sour cream must be at room temperature. Cold ingredients create lumps that you can’t beat out. Plan ahead and take them out of the fridge an hour before you start.
- Don’t Overmix — Once you add the eggs, mix on low speed and stop as soon as they’re incorporated. Overmixing adds air, which expands in the oven and then collapses, causing cracks. Be gentle.
- The Water Bath is Key — I know it’s extra work, but the water bath makes a huge difference. It keeps the temperature even and prevents the top from drying out and cracking. If you don’t have a roasting pan, you can bake it without one, but the risk of cracking increases.
- Check for Doneness Early — Start checking at 1 hour. The center should jiggle like Jell-O, not slosh like liquid. If it’s still liquidy, give it 10 more minutes. If it’s set, take it out.
- Gradual Cooling — Letting the cheesecake cool slowly in the turned-off oven with the door cracked is the best way to prevent cracks. Rushing this step can cause the surface to contract too quickly.
- Sharp Knife for Slicing — Dip your knife in hot water and wipe it dry before each cut. This gives you clean, professional-looking slices. Clean the knife between cuts for the neatest results.
Variations & Substitutions
Once you’ve nailed the basic version, here’s how you can mix it up. I’ve tried all of these.
Dark Chocolate Raspberry
Swap the white chocolate for 8 ounces of chopped dark chocolate (70% cocoa). It’s richer and less sweet, with a more sophisticated flavor. Great for adults.
Strawberry Swirl
Use fresh strawberries instead of raspberries. Mash them the same way. It’s a classic combination and looks beautiful.
Oreo Crust
Skip the graham crackers and use Oreo cookies (remove the cream filling first) for the crust. It’s chocolatey and crunchy. Add a pinch of cinnamon for extra flavor.
Gluten-Free
Use gluten-free graham crackers or almond flour for the crust. Everything else is naturally gluten-free. I’ve used Gluten Free Plain Graham Cracker Crumbs, and they work perfectly.
Low-Sugar
Use a sugar substitute like erythritol or monk fruit. White chocolate is hard to substitute, so I recommend using sugar-free white chocolate chips or reducing the amount of white chocolate and adding vanilla extract for flavor. The cheesecake will be less sweet but still creamy.
Vegan
Replace cream cheese with vegan cream cheese (like Kite Hill), sour cream with coconut yogurt, and white chocolate with vegan white chocolate. The texture will be slightly different but still delicious. I’ve made this with Tofutti cream cheese, and it works well.
Serving & Storage
How to serve this masterpiece:
How to Serve: I usually serve this straight from the fridge. It’s cold and creamy, which is the best texture. Garnish with fresh raspberries and a dollop of whipped cream if you’re feeling fancy. It pairs beautifully with a cup of black coffee or a glass of red wine.
Side Dishes: This cheesecake is rich, so keep sides light. A simple green salad with a vinaigrette balances the sweetness. Fresh fruit, like strawberries or kiwi, adds brightness. I also love it with a scoop of vanilla ice cream.
Storage: Store leftovers in an airtight container in the refrigerator for up to 5 days. The cheesecake will firm up as it chills, which is normal.
Freezing: This cheesecake freezes beautifully. Slice it, wrap each slice tightly in plastic wrap, then in foil. Freeze for up to 2 months. Thaw overnight in the refrigerator before serving.
Pro Tip: If the top gets dry, brush it lightly with a simple syrup (equal parts sugar and water, heated until dissolved) before serving. It adds moisture and shine.
Nutrition Information
I’m not a nutritionist, but here’s the breakdown if you’re tracking. This is a rich dessert, so portion control is key.
Per Serving (based on 12 slices):
- Calories: 480
- Protein: 7g
- Carbs: 42g
- Fiber: 1g
- Sugar: 32g
- Fat: 32g
- Saturated Fat: 18g
- Cholesterol: 110mg
- Sodium: 280mg
What’s Good: High in protein from the cream cheese and eggs. Calcium from the dairy. It’s filling, so you don’t need much.
What to Know: Higher in calories and sugar from the white chocolate and crust. Contains dairy and gluten. If you’re watching sugar, consider the low-sugar variation.
My Take: Look, this is a dessert. It’s meant to be indulgent. Enjoy a small slice and savor it. It’s better than takeout because you control the ingredients, and it’s way more satisfying than a thin slice from a bakery.
Final Thoughts
So that’s my ultra-creamy white chocolate raspberry cheesecake! I’ve probably talked your ear off at this point, but when you make a recipe this often, you have a lot to say about it. This has saved my holidays, my birthdays, and my “I need to impress someone” moments. It’s my answer to “what’s for dessert” when I want something special but don’t want to stress.
Make it yours! Try different berry swirls, swap the crust, or adjust the sweetness. The best recipes are the ones you adapt to your family’s tastes. If you make this, drop a comment and let me know what you think! I love hearing how recipes turn out in your kitchen. And if something doesn’t work, tell me that too—I’m here to help troubleshoot.
Happy baking! And I hope your kitchen smells half as good as mine does right now.
Frequently Asked Questions
Q: Can I use frozen raspberries?
A: Yes, you can! Thaw them completely and drain any excess liquid. If you don’t drain them, the swirl will be too watery and run all over the cheesecake. Pat them dry with a paper towel before mashing.
Q: Why did my cheesecake crack?
A: Cracking is usually caused by overmixing, overbaking, or cooling too quickly. Make sure you mix on low speed after adding eggs, check for doneness early, and let it cool slowly in the turned-off oven. It’s not a disaster, though—you can always cover the cracks with whipped cream or extra raspberries.
Q: Can I make this ahead of time?
A: Absolutely! This cheesecake actually tastes better the next day. Make it 1-2 days ahead and store it in the fridge. It’s perfect for meal prep desserts or holiday planning.
Q: Can I bake this in a regular pan?
A: You can, but a springform pan is ideal for easy removal. If you use a regular round pan, grease it well and line the bottom with parchment paper. It will be harder to get out cleanly, but it will still taste great.
Q: How do I know when the cheesecake is done?
A: The edges should be set, but the center should still jiggle slightly like Jell-O when you shake the pan. It will continue to set as it cools. If the center is liquidy, bake for 10 more minutes. If it’s completely set, it’s overbaked.
Q: Can I freeze this cheesecake?
A: Yes, it freezes beautifully. Slice it, wrap each slice tightly in plastic wrap and foil, and freeze for up to 2 months. Thaw overnight in the refrigerator before serving.
Q: Is white chocolate real chocolate?
A: Technically, no—it doesn’t contain cocoa solids, only cocoa butter, sugar, and milk solids. But it’s still delicious and adds a rich, buttery flavor to this cheesecake. I use high-quality white chocolate for the best taste.
Pin This Recipe!
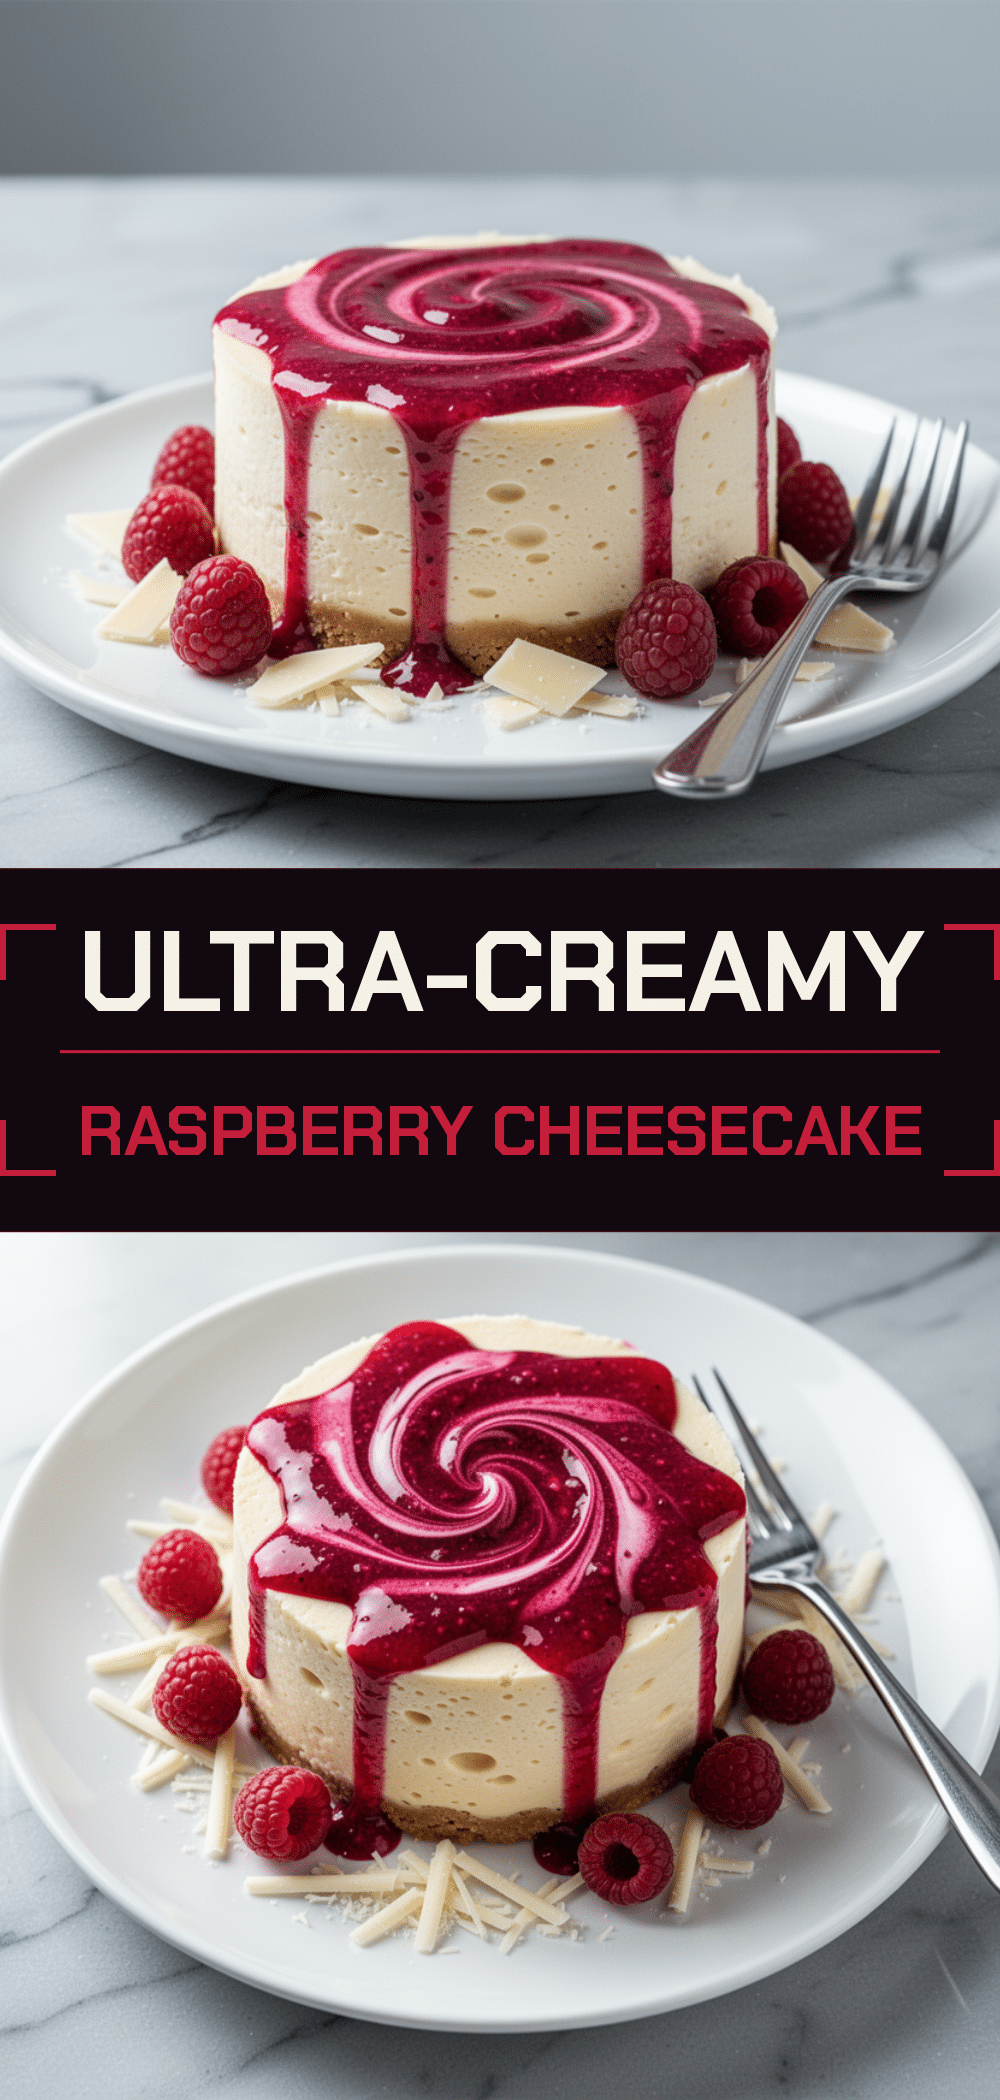
Ultra-Creamy White Chocolate Raspberry Cheesecake (Better Than Takeout)
- Total Time: 5 hours 53 minutes
- Yield: 12 servings 1x
Description
An ultra-creamy white chocolate raspberry cheesecake with a cloud-like texture, featuring a sweet-tart balance and a simple graham cracker crust. This recipe uses a water bath and low-temperature baking to prevent cracking.
Ingredients
- 1 ½ cups (150g) graham cracker crumbs
- 6 tablespoons (85g) unsalted butter, melted
- 2 tablespoons (25g) granulated sugar
- ¼ teaspoon salt
- 32 ounces (900g) full-fat cream cheese, room temperature
- 1 cup (200g) granulated sugar
- 1 cup (240g) full-fat sour cream
- 2 teaspoons vanilla extract
- 4 large eggs, room temperature
- 8 ounces (225g) high-quality white chocolate, chopped
- 1 ½ cups (200g) fresh raspberries
- 1 tablespoon (15g) granulated sugar
- 1 teaspoon lemon juice
Instructions
- Preheat oven to 325°F (160°C). Wrap the outside of a 9-inch springform pan in two layers of heavy-duty aluminum foil to prevent water leakage.
- In a food processor, pulse graham cracker crumbs until fine. Add melted butter, 2 tablespoons sugar, and salt; pulse until mixture resembles wet sand.
- Press crust mixture firmly into the bottom of the prepared springform pan. Bake for 8 minutes, then remove and let cool.
- Melt white chocolate in a microwave-safe bowl in 30-second intervals, stirring until smooth. Let cool slightly until warm but not hot.
- In a stand mixer, beat cream cheese on medium speed until smooth (2-3 minutes). Scrape down sides and bottom.
- Add 1 cup sugar and beat until combined. Add sour cream and vanilla extract; mix until smooth.
- Reduce mixer speed to low. Add eggs one at a time, mixing just until combined. Do not overmix.
- Add melted white chocolate and mix on low until just incorporated. Batter should be thick, smooth, and glossy.
- Pour filling over cooled crust and smooth top. Mash raspberries with 1 tablespoon sugar and lemon juice.
- Drop spoonfuls of raspberry mixture over the batter and swirl gently with a knife for a marbled effect.
- Place springform pan in a large roasting pan. Pour hot water into the roasting pan until it comes halfway up the sides of the springform pan.
- Bake at 325°F (160°C) for 1 hour and 15 minutes. Edges should be set, but center should jiggle slightly like Jell-O.
- Turn off oven and crack the door open. Let cheesecake cool in the oven for 1 hour.
- Remove from oven and water bath; cool completely on a wire rack.
- Refrigerate for at least 4 hours, preferably overnight, before slicing.
Notes
Ensure all dairy ingredients (cream cheese, eggs, sour cream) are at room temperature to prevent lumps. Do not overmix after adding eggs to avoid incorporating air, which causes cracking. The water bath is crucial for even cooking and preventing surface cracks. For clean slices, dip a sharp knife in hot water and wipe dry between cuts.
- Prep Time: 30 minutes
- Cook Time: 1 hour 23 minutes
- Category: Dessert
- Cuisine: American
Nutrition
- Serving Size: 1 slice
- Calories: 480
- Sugar: 32
- Sodium: 280
- Fat: 32
- Saturated Fat: 18
- Carbohydrates: 42
- Fiber: 1
- Protein: 7
Keywords: white chocolate cheesecake, raspberry cheesecake, creamy cheesecake, dessert recipe, baking, water bath cheesecake



