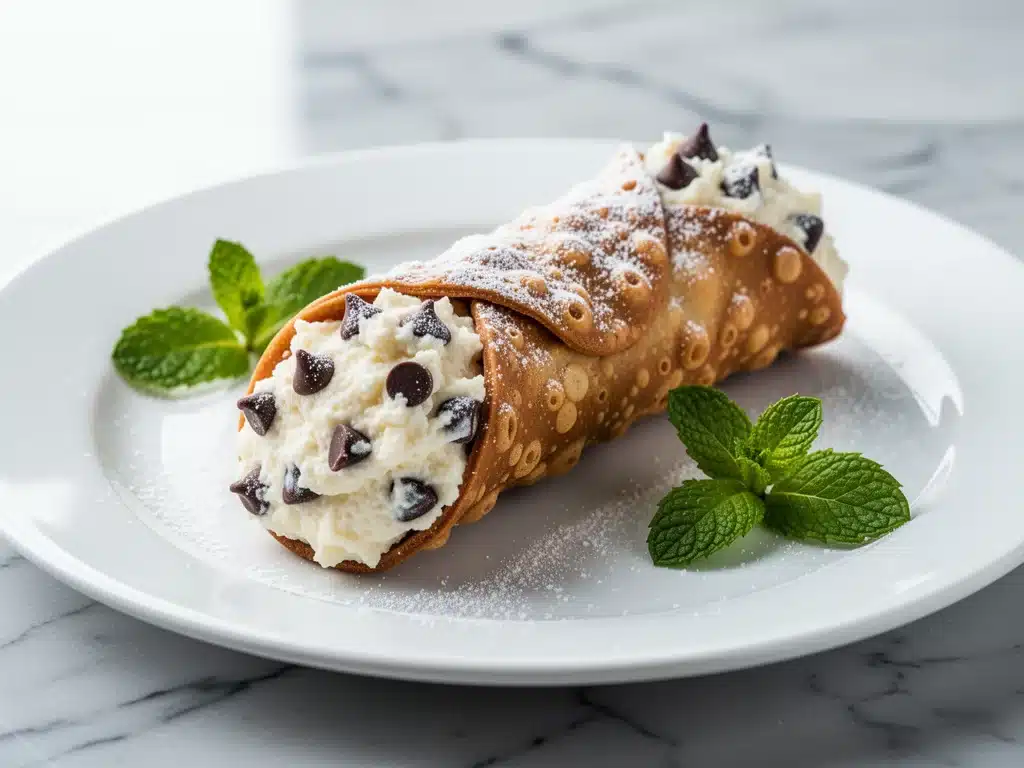
There is a specific kind of heartbreak that only happens when you bite into a cannoli that’s been sitting out for twenty minutes. You hear it first—that deafening, satisfying crunch. And then, immediately, the silence. The shell goes soggy. The ricotta filling turns into a wet, sad paste. You look at the half-eaten pastry in your hand and realize you’ve just wasted a perfect opportunity for joy.
I used to think this was just the law of the universe. You couldn’t make cannoli at home without them turning into soggy shells by the time you finished eating. So, for years, I bought them from the bakery. The ones in the plastic tubes with the red and white stripes. They were fine. Okay, even good. But they lacked soul. They tasted like factory-made sugar and stale dough.
Last Easter, I decided I’d had enough. I wanted that crunch. I wanted the sharp tang of real ricotta, sweetened just enough to balance it, not drowned in syrup. I wanted a dessert that felt special enough for a wedding but simple enough to make on a Tuesday. I spent three weekends testing shell recipes, frying oil temperatures, and ricotta textures. I burned more shells than I care to admit. But on the fourth attempt, I got it. The shell was golden and rigid. The filling was creamy and rich. And most importantly, I assembled them right before serving, and they stayed crisp for the entire meal.
This ultra-crispy cannoli recipe is the result of all those failures. It’s not complicated, but it does require a little patience. You can’t rush the frying, and you definitely can’t rush the assembly. But if you’re willing to do it right, you’ll get a dessert that tastes like it came from a high-end Italian bakery, minus the preservatives and the sad, soggy texture. It’s the ultimate special occasion treat, and honestly? It’s become my favorite way to celebrate.
Why You’ll Love This Recipe
Homemade cannoli aren’t just better; they’re in a different league entirely. Once you taste the difference between fresh, fried pastry and store-bought tubes, you won’t go back. Here’s why this recipe has earned a permanent spot in my dessert rotation:
The Crunch Factor — Seriously, the texture is everything. These shells stay crisp for hours if stored correctly. I’ve packed them in airtight containers for lunchboxes, and they still snap when you bite them. That’s the holy grail of pastry.
Real Ricotta, Not Paste — Most bakery cannoli use a ricotta that’s been whipped with stabilizers and sugar until it’s smooth but flavorless. This filling uses whole-milk ricotta that’s drained properly. It has grains. It has tang. It tastes like actual cheese, balanced with vanilla and zest.
Impressive but Manageable — I know, making cannoli shells sounds terrifying. It’s not. You’re just rolling out dough and frying it. It’s faster and easier than making pie crust. And the visual payoff? Massive. Arranging these on a platter looks like you spent hours at a pâtisserie.
Make-Ahead Friendly — This is the secret weapon. You can make the shells a day ahead. You can make the filling a day ahead. You just assemble them right before guests arrive. It takes the stress out of hosting.
Customizable — Want chocolate chips? Go ahead. Pistachios? Definitely. Orange zest instead of lemon? Why not. This recipe is a canvas for your favorite flavors.
This is my go-to when I want to impress people without spending six hours in the kitchen. It’s elegant, it’s delicious, and it’s surprisingly easy once you get the hang of it.
Ingredients You’ll Need
Here’s the thing about cannoli: the quality of your ingredients matters more than the technique. You don’t need fancy equipment, but you do need good stuff. I’m particular about a few items here, and I’ll tell you exactly why.
For the Ultra-Crispy Shells
00 Flour (2 cups / 250g) — This is the secret. 00 flour is finely ground Italian flour. It creates that delicate, shatteringly crisp texture. All-purpose flour works, but the shells will be thicker and chewier. If you can’t find 00, blend all-purpose flour in a food processor to break down the gluten.
Unsalted Butter (2 tablespoons / 30g) — Melted. Cold butter in the dough creates flakiness, but melted butter makes the dough more pliable and the shells richer. Don’t skip this.
Granulated Sugar (2 tablespoons / 25g) — Just enough to sweeten the dough and help with browning. Don’t add more, or the shells will burn in the oil.
Dry White Wine (3-4 tablespoons / 45-60ml) — This is non-negotiable for crispness. The alcohol evaporates quickly during frying, leaving behind air pockets and a rigid structure. Marsala wine is traditional, but any dry white wine works. No alcohol? Use vodka. The alcohol is key.
Egg Yolk (1 large) — Just the yolk. It adds richness and color. The white makes the dough tougher.
Cocoa Powder (1 tablespoon / 5g) — Optional, but it gives a beautiful chocolate hue and a subtle flavor. Sift it with the flour so there are no lumps.
Salt (¼ teaspoon) — Enhances the sweetness. Don’t skip it.
Vegetable Oil (for frying) — You need enough to submerge the shells. I use vegetable or canola oil because it has a neutral flavor and a high smoke point. Do not use olive oil; it’s too strong and burns at the right temperature.
For the Sweet Ricotta Filling
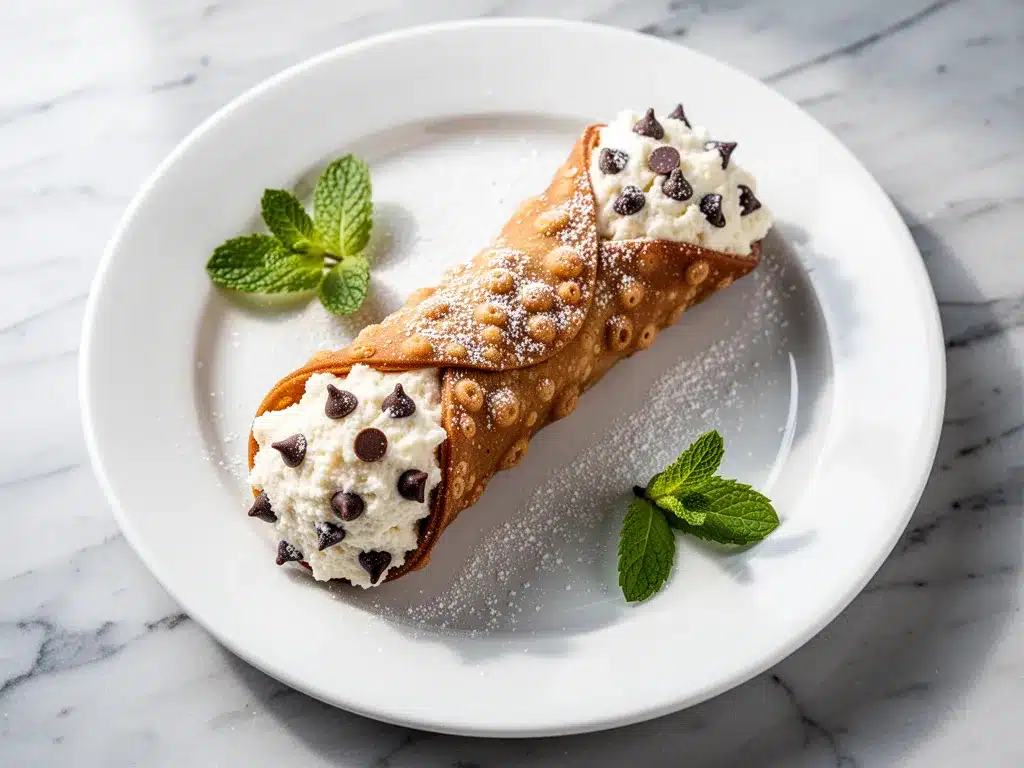
Whole Milk Ricotta (16 ounces / 450g) — Full-fat only. Low-fat ricotta is grainy and dry. Look for the kind in the tub, not the brick, if it’s fresh. If you buy it a few days before, it’s even better because it’s drained more.
Powdered Sugar (½ cup / 60g) — It dissolves instantly. Granulated sugar will leave gritty bits in the filling. Adjust to taste, but don’t go overboard.
Vanilla Extract (1 teaspoon) — Real vanilla. No imitation. It’s the backbone of the flavor.
Lemon Zest (1 lemon) — Brightens up the heavy ricotta. Use a microplane for fine zest.
Chocolate Chips or Pistachios (½ cup total) — For rolling the ends. Mini chocolate chips are easiest because they stick well. Crushed pistachios add a lovely crunch and color.
Optional Add-ins:
– Candied Orange Peel — Chopped finely. Adds a sophisticated touch.
– Maraschino Cherries — Chopped. Classic, but polarizing.
– Whipped Cream — Fold ¼ cup of whipped cream into the ricotta for a lighter, airier texture. I do this when I want it to feel less heavy.
Equipment Needed
You don’t need a professional kitchen to make these. Here’s what I actually use.
Large Skillet or Dutch Oven — I use a 12-inch skillet. It needs to be deep enough to hold 2 inches of oil. Cast iron is great because it holds heat steadily.
Candy Thermometer — This is crucial. You need to keep the oil at 375°F (190°C). Guessing leads to burnt shells or greasy ones. A thermometer takes the guesswork out.
Cannoli Molds — You can buy these online or at kitchen stores. They come in sets of two or four. Metal molds are traditional, but silicone ones are easier to clean. Just make sure they’re sturdy.
Rolling Pin — Any standard rolling pin works. I like a wooden one for control.
Pastry Brush — For sealing the edges of the dough. Egg wash works best.
Cooling Rack — To drain the fried shells. Paper towels work too, but a rack prevents sogginess from trapped steam.
Food Processor — For the filling. It makes the ricotta smooth and creamy in seconds. A whisk and elbow grease work, but it takes forever.
How to Make It: Step-by-Step
Alright, let’s make this! I’m walking you through exactly how I do it, including the little tricks I’ve picked up to ensure those shells stay crispy.
Step 1: Prepare the Ricotta (Do this first)
If your ricotta is wet, your filling will be runny. Spoon the ricotta into a fine-mesh strainer lined with cheesecloth. Let it drain in the fridge for at least 2 hours, preferably overnight. This removes excess whey and concentrates the flavor. Press it gently with a spoon to help it drain.
Step 2: Make the Dough
In a bowl, whisk together the flour, cocoa powder (if using), sugar, and salt. Add the melted butter, egg yolk, and wine. Mix with a fork until a shaggy dough forms. Turn it out onto a floured surface and knead gently for 2-3 minutes until smooth. The dough should be soft but not sticky. Wrap it tightly in plastic wrap and refrigerate for at least 1 hour. This relaxes the gluten and makes it easier to roll.
Step 3: Roll Out the Dough
Divide the dough into 4-6 pieces, depending on the size of your molds. On a lightly floured surface, roll each piece out as thin as possible. I mean paper-thin. Use a pizza cutter to cut circles about 4-5 inches wide. If the dough tears, patch it with scraps—it’ll hold up in the oil.
Step 4: Shape the Shells
Wrap a circle of dough around a cannoli mold. Press the edges together firmly, but don’t overlap them too much. Use a pastry brush with a little egg wash to seal the seam. If you don’t have molds, you can fry flat circles and roll them into cylinders while warm, but molds give you that classic shape.
Step 5: Fry the Shells
Heat the oil to 375°F (190°C). Carefully lower the molds into the oil. Fry for 1-2 minutes, turning once, until golden brown. The dough should puff up and become rigid. Remove with tongs and let the oil drip off. While still hot, gently slide the shell off the mold. Place on a cooling rack. Repeat with remaining dough. The shells will crisp up as they cool.
Step 6: Make the Filling
In a food processor, combine the drained ricotta, powdered sugar, vanilla, and lemon zest. Pulse until smooth and creamy. Taste and adjust sweetness if needed. Fold in chocolate chips or pistachios if you’re using them. Cover and refrigerate until ready to use.
Step 7: Assemble
Right before serving, pipe the ricotta filling into the cooled shells. You can use a piping bag with a star tip for a pretty look, or just spoon it in and smooth it out. Roll the ends in extra chocolate chips or nuts. Serve immediately. This is the most important step—do not assemble too early, or the shells will absorb moisture and go soft.
Total Time: About 1 hour 30 minutes (including chilling time)
Expert Tips & Tricks
Here’s everything I’ve learned from making this dozens of times. These tips will save you from my mistakes.
Oil Temperature is Everything
If the oil is too cool, the shells absorb grease and become soggy. If it’s too hot, they burn before cooking through. Keep that thermometer in the oil. If the temperature drops, wait for it to come back up before frying the next batch.
Roll It Thin
I can’t stress this enough. The thinner you roll the dough, the crispier the shell. If it’s thick, it’ll be doughy. Don’t be afraid to use flour so it doesn’t stick, but try to roll it out as thinly as your rolling pin allows.
Drain the Ricotta
Wet ricotta = runny filling. If you’re in a rush, you can salt the ricotta and let it sit for 30 minutes to draw out moisture, then drain it. But overnight is best.
Store Shells Properly
Once cooled, store the empty shells in an airtight container at room temperature. They’ll stay crisp for up to 2 days. Do not refrigerate them, or they’ll absorb humidity and go soft.
Make the Filling Ahead
You can make the ricotta filling 24 hours in advance. It actually tastes better after the flavors meld. Just keep it covered in the fridge.
Common Mistakes (and how to avoid them)
- Mistake: Shells are greasy. Fix: Oil wasn’t hot enough. Use a thermometer. Also, don’t overcrowd the pan.
- Mistake: Dough tears when rolling. Fix: Dough wasn’t chilled enough. Wrap it and put it back in the fridge for 15 minutes.
- Mistake: Filling is grainy. Fix: Ricotta wasn’t drained enough, or you didn’t process it long enough. Process until smooth.
Variations & Substitutions
Once you’ve nailed the basic version, here’s how you can mix it up. I’ve tried all of these.
Chocolate Shells
Add 2 tablespoons of cocoa powder to the dough. It gives a rich chocolate flavor and a dark, elegant look.
Pistachio Shells
Add ¼ cup of finely ground pistachios to the dough. It adds a beautiful green color and nutty flavor.
Amaretto Filling
Replace the vanilla with 1 tablespoon of Amaretto liqueur. It pairs perfectly with the ricotta.
Strawberry Ricotta
Fold in ½ cup of finely chopped fresh strawberries and a tablespoon of strawberry jam. It’s bright and summery.
Gluten-Free
Use a 1:1 gluten-free flour blend. The texture might be slightly more crumbly, but it still works. Make sure the blend contains xanthan gum.
Dairy-Free
Replace butter with coconut oil. Use dairy-free ricotta (made from cashews) and dairy-free chocolate chips. It’s not traditional, but it’s tasty.
Serving & Storage
How to Serve:
I usually arrange these on a platter lined with parchment paper. Dust them lightly with powdered sugar right before serving for a professional look. They’re perfect with coffee or dessert wine.
Side Dishes:
These are rich, so they don’t need much. A simple espresso or a glass of Moscato d’Asti is the perfect pairing. If you’re serving a full meal, these work well after a light pasta dinner.
Storage Instructions:
Shells: Store in an airtight container at room temperature for up to 2 days. Do not refrigerate.
Filling: Store in an airtight container in the fridge for up to 2 days.
Assembled: Eat immediately. They will go soft within 30-60 minutes.
Pro Tip:
If you’re making these for a party, prep the shells and filling the day before. Assemble them 30 minutes before guests arrive. It takes 10 minutes and looks impressive.
Nutrition Information
I’m not a nutritionist, but here’s the breakdown if you’re tracking. Keep in mind, these are indulgent treats, so portion control is key.
Per Cannoli (based on 12 servings):
– Calories: 280
– Protein: 8g
– Carbs: 25g
– Fiber: 1g
– Sugar: 12g
– Fat: 18g
– Saturated Fat: 8g
– Cholesterol: 45mg
– Sodium: 120mg
What’s Good:
– Protein from the ricotta
– Calcium from the cheese
– Real ingredients, no artificial additives
What to Know:
– High in calories due to frying and sugar
– Contains gluten and dairy
– Moderate sodium
My Take:
Look, this is a special occasion dessert. It’s not something you eat every day. But when you do, you want it to be worth it. These taste better than any bakery version, and you know exactly what’s in them. When I make them, I enjoy one or two and savor every bite.
Final Thoughts
So that’s my ultra-crispy cannoli recipe! I know it sounds like a lot of work, but it’s really just rolling dough and frying it. The hardest part is waiting for the dough to chill. Once you make these, you’ll never buy store-bought cannoli again.
This recipe has saved my holiday desserts more times than I can count. It’s my answer to “what dessert should I bring?” when I want to impress without stress. My family loves them, and my friends always ask for the recipe.
Make it yours! Try different fillings, add different nuts, or play with the spices. The best recipes are the ones you adapt to your tastes. If you make this, drop a comment and let me know what you think! I love hearing how recipes turn out in your kitchen.
Happy cooking! And I hope your kitchen smells half as good as mine does right now.
Frequently Asked Questions
Can I bake the shells instead of frying them?
You can, but they won’t be as crispy. Bake at 375°F (190°C) for 8-10 minutes until golden. They’ll be more like a pastry shell than a traditional cannoli shell. Frying gives that signature crunch.
Why did my shells go soggy?
Usually, this happens because they were assembled too early. The moisture from the ricotta softens the shell. Always assemble right before serving. Also, make sure your shells are completely cool before filling them.
Can I make the dough ahead?
Yes! Wrap it tightly in plastic wrap and refrigerate for up to 2 days. Let it come to room temperature for 15 minutes before rolling.
What kind of ricotta should I use?
Whole-milk ricotta is best. It’s creamier and richer than low-fat versions. Look for fresh ricotta in the dairy section, not the shelf-stable kind.
Can I use a different wine in the dough?
Yes, any dry white wine works. Marsala is traditional, but Sauvignon Blanc or Pinot Grigio are great alternatives. Vodka works too if you don’t want alcohol.
How do I store leftover cannoli filling?
Store it in an airtight container in the fridge for up to 2 days. Let it come to room temperature before piping, as cold ricotta is harder to spread.
Can I freeze the cannoli shells?
Yes, freeze them in an airtight container for up to 1 month. Thaw at room temperature before filling. They should still be crisp.
Pin This Recipe!
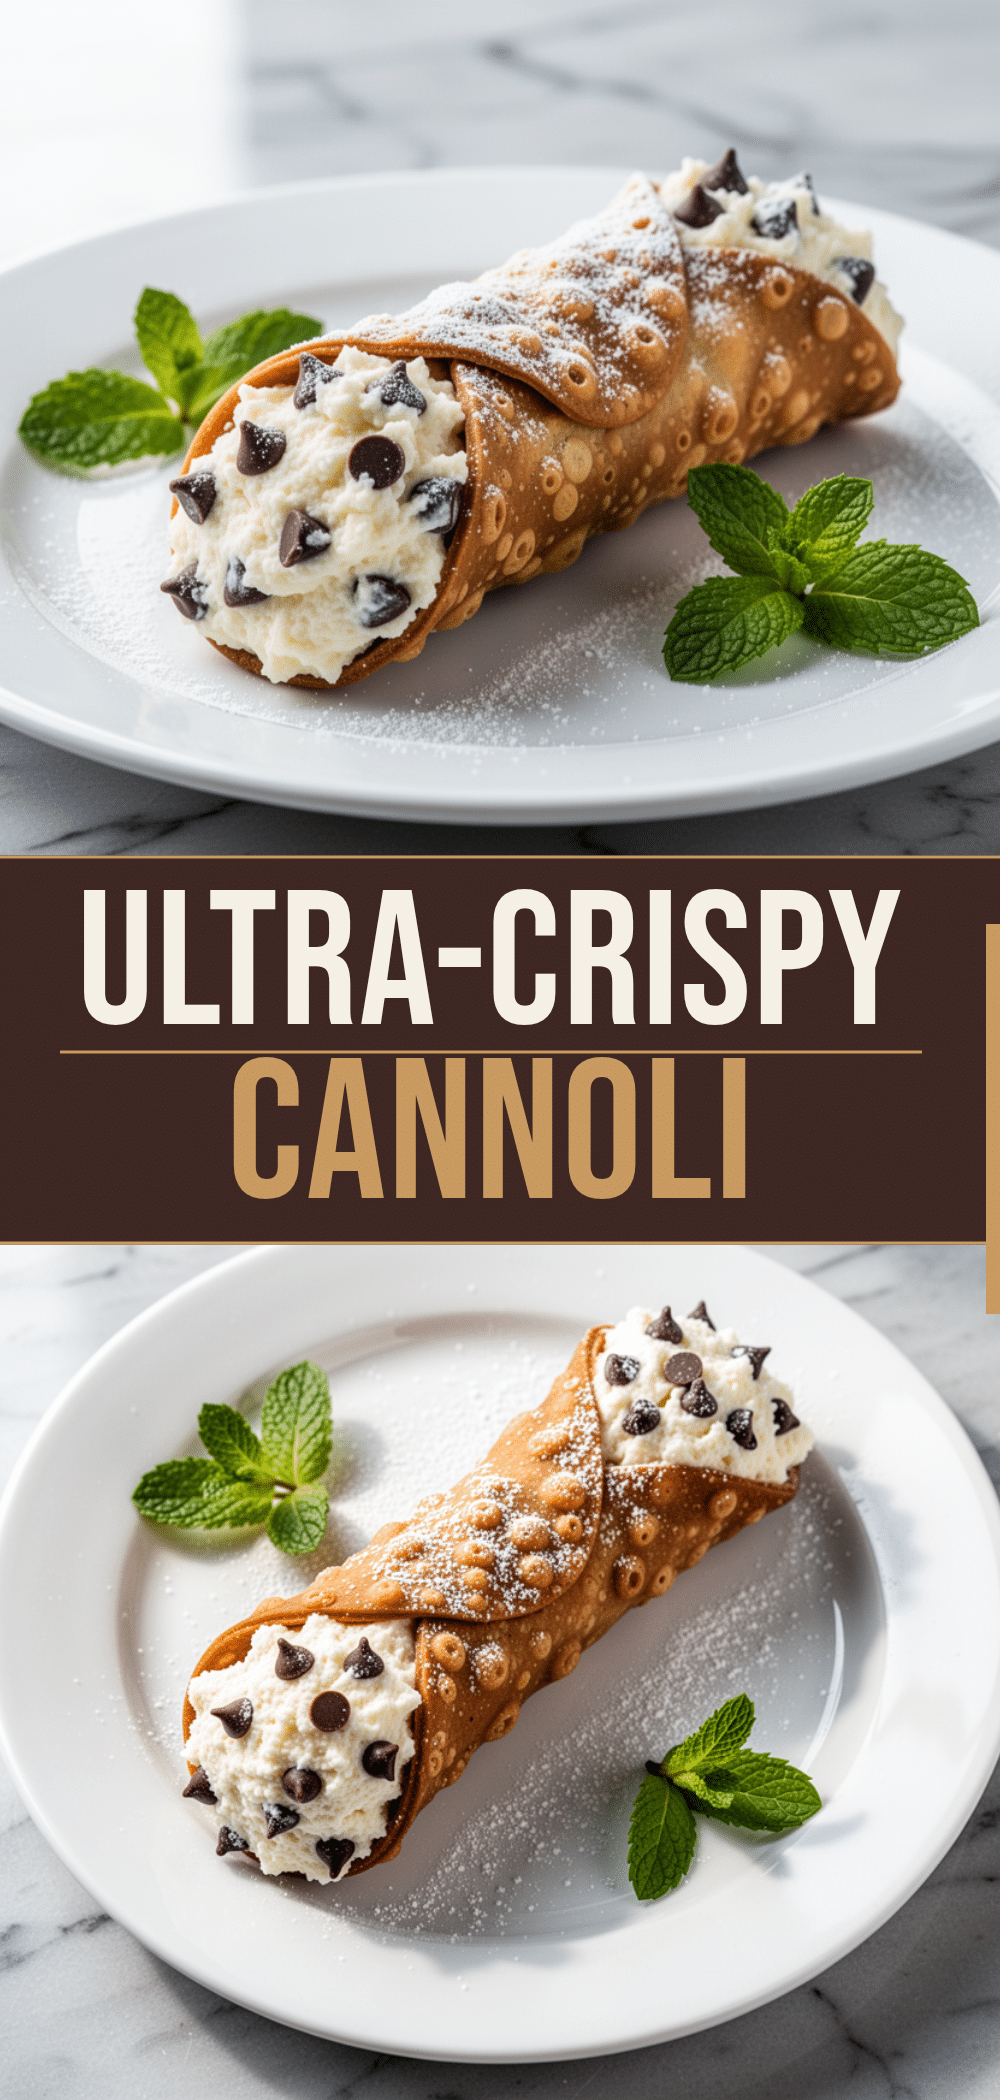

Ultra-Crispy Cannoli: 5-Step Homemade Recipe
- Total Time: 1 hour 30 minutes
- Yield: 12 servings 1x
Description
Achieve the perfect crunch with this homemade cannoli recipe featuring shatteringly crisp fried shells and a rich, tangy whole-milk ricotta filling. Assemble right before serving for the best texture.
Ingredients
- 2 cups (250g) 00 flour (or all-purpose flour)
- 2 tablespoons (30g) unsalted butter, melted
- 2 tablespoons (25g) granulated sugar
- 3–4 tablespoons (45-60ml) dry white wine (or vodka)
- 1 large egg yolk
- 1 tablespoon (5g) cocoa powder (optional)
- 1/4 teaspoon salt
- Vegetable or canola oil (for frying)
- 16 ounces (450g) whole milk ricotta
- 1/2 cup (60g) powdered sugar
- 1 teaspoon vanilla extract
- Zest of 1 lemon
- 1/2 cup chocolate chips or crushed pistachios (for rolling ends)
Instructions
- Drain the ricotta in a fine-mesh strainer lined with cheesecloth in the fridge for at least 2 hours or overnight to remove excess whey.
- In a bowl, whisk together flour, cocoa powder (if using), sugar, and salt. Add melted butter, egg yolk, and wine. Mix until a shaggy dough forms.
- Knead the dough gently for 2-3 minutes until smooth. Wrap tightly in plastic wrap and refrigerate for at least 1 hour.
- Divide dough into 4-6 pieces. Roll each piece out paper-thin on a floured surface and cut into 4-5 inch circles.
- Wrap a dough circle around a cannoli mold, pressing edges together. Seal the seam with egg wash.
- Heat oil to 375°F (190°C). Fry the molds for 1-2 minutes, turning once, until golden brown and rigid.
- Remove shells with tongs, let oil drip off, and slide off molds while hot. Place on a cooling rack to crisp.
- In a food processor, combine drained ricotta, powdered sugar, vanilla, and lemon zest. Pulse until smooth.
- Right before serving, pipe the ricotta filling into the cooled shells and roll the ends in chocolate chips or nuts.
- Serve immediately.
Notes
The key to crispy cannoli is assembling them right before serving. The shells can be made a day ahead and stored in an airtight container at room temperature. The filling can also be made 24 hours in advance. Do not refrigerate the shells as they will absorb humidity and go soft.
- Prep Time: 1 hour 15 minutes
- Cook Time: 15 minutes
- Category: Dessert
- Cuisine: Italian
Nutrition
- Serving Size: 1 cannoli
- Calories: 280
- Sugar: 12
- Sodium: 120
- Fat: 18
- Saturated Fat: 8
- Carbohydrates: 25
- Fiber: 1
- Protein: 8
Keywords: cannoli, homemade cannoli, italian dessert, ricotta filling, crispy cannoli shells, fried pastry, Easter dessert



