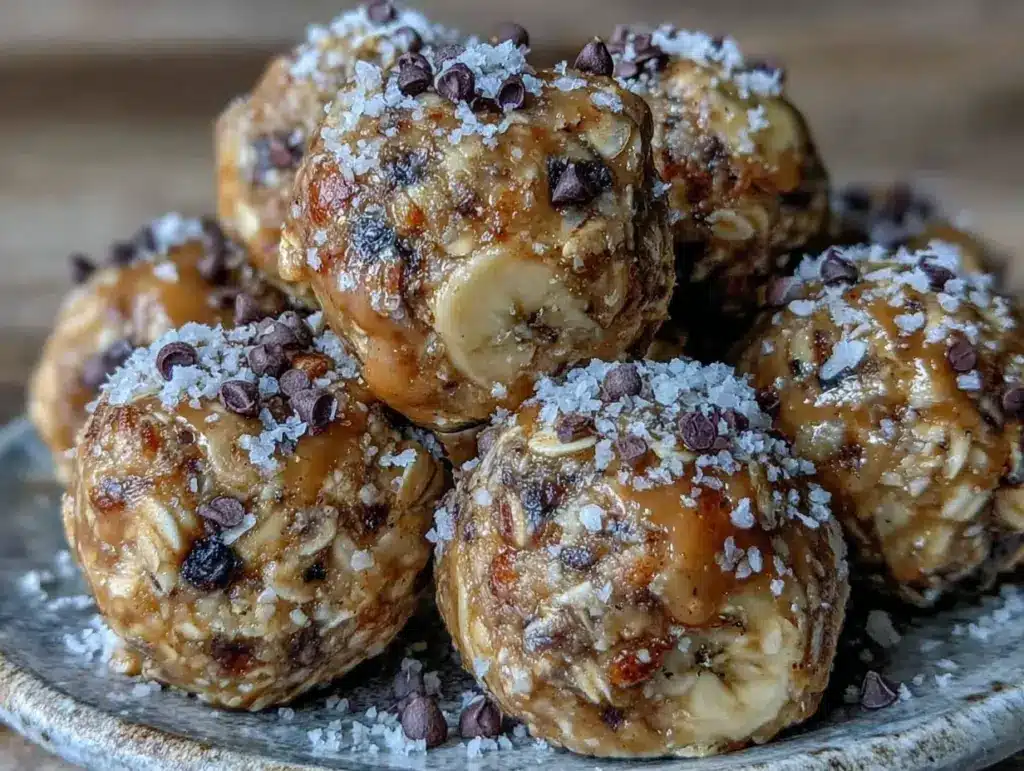
Okay, real talk: I used to think “healthy snacks” were basically just sad crackers and a block of cheese. Or worse, those little yogurt-covered raisins that stick to the roof of your mouth. I was looking for something that tasted like a treat but actually gave me energy instead of a sugar crash. That was the exact problem I had last month when I was trying to cut back on the afternoon cookie habit. I wanted something sweet, something salty, something that felt indulgent, but didn’t leave me feeling sluggish for my evening walk.
So I started playing around in my kitchen. I threw together a few things I had lying around—peanut butter, bananas, oats—and I wasn’t expecting much. I figured it would be a mushy mess. But then I chilled it for an hour, rolled it into balls, and took one bite. It was like biting into a cookie dough ball that happened to be good for you. It was creamy, sweet, and just perfectly salty. I made a second batch that same day. And then a third. Now, I literally cannot keep these in the house. My kids grab them, my husband grabs them, and I catch myself sneaking one while I’m chopping vegetables.
These no bake peanut butter banana energy bites you’ll make on repeat are the definition of foolproof. There’s no oven, no measuring cups (seriously, you eyeball it), and no complicated techniques. If you can mash a banana and stir a bowl, you can master this. It’s the ultimate “if you can only make one thing, make this” snack. It’s portable, it’s naturally sweet, and it tastes like dessert. Let me show you why this simple combination is about to become your new best friend.
Why You’ll Love This Simple Snack Recipe
There are a million snack recipes out there, but this one sticks. It’s not because it’s fancy. It’s because it just works. Every time. Here’s why these bites have taken over my pantry:
Three Ingredients, Zero Guesswork — I’m not exaggerating. You need peanut butter, bananas, and oats. That’s it. No vanilla extract, no honey, no maple syrup, no coconut oil. Just three things you probably already have. I’ve tried adding extra stuff to make them “fancier,” and honestly? It just makes them harder to roll. Keep it simple. The banana provides the sweetness, the peanut butter provides the fat and protein, and the oats provide the texture. It’s a perfect balance.
Actually Tastes Like Cookie Dough — Most “healthy” energy balls taste like dirt or protein powder. These taste like peanut butter cookie dough. The raw oats give it that chewy, substantial bite, and the banana keeps it soft and moist. When you first make them, they’re soft. But once they chill in the fridge, they firm up just enough to hold their shape but stay chewy. It’s the perfect texture for snacking on the go.
Beginner-Proof Simplicity — If you are new to cooking or just hate cleaning up, this is your recipe. There is no heat involved. No pots to boil, no pans to scrub, no oven to preheat. You just mash, stir, roll, and chill. It’s impossible to burn it. It’s impossible to over-mix it. It’s just pure, easy satisfaction. I make these when I want to feel like a good cook without doing any actual work.
Perfect for Meal Prep — Because they don’t use eggs or dairy, they store beautifully. I make a big batch on Sunday and just grab one or two throughout the week. They keep in the fridge for a week or in the freezer for a month. They’re like little edible batteries that you can pull out whenever you need a boost. No more reaching for the chips or the candy bar.
Customizable Without Losing the Magic — While three ingredients is all you need, you can add things if you want. But even with just the basics, they are incredibly versatile. You can change the type of peanut butter, add chocolate chips, or toss in some seeds. But honestly? The plain version is so good, you might not need to change a thing.
Ingredients You’ll Need
This is the beauty of this recipe. You don’t need to go to the store. You probably have everything right now. I’m going to break down exactly what to look for and why it matters. Don’t overcomplicate it.
Ripe Bananas (2 medium) — This is non-negotiable. You need bananas that are spotted, almost brown. They need to be soft enough to mash easily. Green bananas won’t have enough sweetness or moisture, and your bites will taste bland and dry. I keep a bunch of bananas in the fridge once they’re ripe enough to use. If they’re too green, put them in a paper bag with an apple for a day or two to speed things up.
Peanut Butter (1 cup / 250g) — Use natural or regular creamy peanut butter. I prefer creamy because it makes the mixture easier to roll. Chunky can work, but the chunks can make the balls uneven. Avoid “no-stir” peanut butters that are full of hydrogenated oils if you can help it—natural peanut butter tastes better and has a cleaner ingredient list. If your natural peanut butter is runny, just scoop out the oil that separates and use the thick paste. You want it thick and sticky.
Old-Fashioned Rolled Oats (1.5 cups / 120g) — Use the big flakes, not the quick oats or instant oats. Quick oats are too fine and will make the mixture gummy and dense. Old-fashioned oats give that nice, chewy texture. If you only have quick oats, you can use them, but the texture will be softer and less substantial. I always buy the big canister of oats because I use them for everything from fudgy espresso brownie bites to overnight oats. They’re a pantry staple for a reason.
Optional Add-Ins (If You Want Them) — Once you’ve mastered the base, you can mix in things. Chocolate chips (semi-sweet or dark) add a nice crunch. Chia seeds or flaxseeds add a bit of extra nutrition. A pinch of salt helps balance the sweetness. But again, the base recipe is perfect on its own. Don’t feel pressured to add more. Less is more here.
Equipment Needed
You don’t need any special gadgets. Here’s what I actually use. If you don’t have these exact items, don’t worry—there are easy swaps.
Large Mixing Bowl — Any bowl that’s big enough to hold a cup of peanut butter and 1.5 cups of oats comfortably. I use a 4-quart ceramic bowl. It’s heavy enough that it doesn’t slide around when I’m mashing.
Fork — For mashing the bananas. A potato masher works too, but a fork is what I always have handy. It’s faster and easier to clean.
Silicone Spatula — For mixing everything together. The peanut butter is sticky, so a spatula helps you get all of it out of the bowl. A regular spoon works, but you’ll get peanut butter on the spoon and the sides of the bowl.
Baking Sheet or Plate — For chilling the bites. I line my baking sheet with parchment paper or a silicone mat. It makes cleanup super easy. If you don’t have parchment, just use a plate. The bites won’t stick as much once they chill.
Small Cookie Scoop or Teaspoon — To portion the mixture. I use a small cookie scoop because it makes all the bites the same size. It’s faster than rolling them one by one by hand. If you don’t have one, just use a teaspoon. It’ll take a bit longer, but it’s still easy.
Refrigerator — You need a place to chill them. They need at least an hour in the fridge to firm up. If you’re in a rush, you can put them in the freezer for 20 minutes, but the fridge is better for texture.
How to Make It: Step-by-Step
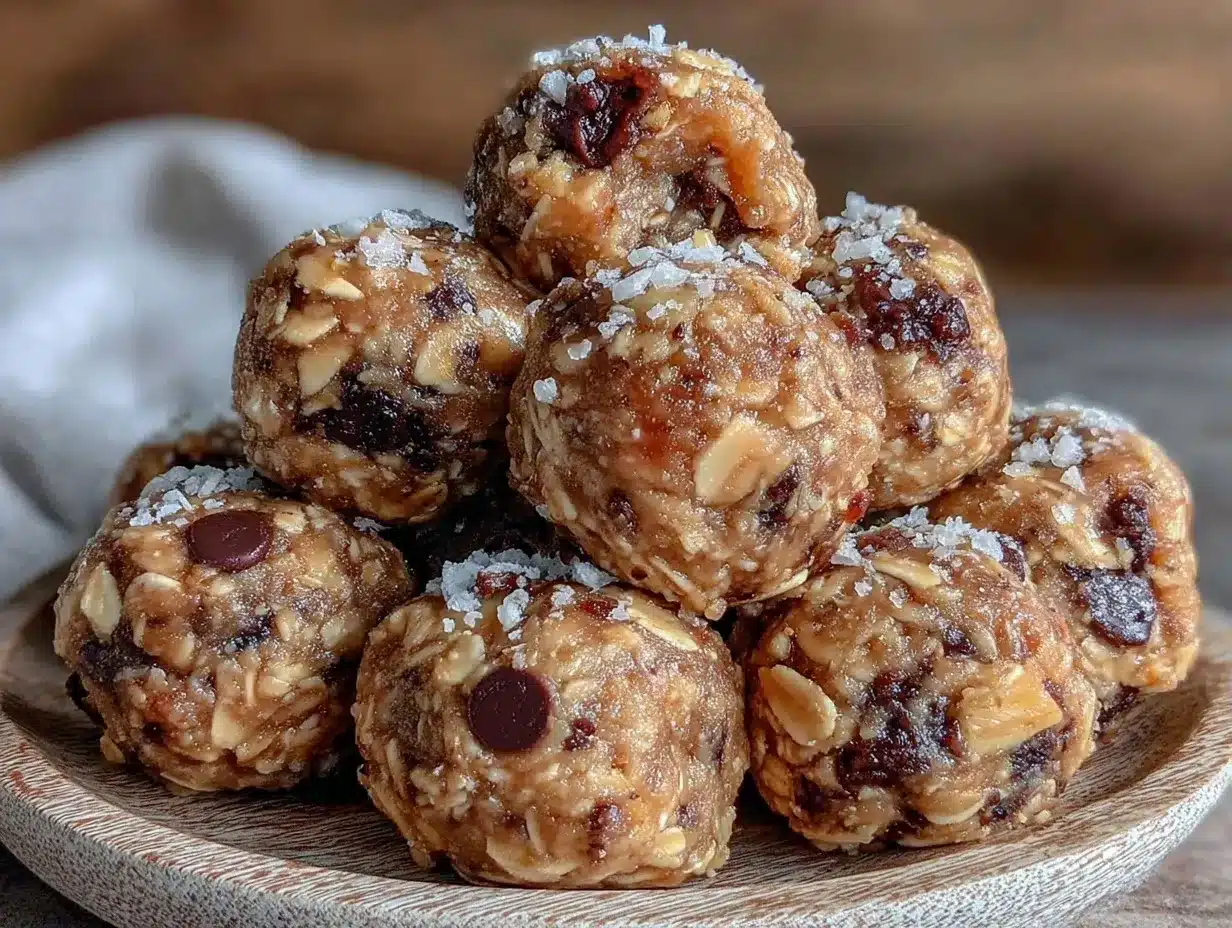
Alright, let’s make these! I’m walking you through exactly how I do it. It’s so simple that you might forget to take a picture because you’ll be too busy eating the raw mixture.
Step 1: Mash the Bananas
Peel your bananas and put them in your large mixing bowl. Use your fork to mash them until they’re smooth. I mean really smooth. No big chunks. If you leave chunks, your bites will be uneven. You want a banana puree. It’ll look like a thick, yellow mush. This takes about 1-2 minutes.
Step 2: Add the Peanut Butter
Pour in your cup of peanut butter. If it’s natural peanut butter and there’s oil on top, scoop out the solid part and ignore the oil (or stir it back in if you like it looser). Stir the peanut butter into the banana mash. It might look weird at first—like a lumpy, sticky mess. That’s okay. Keep stirring until it’s combined. You’re looking for a thick, uniform paste.
Step 3: Mix in the Oats
Add the rolled oats. Now, this is where you use your spatula. Fold the oats into the banana-peanut butter mixture. Don’t just stir—fold. You want to coat every oat in the mixture. It’ll get thicker and stickier. Keep folding until there are no dry spots of oats left. The mixture should hold together when you press it with your finger. If it’s too dry, add a little more peanut butter. If it’s too wet, add a little more oats. But with 2 bananas, 1 cup PB, and 1.5 cups oats, it should be perfect.
Step 4: Roll the Bites
Now for the fun part. Take a small amount of mixture—about a tablespoon—and roll it between your palms to form a ball. I use a cookie scoop to make sure they’re all the same size, but you can eyeball it. Roll them until they’re smooth and round. Place them on your lined baking sheet or plate. Don’t worry if they’re not perfectly round. They’re energy bites, not jewelry. This step takes about 10 minutes if you’re making 15-20 bites.
Step 5: Chill
Once all the bites are rolled, put them in the fridge. Let them chill for at least 1 hour. This is crucial. It firms up the peanut butter and sets the texture. If you eat them right away, they’ll be soft and sticky. After an hour, they’re perfect—chewy, firm, and easy to handle. I usually make them the night before, so they’re ready to grab in the morning.
Step 6: Store and Enjoy
Once they’re chilled, you can store them in an airtight container in the fridge for up to a week. Or, if you want to keep them longer, put them in the freezer for up to 3 months. They thaw quickly, so you can keep a bag in the freezer and pull them out whenever you need a snack. I keep them in a small container in the front of the fridge so I can see them. If I can’t see them, I’ll forget they’re there.
Expert Tips & Tricks
Here’s everything I’ve learned from making these dozens of times. These tips will save you from my mistakes.
Use Ripe Bananas
This is the most important tip. I’ve tried this with green bananas, and it tastes terrible. It’s bland and dry. You need bananas that are spotted or even brown. They’re sweeter and softer. If you buy bananas that are too green, put them in a paper bag with an apple for a day or two. It speeds up the ripening process. Trust me on this one.
Don’t Overmix
Once you add the oats, mix just until combined. If you overmix, the oats can break down and make the mixture gummy. You want distinct oats for that chewy texture. Fold gently and stop when you don’t see dry spots.
Wet Your Hands
If the mixture is sticking to your hands, wet them slightly with water. This helps the peanut butter slide off your palms and makes rolling easier. It’s a small trick that makes a big difference.
Chill Before Serving
I know it’s tempting to eat them right away, but give them that hour in the fridge. The texture is so much better when they’re chilled. The peanut butter firms up, and the oats absorb the moisture. It’s the difference between a sticky mess and a perfect bite.
Portion Control
These are small but dense. A little goes a long way. I aim for 15-20 bites per batch. They’re perfect for a quick snack or a pre-workout boost. Don’t make them too big, or you’ll feel too full after eating one.
Variations & Substitutions
Once you’ve nailed the basic version, here’s how you can mix it up. I’ve tried all of these, and they’re all good.
Chocolate Chip Version
Add ½ cup of mini chocolate chips to the mixture before rolling. It’s like a peanut butter cup in bite form. My kids love this version. It’s still healthy-ish, but it tastes like a treat.
Seed-Loaded Version
Add 2 tablespoons of chia seeds or flaxseeds. It adds a bit of extra nutrition and a nice crunch. I like to use both. It’s a great way to sneak in some omega-3s.
Coconut Version
Roll the finished bites in shredded coconut. It adds a tropical flavor and a nice texture. It’s especially good if you’re using almond butter instead of peanut butter.
Butter Substitutions
You can use almond butter, cashew butter, or sunflower seed butter instead of peanut butter. Just make sure it’s the same consistency—creamy and thick. If you use seed butter, the bites will be lighter in color and have a milder flavor. It’s still delicious.
Oat Substitutions
If you don’t have rolled oats, you can use quick oats, but the texture will be softer. You can also use crushed graham crackers or rice cereal for a crunchier texture. But rolled oats are the best for that chewy, substantial bite.
Serving & Storage
These are best served chilled. I usually keep them in a small container in the fridge. They’re perfect for packing in a lunchbox, tossing in a gym bag, or keeping on the counter for a quick snack.
Storage Instructions:
Store in an airtight container in the fridge for up to 1 week. They keep well because there’s no moisture from eggs or dairy. If you want to keep them longer, freeze them for up to 3 months. Put them in a freezer bag or container, and they’ll stay fresh. They thaw quickly, so you can pull them out 10 minutes before you need them.
Reheating:
You don’t need to reheat these. They’re best eaten cold or at room temperature. If you freeze them, let them thaw in the fridge or on the counter for a few minutes. They’re not meant to be eaten warm.
Pairing Ideas:
These go great with a glass of milk, a cup of coffee, or a piece of fruit. I like to pair them with an apple or a banana for a balanced snack. They’re also a great addition to a yogurt parfait. Just crush one or two on top for extra flavor.
Nutrition Information
I’m not a nutritionist, but here’s the breakdown if you’re tracking. This is based on 20 bites.
Per Bite (approximate):
- Calories: 70
- Protein: 2g
- Carbs: 8g
- Fiber: 1g
- Sugar: 3g
- Fat: 4g
- Saturated Fat: 1g
- Cholesterol: 0mg
- Sodium: 30mg
What’s Good: They’re naturally sweet, with no added sugar. They have a good amount of healthy fats from the peanut butter and fiber from the oats. They’re a great source of energy without the crash.
What to Know: They’re calorie-dense because of the peanut butter. A little goes a long way. If you’re watching your calories, stick to 1-2 bites per snack. They’re not a meal replacement, but a great snack.
My Take: Look, these are a snack. They’re not a salad. But they’re a better choice than a bag of chips or a candy bar. They’re made with real food, no additives, and they taste amazing. When I want to make it lighter, I use less peanut butter and more oats. But usually? I just eat a couple and enjoy them.
Final Thoughts
So that’s my go-to no bake peanut butter banana energy bites! I’ve probably talked your ear off at this point, but when you make a recipe this often, you have a lot to say about it. These have saved me from the afternoon slump more times than I can count. They’re my answer to “what’s a quick snack?” when I’m tired, don’t want to cook, and still want something that tastes really good.
Make it yours! Try different add-ins, swap in your favorite nut butter, or adjust the sweetness. The best recipes are the ones you adapt to your tastes. If you make this, drop a comment and let me know what you think! I love hearing how recipes turn out in your kitchen. And if something doesn’t work, tell me that too—I’m here to help troubleshoot.
Happy snacking! And I hope your kitchen smells half as good as mine does right now.
Frequently Asked Questions
Can I use quick oats instead of rolled oats?
You can, but the texture will be softer and less chewy. Quick oats are finer, so they absorb more moisture and can make the mixture gummy. If you only have quick oats, use them, but expect a softer bite. Rolled oats are the best for that substantial, cookie-dough texture.
Why did my bites fall apart?
Usually means the bananas weren’t ripe enough, or you didn’t use enough peanut butter. The banana acts as the binder, so you need it to be soft and sweet. If your bananas were green, mash them really well or add a little more peanut butter. Also, make sure you’re chilling them long enough. If they’re too warm, they’ll be too soft to hold their shape.
Can I freeze these?
Yes! They freeze beautifully. Put them in an airtight container or freezer bag. They’ll last up to 3 months. Thaw them in the fridge or on the counter for 10-15 minutes before eating. They taste just as good frozen as they do chilled.
Can I use almond butter instead of peanut butter?
Absolutely. Almond butter, cashew butter, or sunflower seed butter all work great. Just make sure it’s creamy and thick. If your nut butter is runny, add a little more oats to compensate. The flavor will be slightly different, but still delicious.
How many bites does this make?
This recipe makes about 15-20 bites, depending on how big you roll them. I aim for tablespoon-sized balls. They’re small but dense, so a little goes a long way. I usually get about 18 bites from this batch.
Can I add protein powder?
You can, but it will change the texture. Protein powder is dry, so you’ll need to add a little more peanut butter or a splash of milk to compensate. Start with 1 scoop and see how it goes. It’ll make the bites denser and higher in protein, which is great for post-workout.
Pin This Recipe!
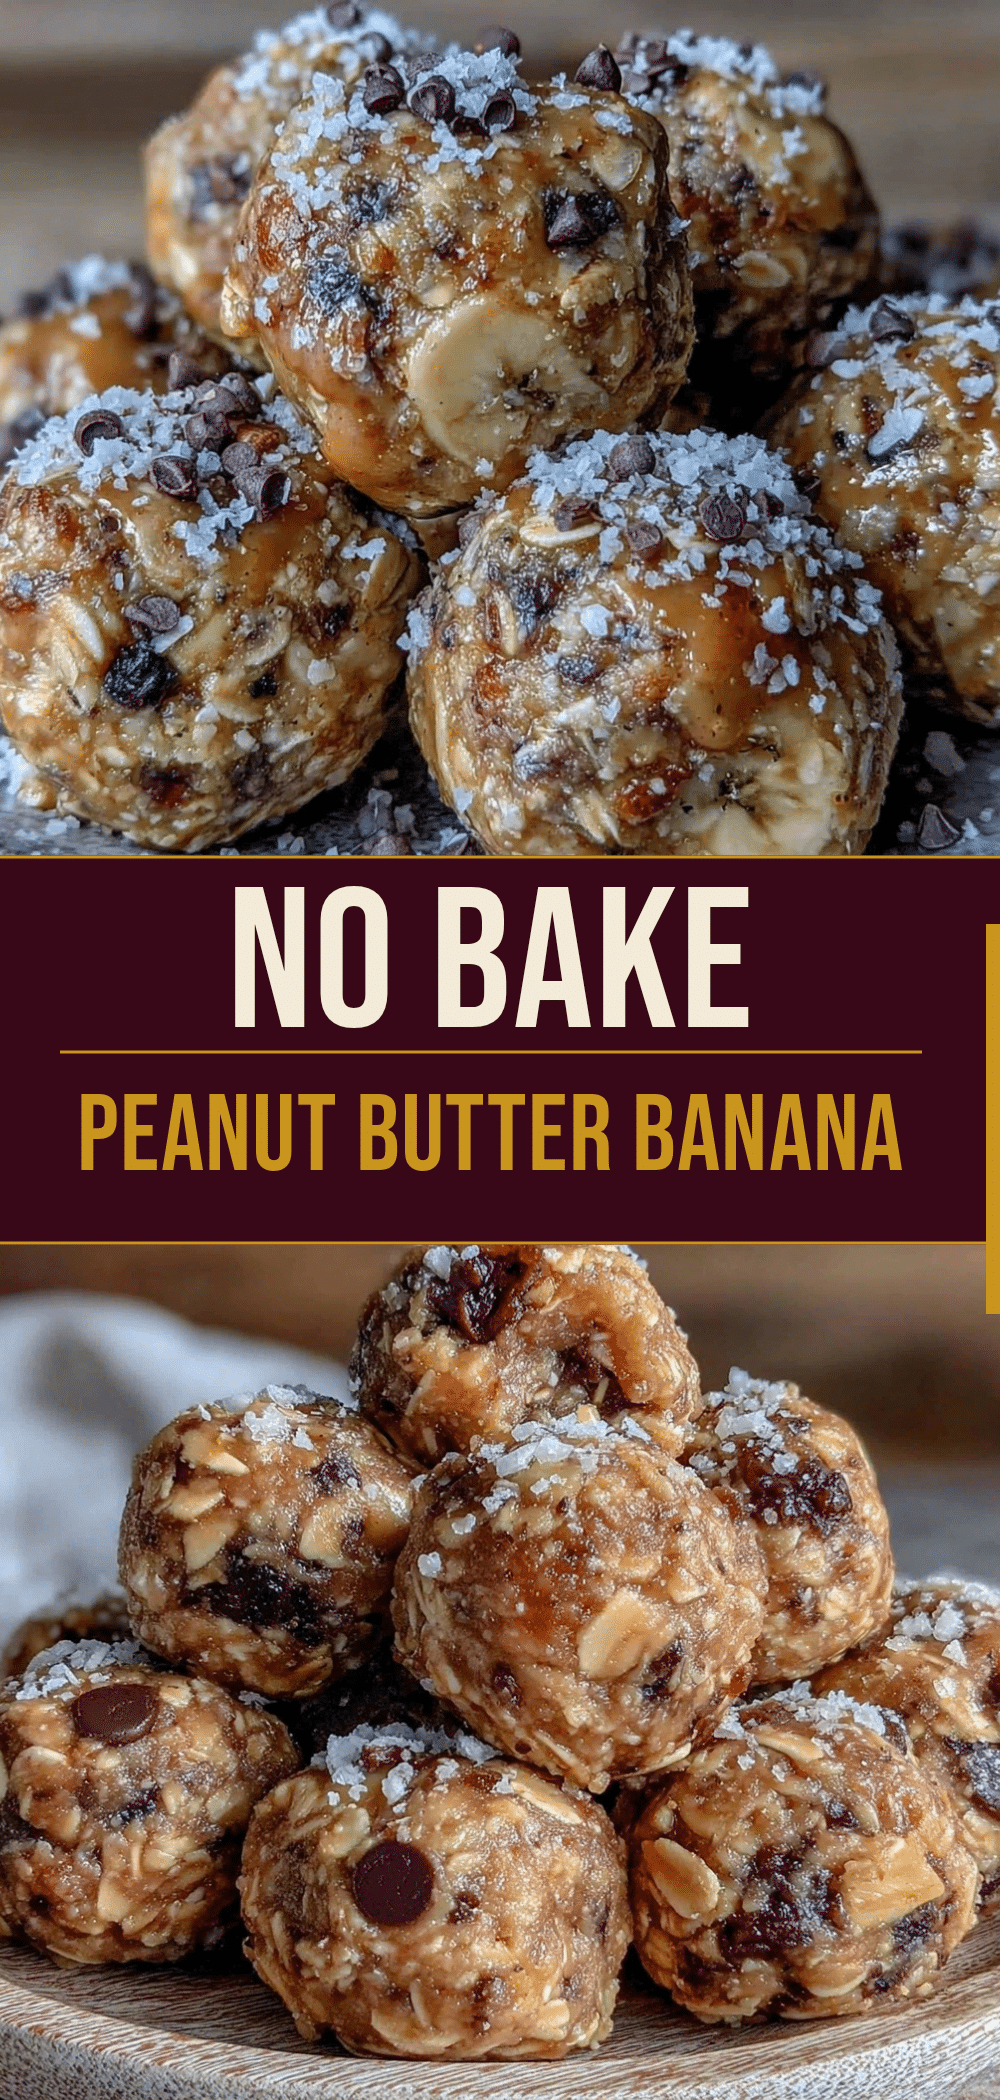
No Bake Peanut Butter Banana Energy Bites
- Total Time: 1 hour 15 minutes
- Yield: 15-20 servings 1x
Description
A simple, 3-ingredient no-bake snack made with peanut butter, bananas, and oats. These energy bites taste like cookie dough, require no cooking, and are perfect for meal prep.
Ingredients
- 2 medium ripe bananas
- 1 cup (250g) creamy peanut butter
- 1.5 cups (120g) old-fashioned rolled oats
- Optional: 1/2 cup mini chocolate chips, 2 tbsp chia or flax seeds, or pinch of salt
Instructions
- Peel the bananas and place them in a large mixing bowl. Mash them thoroughly with a fork until smooth with no large chunks remaining.
- Add the peanut butter to the mashed bananas. Stir until the mixture forms a thick, uniform paste.
- Add the rolled oats to the bowl. Fold the oats into the peanut butter mixture using a spatula until fully combined and no dry spots remain.
- Using a small cookie scoop or teaspoon, portion out the mixture. Roll each portion between your palms to form smooth balls.
- Place the rolled bites on a baking sheet lined with parchment paper or a plate.
- Refrigerate the bites for at least 1 hour to firm up before serving.
- Store in an airtight container in the refrigerator for up to 1 week or in the freezer for up to 3 months.
Notes
Use very ripe, spotted bananas for natural sweetness and easier mashing. If the mixture is too sticky, wet your hands slightly with water before rolling. Do not overmix the oats to maintain a chewy texture. These are best served chilled.
- Prep Time: 15 minutes
- Cook Time: 0 minutes
- Category: Snack
- Cuisine: American
Nutrition
- Serving Size: 1 bite (approx. 1 ta
- Calories: 70
- Sugar: 3
- Sodium: 30
- Fat: 4
- Saturated Fat: 1
- Carbohydrates: 8
- Fiber: 1
- Protein: 2
Keywords: no bake, energy bites, healthy snack, peanut butter, banana, oats, 3 ingredient, meal prep, gluten free, vegan



