Let me be honest with you. For years, I was a slave to the doorbell. You know the one. The one that rings at 6:30 PM, signaling that my brain has officially turned to mush and I have zero interest in cooking. I’d scroll through the delivery apps, staring at prices that made my wallet cry, and order something that promised “authentic flavor” but usually delivered “soggy disappointment.”
Then, last month, I found myself with a package of chicken thighs in the fridge and a sudden, violent craving for that sticky, sweet, garlicky goodness you get from your favorite local spot. But I didn’t want to pay $18 for it. So, I grabbed my air fryer. I thought, “How hard can it be? It’s just chicken and sauce.”
I was wrong. It was actually incredibly easy. And better? No, it was so much better.
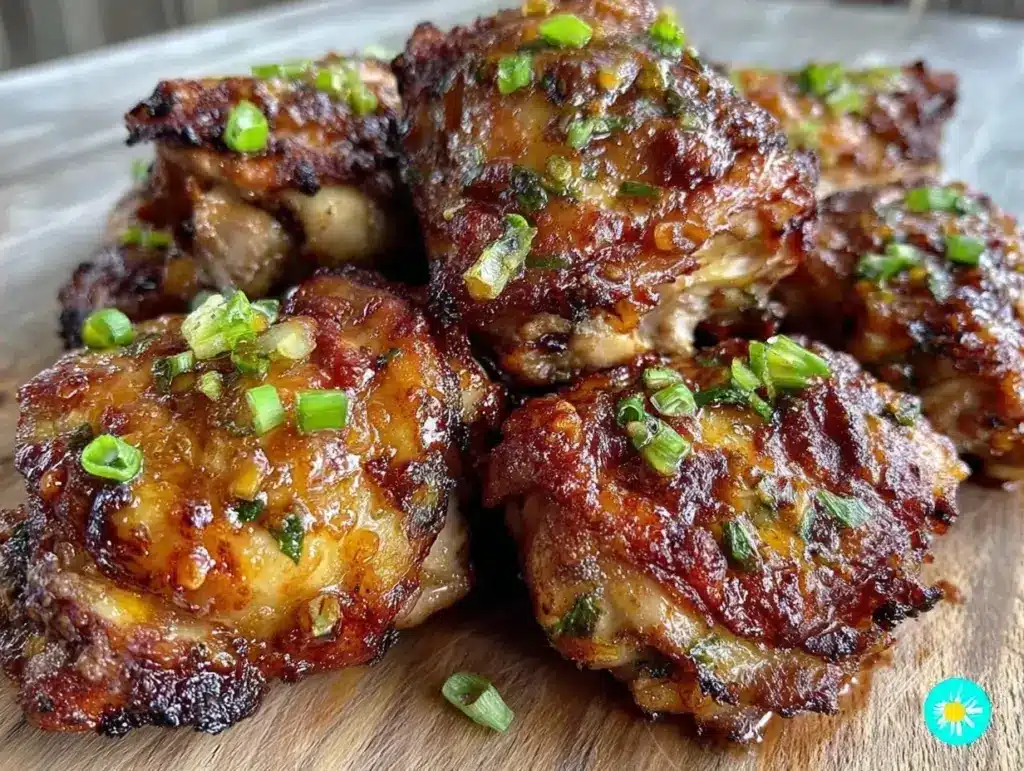
I made a batch of crispy air fryer honey garlic chicken thighs that night. The skin (yes, even with skin-on thighs) got shatteringly crisp. The meat stayed juicy because thighs are forgiving like that. And the sauce? It clung to every nook and cranny, caramelizing in the hot air circulation until it was glossy and irresistible. My husband took one bite, looked at me, and said, “Why are we ordering out when we have this?”
That’s the thing about this recipe. It’s not just a meal; it’s a boundary setter. It’s the line in the sand between “I give up” and “I actually cooked something amazing.” I’ve tested this crispy air fryer honey garlic chicken thighs recipe about ten times now. I’ve tweaked the garlic amount (more is better), the honey ratio (sticky, not soup), and the cooking time. The result? A 5-ingredient meal that tastes like you spent hours simmering a complex glaze, but really took 25 minutes total.
If you’re looking for a weeknight dinner that doesn’t require a culinary degree or a trip to the grocery store for obscure spices, this is it. Seriously. It’s the easiest, most satisfying dinner you will make all month.
Why You’ll Love This Honey Garlic Chicken
There are a lot of chicken recipes out there. Some are fancy. Some are healthy. Some require seven different sauces and a recipe that’s three pages long. This one? It’s the anti-fancy. It’s the “I want dinner now and I want it to taste like a treat” solution.
Here’s why this crispy air fryer honey garlic chicken thighs has permanently kicked takeout to the curb:
- Five Ingredients. That’s It. I’m not exaggerating. Chicken thighs, honey, garlic, soy sauce, and a little sesame oil. That’s the entire pantry list. No hidden ingredients, no confusing pantry staples you’ll never use again. If you can read a label, you can cook this.
- The Air Fryer Magic. I know, I know, air fryers are everywhere now. But this recipe uses the technology exactly how it was meant to be used. The hot air circulates around the chicken, crisping the skin without the mess of deep frying. You get that restaurant-style crunch without the oil splatter on your counter. It’s foolproof.
- Sauce That Actually Sticks. Have you ever made chicken at home and poured sauce over it, only to watch it slide off into the bowl? This doesn’t happen. The balance of honey and soy creates a sticky glaze that caramelizes in the air fryer. It coats the chicken. It sticks to your fingers. It’s messy in the best way possible.
- Beginner-Proof. Chicken breasts can be dry and tricky. Thighs? They’re forgiving. You can overcook them slightly and they’re still tender. You can under-season them and the sauce saves the day. This recipe builds your confidence. Once you nail this, you’ll feel like you can tackle any protein.
- Leftovers Are Better. I’ve noticed with this crispy air fryer honey garlic chicken thighs recipe that the flavors deepen overnight. The next day, I reheat it in the air fryer for three minutes, and it’s even more flavorful. It’s my go-to lunch for work, packed in a container next to some steamed rice.
This isn’t just dinner. It’s a win. It’s the kind of meal that makes you feel competent and fed without breaking a sweat.
Ingredients You’ll Need
Here’s the best part: you probably already have most of this in your kitchen. I’m being serious. This isn’t one of those recipes where you need to hunt down a specific brand of gochujang or a rare spice blend.
Chicken Thighs (2 pounds / 900g) — Boneless, skin-on is my preference. The skin gets crispy, which is the whole point. If you only have boneless skinless, you can use those, but the texture will be different—more like breaded chicken than crispy skin. Pat them dry! Moisture is the enemy of crispiness.
Honey (½ cup / 120ml) — Don’t cheap out here. Good honey makes a glossy, sweet glaze. I use regular clover or wildflower honey. If you’re out, maple syrup works, but the flavor profile shifts slightly. Stick to honey for that authentic takeout taste.
Garlic (6-8 cloves, minced / about 3 tablespoons) — Yes, a lot of garlic. Fresh garlic only. No jarred stuff. Jarred garlic has a sulfurous taste that doesn’t caramelize the same way. Mince it fine so it distributes evenly in the sauce. If you’re worried about garlic breath, well… that’s the price of deliciousness.
Soy Sauce (¼ cup / 60ml) — Regular soy sauce is fine. Low-sodium works too, but you might want to add a pinch more salt later. I like using a standard brand like Kikkoman. It gives that salty, umami backbone that balances the sweet honey.
Sesame Oil (1 tablespoon) — This is the secret weapon. It adds that nutty, toasted aroma that screams “Asian-inspired.” Make sure it’s real sesame oil, not the generic “sesame flavored oil” that’s mostly vegetable oil. The bottle should say “toasted sesame oil.”
Optional But Recommended:
- Red Pepper Flakes (½ teaspoon) — If you like a little kick, add this to the sauce. It cuts through the sweetness perfectly.
- Green Onions (2-3, sliced) — For garnish. Adds color and a fresh crunch.
- Sesame Seeds (1 tablespoon) — For that final touch. Toasted sesame seeds are best.
Quick Tip: I keep a bottle of sesame oil and a jar of good honey in my pantry specifically for nights like this. If you don’t have them, run to the store. They’re cheap and they make a huge difference.
Equipment Needed
You don’t need a fancy kitchen for this. Here’s what I actually use:
Air Fryer — Obviously. Any brand works. I use a 5.8-quart basket, which fits 4-5 thighs comfortably in a single layer. Don’t overcrowd the basket! Air needs to circulate. If you have a small air fryer, cook in two batches.
Mixing Bowl — A medium bowl to whisk your sauce. Glass or ceramic is nice, but any bowl works.
Whisk — To blend the honey and soy sauce smoothly. A fork works in a pinch.
Paper Towels — For patting the chicken dry. This is non-negotiable for crispy skin.
Tongs — For flipping the chicken. Metal tongs are durable and safe.
Small Saucepan (Optional) — I usually just whisk the sauce in the bowl, but if you want to simmer it slightly to thicken before pouring over chicken, use a small pan. For this recipe, I skip it and just brush the sauce on at the end.
Brush or Spoon — To apply the sauce. A silicone pastry brush is great for getting into the crevices.
How to Make It: Step-by-Step
Alright, let’s make this. It’s simpler than you think. I’m walking you through exactly how I do it, including the little tricks that make the difference between “okay” and “wow.”
Step 1: Prep the Chicken (5 minutes)
Take your chicken thighs out of the package. If they’re very wet, pat them thoroughly dry with paper towels. I can’t stress this enough. Dry chicken = crispy chicken. Wet chicken = steamed chicken. Once they’re dry, you can leave them plain or season with a little salt and pepper. I usually keep it simple and let the sauce do the work.
Step 2: Make the Sauce (2 minutes)
In a small bowl, whisk together the honey, minced garlic, soy sauce, and sesame oil. Add red pepper flakes if you’re using them. The mixture will look a bit thick and gloopy at first—that’s normal. The honey needs to emulsify with the soy and oil. Whisk until it’s smooth.
Step 3: Air Fry the Chicken (15-18 minutes)
Preheat your air fryer to 380°F (190°C). Place the chicken thighs in the basket in a single layer. Make sure they aren’t touching. You want air to flow around each piece. Cook for 12-15 minutes. Flip them halfway through. You’re looking for golden brown skin and cooked-through meat. If your thighs are particularly thick, they might need a minute or two more.
Step 4: Glaze and Finish (3 minutes)
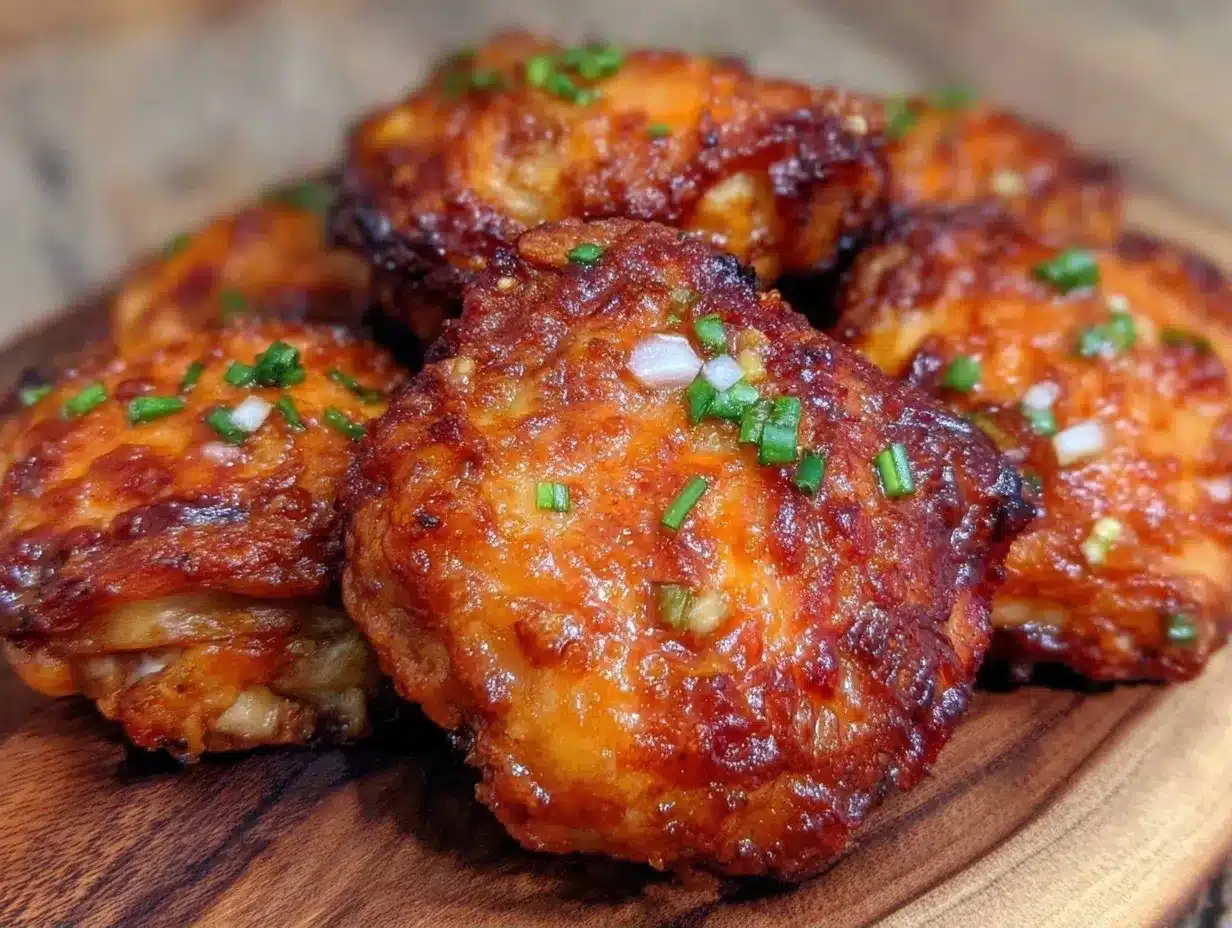
Here’s the magic step. Once the chicken is cooked, open the basket. Brush a generous layer of your honey garlic sauce over the top of each thigh. Then, crank the air fryer up to 400°F (200°C) and cook for another 2-3 minutes. This caramelizes the sugar in the honey and creates that sticky, glossy finish.
Step 5: Rest and Serve
Take the chicken out and let it rest for 2-3 minutes. This keeps the juices inside. Sprinkle with green onions and sesame seeds. Serve immediately.
Total Time: About 25 minutes. Active Time: 10 minutes. Clean-up: One bowl and a basket. Easy.
Expert Tips & Tricks
Here’s everything I’ve learned from making this dozens of times. These tips will save you from my mistakes.
Don’t Skip the Pat Dry
I know it’s tedious. But if the chicken is wet, the skin won’t crisp. It’ll just get soggy. Take the time to dry it. I use two layers of paper towels if they’re really wet.
Single Layer is Key
If you stack the chicken, the bottom pieces will steam instead of fry. Cook in batches if you have to. It’s worth the extra five minutes.
Watch the Honey Burn
Honey burns quickly. That’s why I cook the chicken first, then add the sauce at the end. If you put raw chicken in a pool of honey from the start, the sugar will char before the chicken is cooked. Patience pays off.
Use a Thermometer
I usually just eyeball it, but if you want to be precise, cook until the internal temperature reaches 165°F (74°C). Thighs can go up to 175°F for more fall-off-the-bone tenderness, but 165°F is safe and juicy.
Sauce Consistency
If your sauce is too thick to brush, add a teaspoon of water. If it’s too thin, let it simmer in a pan for a minute before brushing. You want it to coat the back of a spoon.
Variations & Substitutions
Once you’ve nailed the basic version, here’s how you can mix it up. I’ve tried all of these.
Spicy Version
Add 1 teaspoon of chili garlic sauce or sriracha to the glaze. It adds a nice heat that balances the sweetness. My friend Sarah loves this version.
Ginger Kick
Add 1 teaspoon of fresh grated ginger to the sauce. It adds a zesty, warming note that pairs beautifully with garlic and honey.
Vegetarian Swap
You can use thick slices of firm tofu or portobello mushroom caps instead of chicken. Press the tofu well and air fry at 375°F for 15 minutes, brushing with sauce halfway through. It’s surprisingly good.
Dietary Modifications
Gluten-Free: Use tamari instead of soy sauce. Everything else is naturally gluten-free.
Dairy-Free: This recipe is already dairy-free! Just double-check your soy sauce and honey.
Serving & Storage
How to Serve:
I serve this straight from the air fryer basket to the plate. It looks rustic and stays warm. Pair it with steamed jasmine rice to soak up the extra sauce. A simple cucumber salad or some spicy chipotle corn on the cob makes a great side dish if you want something crunchy and fresh.
Storage:
Store leftovers in an airtight container in the fridge for up to 3 days. The sauce will thicken in the fridge—that’s normal.
Reheating:
Do not microwave this if you can help it. Microwaving makes the skin soggy. Instead, pop the chicken back in the air fryer at 375°F for 3-4 minutes. It restores the crispiness perfectly. If you must microwave, do it in short bursts and let it sit for a minute after.
Freezing:
You can freeze the cooked chicken, but the texture of the skin might change slightly upon thawing. I recommend freezing the sauce separately and cooking fresh chicken when you’re ready to eat.
Nutrition Information
I’m not a nutritionist, but here’s the breakdown if you’re tracking. This is per serving (based on 4 servings, 1 thigh each).
| Nutrient | Amount |
|---|---|
| Calories | 320 |
| Protein | 22g |
| Carbs | 28g |
| Fat | 14g |
| Fiber | 0g |
| Sugar | 24g |
What’s Good: High protein, low carb (if you skip the rice). What to Know: Higher in sugar due to honey. Use less honey if you’re watching sugar intake, but you’ll lose that sticky glaze. It’s a trade-off.
Final Thoughts
So that’s my go-to crispy air fryer honey garlic chicken thighs! I’ve probably talked your ear off at this point, but when you make a recipe this often, you have a lot to say about it.
This has saved weeknight dinners more times than I can count. It’s my answer to “what’s for dinner” when I’m tired, don’t want takeout, and still want something that tastes really good. My kids are happy, my husband’s happy, and I’m happy because I’m not stressed about cooking.
Make it yours! Try different add-ins, swap in your favorite vegetables, adjust the garlic (though more is always better in my opinion). The best recipes are the ones you adapt to your family’s tastes.
If you make this, drop a comment and let me know what you think! I love hearing how recipes turn out in your kitchen. And if something doesn’t work, tell me that too—I’m here to help troubleshoot.
Happy cooking! And I hope your kitchen smells half as good as mine does right now.
Frequently Asked Questions
Can I use chicken breasts instead of thighs?
You can, but the texture will be different. Chicken breasts are leaner and can dry out faster. If you use breasts, reduce the cooking time by 2-3 minutes and keep a close eye on them. Thighs are more forgiving and stay juicier, which is why I recommend them.
Why did my chicken not get crispy?
Usually, this means the chicken was too crowded in the basket or wasn’t patted dry enough. Air needs to circulate. Also, make sure you’re not using a sauce that’s too watery before the final glaze step. The final 2-3 minutes at high heat is crucial for caramelization.
Can I make this ahead for a dinner party?
Sort of. You can prep the sauce and pat the chicken dry ahead of time. Store them separately in the fridge. When you’re ready to eat, cook the chicken and glaze it. It’s best cooked fresh for maximum crispiness, but you can save about 10 minutes of prep time.
How do I reheat leftovers without it getting dry?
As I mentioned, use the air fryer! It’s the best way to reheat fried or crispy foods. 3-4 minutes at 375°F will bring back the crunch. Avoid the microwave if possible.
Can I double this recipe?
Absolutely! Just make sure your air fryer basket is big enough. If you have a small one, cook in two batches. Doubling the sauce is easy—just use a bigger bowl.
Is this recipe spicy?
Not by default. It’s sweet and savory. If you want heat, add red pepper flakes, chili garlic sauce, or a dash of sriracha to the glaze. Start with a little and add more to taste.
What sides go well with this?
Steamed rice is classic. Stir-fried vegetables work great too. If you want something fresh, a simple salad with a sesame vinaigrette complements the rich chicken nicely. I also love serving it with loaded baked potato salad if I’m feeling indulgent.
Pin This Recipe!
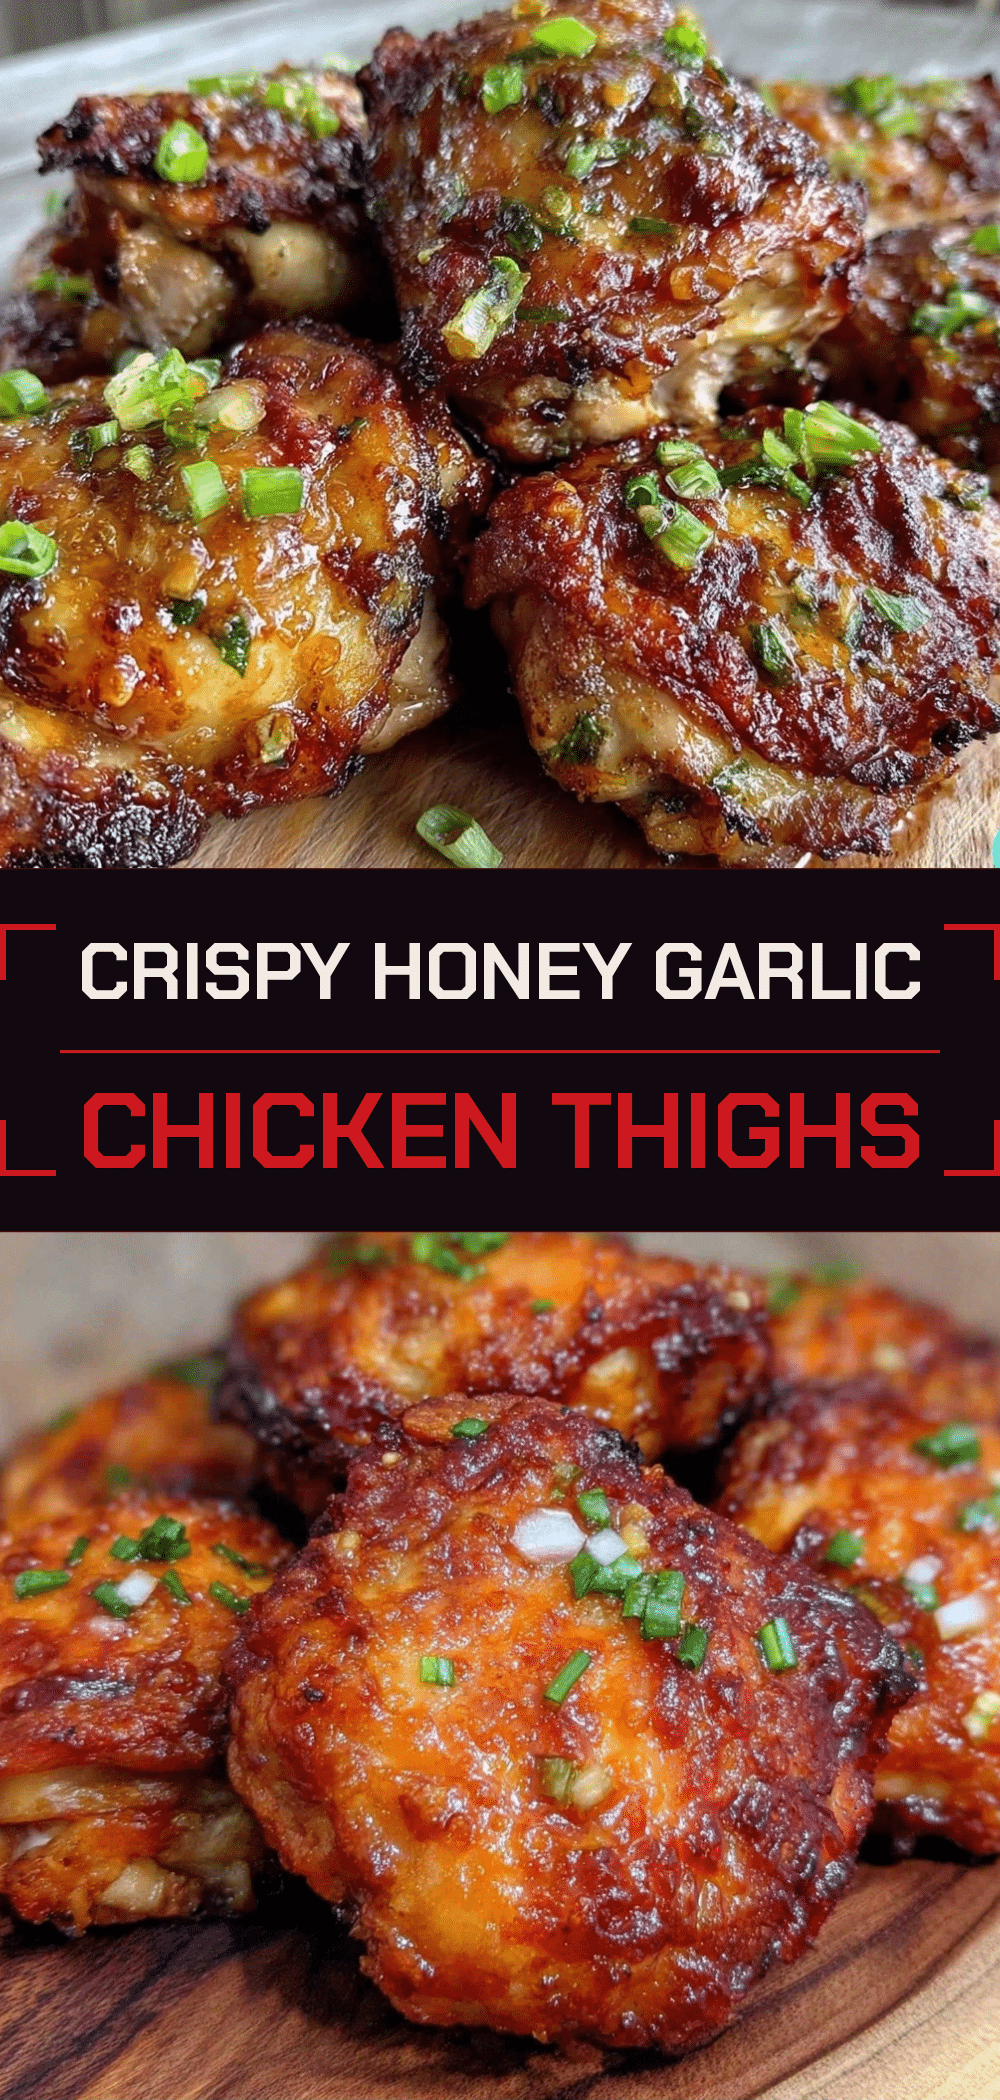

Crispy Air Fryer Honey Garlic Chicken Thighs
- Total Time: 25 minutes
- Yield: 4 servings 1x
Description
A beginner-friendly, 5-ingredient weeknight dinner featuring juicy chicken thighs with shatteringly crisp skin, coated in a sticky, sweet, and garlicky honey glaze. Ready in just 25 minutes.
Ingredients
- 2 pounds boneless, skin-on chicken thighs
- 1/2 cup honey
- 6–8 cloves garlic, minced
- 1/4 cup soy sauce
- 1 tablespoon toasted sesame oil
- 1/2 teaspoon red pepper flakes (optional)
- 2–3 green onions, sliced (for garnish)
- 1 tablespoon sesame seeds (for garnish)
Instructions
- Pat the chicken thighs thoroughly dry with paper towels to ensure crispiness.
- In a small bowl, whisk together the honey, minced garlic, soy sauce, and sesame oil until smooth.
- Preheat the air fryer to 380°F (190°C).
- Place the chicken thighs in the air fryer basket in a single layer, ensuring they are not touching.
- Cook for 12-15 minutes, flipping the chicken halfway through, until the skin is golden brown and the meat is cooked through.
- Remove the basket and brush a generous layer of the honey garlic sauce over each thigh.
- Increase the air fryer temperature to 400°F (200°C) and cook for another 2-3 minutes to caramelize the sauce.
- Let the chicken rest for 2-3 minutes before serving.
- Garnish with sliced green onions and sesame seeds.
Notes
Ensure chicken is patted completely dry before cooking to achieve crispy skin. Do not overcrowd the air fryer basket; cook in batches if necessary. Honey burns easily, so apply the sauce after the chicken is mostly cooked. For a spicy version, add chili garlic sauce or sriracha to the glaze.
- Prep Time: 10 minutes
- Cook Time: 15 minutes
- Category: Main Course
- Cuisine: Asian-Inspired
Nutrition
- Serving Size: 1 thigh per serving
- Calories: 320
- Sugar: 24
- Fat: 14
- Carbohydrates: 28
- Protein: 22
Keywords: air fryer chicken, honey garlic chicken, crispy chicken thighs, easy weeknight dinner, 5 ingredient recipe, gluten free dinner, dairy free meal



