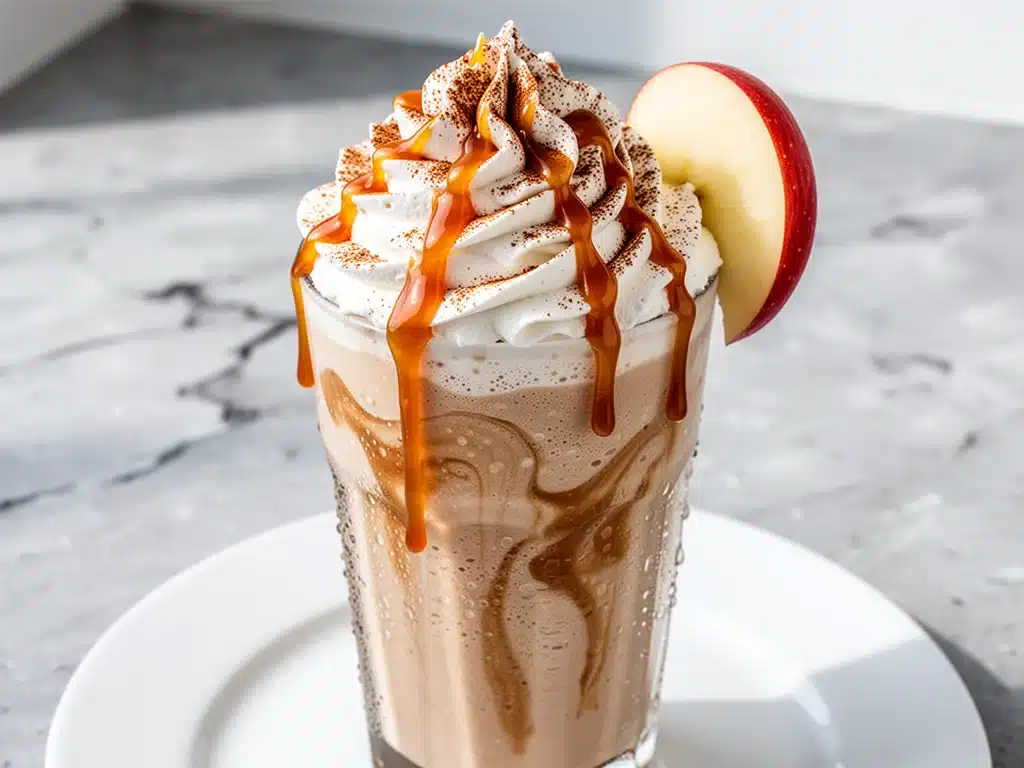
There’s a specific kind of magic that happens in late October. The air gets crisp, my windows are fogged up, and suddenly I’m craving something sweet that feels like a warm hug but tastes like a cold treat. Last week, I was standing in my kitchen with a bag of apples that were starting to get soft and a blender that was gathering dust. I didn’t want to bake a pie (too much work for a Tuesday), and I didn’t want to just eat them raw (too boring). So I threw them in the blender with caramel, cinnamon, and vanilla ice cream, and honestly? I nearly cried at how good it was.
This Fall Caramel Apple Milkshake isn’t just a drink; it’s a liquid version of your favorite autumn dessert. It’s thick, it’s creamy, it’s got that perfect balance of tart apple and sweet caramel, and the cinnamon whipped cream on top is the cherry on top—or should I say, the apple on top?
I’ve made this shake about eight times in the last two weeks. My kids think I’ve lost my mind, but they ask for it every single evening. It’s become our way of winding down, sitting on the porch (if it’s not raining), and pretending we’re in a cozy café in Vermont. If you’re looking for an easy autumn drink that tastes indulgent but comes together in five minutes, this is it. It’s the perfect companion to a crisp evening, especially if you pair it with something savory for dinner like creamy roasted tomato basil soup to balance out the sweetness.
Why You’ll Love This Recipe
Look, I love a good pumpkin spice latte as much as the next person, but sometimes you need something that feels more substantial and more “real.” This milkshake hits different. Here’s why it’s taking up space in my routine:
It Uses Real Fruit — No artificial syrups here. We’re using actual apples. I like to keep some firm apples in the fridge specifically for this. When you blend them, you get a fresh, bright apple flavor that cuts through the heavy caramel. It tastes like you just took a bite of a fresh apple but in dessert form.
The Cinnamon Whipped Cream is Game-Changing — I know, I know, you could just buy the stuff from the can. But homemade cinnamon whipped cream? It’s fluffy, it’s lightly spiced, and it makes the whole experience feel fancy. It’s the kind of detail that makes you feel like a serious home cook, even if you’re just blending ice cream.
It’s Faster Than Ordering Takeout — Seriously. From grabbing ingredients to drinking it, it takes less than 10 minutes. I’ve made this after dinner when I wanted a dessert but didn’t want to do dishes. It’s the ultimate lazy night treat.
Perfect for Cozy Evenings — There’s something about the smell of cinnamon and warm caramel that just screams “autumn.” Making this shake sets the mood for the whole evening. It’s not just a drink; it’s a vibe. It’s perfect for movie nights, reading by the fire, or just sitting outside while the leaves fall.
Customizable for Everyone — My husband likes his extra thick, my daughter likes hers with extra caramel drizzle, and I like mine with a sprinkle of sea salt on top. It’s a blank canvas for your autumn cravings.
Ingredients You’ll Need
Here’s the best part: you probably have most of this already in your fridge or pantry. This isn’t a recipe that requires a special trip to the store unless you’re out of vanilla ice cream.
For the Milkshake Base:
Vanilla Ice Cream (2 cups / 450g) — This is your foundation. Use good quality. I prefer a rich, creamy vanilla bean ice cream because it adds that tiny speckled texture and deeper flavor. If you’re using a cheaper brand, the shake will still be good, but the vanilla flavor won’t be as pronounced.
Fresh Apples (2 medium / about 300g) — I use Granny Smith for a tart kick, or Honeycrisp for a sweeter taste. Peel them first! You don’t want chunks of skin in your smooth shake. Core them and chop them into rough chunks. If your apples are really soft, you can skip peeling, but fresh, crisp apples blend better.
Whole Milk (½ cup / 120ml) — You need some liquid to get the blender going. Whole milk makes it creamier, but 2% works too. If you want it thinner, add a little more. If you want it thicker, use less.
Apple Cider (¼ cup / 60ml) — This is the secret weapon. It boosts that apple flavor and adds a hint of spice that plain milk doesn’t have. Use real apple cider, not the sweetened apple juice cocktail. Look for it in the refrigerated section near the juice.
Caramel Sauce (¼ cup / 60ml) — I’m partial to the bottle kind from the grocery store because it’s easy, but if you have time, homemade is better. Just make sure it’s warm and pourable. If it’s too thick, microwave it for 10 seconds.
Ice Cubes (½ cup / 75g) — Optional. If your ice cream is super soft and your apples are room temp, you might need these for texture. If you’re using frozen apple chunks, skip the ice.
For the Cinnamon Whipped Cream:
Heavy Cream (1 cup / 240ml) — Must be cold! Take it out of the fridge 10 minutes before whipping. If it’s warm, it won’t whip.
Powdered Sugar (2 tablespoons / 15g) — Adds sweetness and helps stabilize the cream. Sift it if it’s clumpy.
Cinnamon (½ teaspoon) — Use good quality ground cinnamon. If you have pumpkin pie spice, you can use that too for a more complex flavor.
Vanilla Extract (½ teaspoon) — Just a touch to tie it all together.
Pinch of Salt — Seriously, don’t skip this. It makes the cinnamon and sweet flavors pop.
Equipment Needed
You don’t need fancy gear for this. Here’s what I actually use:
High-Speed Blender — I use a Vitamix, but a standard Ninja or KitchenAid blender works fine. You just need enough power to crush the raw apple chunks. If you’re using a weak blender, maybe chop the apples smaller or soak them in the milk for 10 minutes first.
Mixing Bowl — For whipping the cream. A deep bowl is better so you don’t spray cream all over the ceiling. Learned that one the hard way.
Electric Hand Mixer or Stand Mixer — Whipping cream by hand is possible but annoying. I use my stand mixer with the whisk attachment. It takes about 2 minutes on medium-high speed.
Piping Bag or Spoon — For the topping. I like using a piping bag with a star tip because it looks fancy, but a regular spoon works just as well. It’s your kitchen, do what feels right.
Measuring Cups and Spoons — Standard stuff. I measure the caramel and cider carefully because too much liquid can make the shake soupy.
How to Make It: Step-by-Step
Alright, let’s make this! I’m walking you through exactly how I do it, including the little tricks I’ve picked up.
Step 1: Prep Your Apples
Peel and core your apples. Chop them into 1-inch chunks. If you’re in a rush, you can use pre-cut apples from the store, but fresh is better. The goal is to get them small enough that your blender can handle them easily. If you have a really powerful blender, you can leave them a bit larger.
Step 2: Blend the Milkshake
Add the vanilla ice cream, apple chunks, milk, apple cider, and caramel sauce to your blender. If you’re using ice cubes, add them now. Pulse a few times to break up the ice cream and apples, then blend on high for 30-60 seconds. You want it smooth and creamy. If it’s too thick, add a splash more milk. If it’s too thin, add a few more ice cream scoops. Taste it! If you want more apple flavor, add a bit more cider. If you want more caramel, drizzle in a little more sauce.
Step 3: Whip the Cinnamon Cream
While the shake is blending or right after, get your whipped cream going. In a chilled bowl, combine the heavy cream, powdered sugar, cinnamon, vanilla, and salt. Whip on medium-high speed until soft peaks form. This means when you lift the whisk, the cream holds a shape but still droops a little. Don’t over-whip it into butter! Stop when it looks fluffy and light.
Step 4: Assemble and Serve
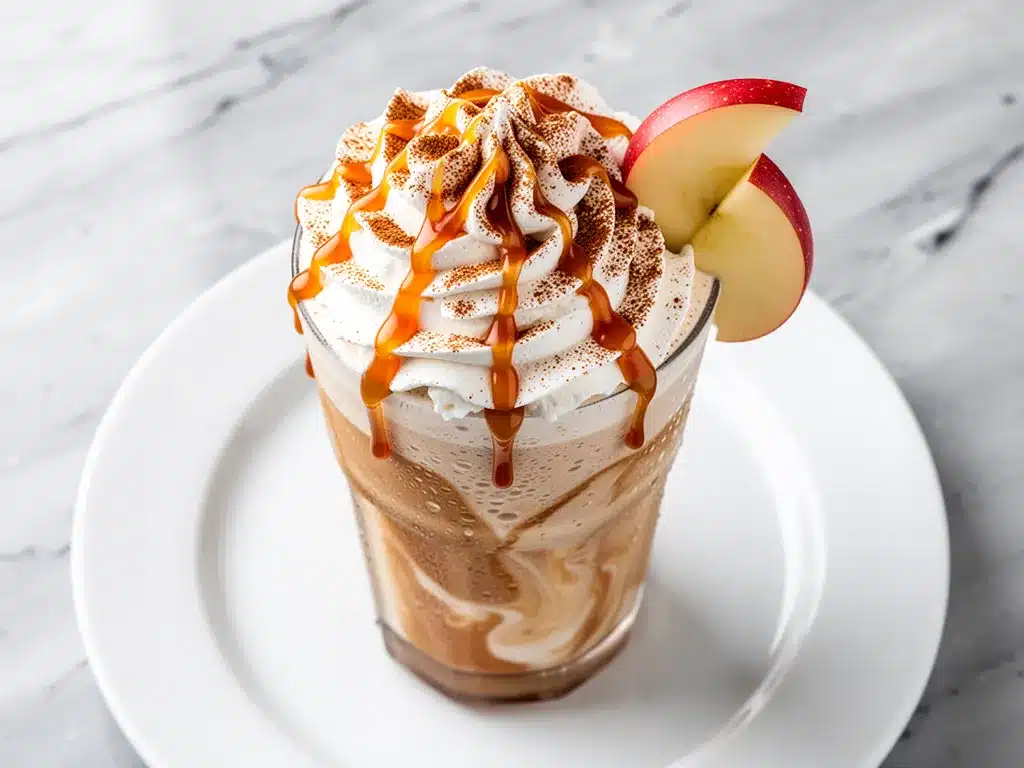
Pour the milkshake into tall glasses. I like to drizzle a little extra caramel on the inside of the glass before pouring for that pretty swirl effect. Top with a generous dollop of cinnamon whipped cream. If you want to get fancy, sprinkle a tiny pinch of cinnamon or sea salt on top of the cream. Add a straw and maybe a cinnamon stick for stirring.
Pro Tip: If you’re making these for a party, make the shakes right before serving. They melt fast! But the whipped cream can be made ahead and stored in the fridge for a few hours.
Expert Tips & Tricks
Here’s everything I’ve learned from making this dozens of times. These tips will save you from my mistakes.
Use Cold Ingredients — If your ice cream is rock hard, let it sit out for 5 minutes. If your heavy cream is warm, your whipped cream will fail. Keep everything cold for the best texture.
Don’t Skimp on the Apple Cider — I know it seems like a small amount, but it adds a depth of flavor that plain milk just can’t match. It tastes like autumn in a glass.
Texture Matters — If you don’t like big chunks of apple, blend it longer. If you like a bit of crunch, don’t blend it as much. I like mine smooth, but my kids like a little texture.
Balance the Sweetness — Caramel and ice cream are both very sweet. The apple cider and the tartness of the apple help balance it out. If you’re using very sweet apples, reduce the caramel slightly.
Make it a Meal — This shake is rich, so pair it with something light. I often have this with a simple salad or some of those crispy baked zucchini parmesan chips for a balanced autumn meal.
Variations & Substitutions
Once you’ve nailed the basic version, here’s how you can mix it up. I’ve tried all of these.
Spiced Apple Version — Add a pinch of nutmeg and allspice to the whipped cream. It tastes like apple pie.
Chocolate Apple — Add a tablespoon of cocoa powder to the blender. It’s like a chocolate-covered apple shake. My kids love this version.
Butterscotch Twist — Swap the caramel sauce for butterscotch sauce. It’s richer and more buttery.
Gluten-Free — This recipe is naturally gluten-free! Just make sure your caramel sauce and ice cream are certified gluten-free. Some caramel sauces have wheat-based thickeners.
Dairy-Free — Use dairy-free vanilla ice cream (coconut milk based works well) and oat milk. For the whipped cream, use coconut cream chilled overnight and whip it like regular cream. It’s not quite the same, but it’s close.
Keto Friendly — Use sugar-free caramel sauce and keto-friendly vanilla ice cream (or make your own with heavy cream and erythritol). Skip the powdered sugar in the whipped cream and use a keto sweetener. It’s still delicious!
Serving & Storage
How to Serve: I usually serve this straight up in a tall glass with a thick straw. It looks beautiful with the swirls of caramel and the fluffy cream. It’s perfect for sitting on the porch with a blanket.
Side Dishes: Since this is a sweet treat, pair it with something savory. I love it with loaded baked potato soup for a cozy dinner, or with some fluffy buttermilk blueberry pancakes if you’re having it for breakfast.
Storage: Milkshakes are best fresh. They don’t store well because they melt and separate. If you have leftovers, drink them within an hour. The whipped cream can be stored in an airtight container in the fridge for up to 2 days, but it might deflate a bit.
Freezing: Don’t freeze the shake. The texture will be icy and weird. If you want to prep ahead, chop the apples and freeze them in a bag. Then just blend them with the other ingredients.
Nutrition Information
I’m not a nutritionist, but here’s the breakdown if you’re tracking. This is a indulgent treat, so enjoy it in moderation.
Per Serving (based on 2 servings):
– Calories: 580
– Protein: 8g
– Carbs: 72g
– Fiber: 2g
– Sugar: 55g
– Fat: 28g
– Saturated Fat: 16g
– Cholesterol: 85mg
– Sodium: 210mg
What’s Good: It has some calcium from the dairy and vitamin C from the apples. The cinnamon in the whipped cream has anti-inflammatory properties.
What to Know: It’s high in sugar and calories because of the ice cream and caramel. If you’re watching your sugar, use sugar-free caramel and light ice cream. But honestly? Sometimes you just need the real thing.
Final Thoughts
So that’s my Fall Caramel Apple Milkshake! It’s simple, it’s delicious, and it captures the essence of autumn in a glass. I’ve made this for friends, for family, and just for myself on quiet evenings. It never fails to make me smile.
This shake has become my go-to when I want something cozy and sweet without the effort of baking. My kids love it, my husband pretends he doesn’t want seconds (but he always does), and I love that it uses simple ingredients I already have.
Make it yours! Try different apples, swap the caramel for butterscotch, or add a splash of bourbon for an adult version. The best recipes are the ones you adapt to your tastes.
If you make this, drop a comment and let me know what you think! I love hearing how recipes turn out in your kitchen. And if something doesn’t work, tell me that too—I’m here to help troubleshoot.
Happy blending! And I hope your evening is as cozy as this shake.
Frequently Asked Questions
Can I use apple juice instead of apple cider?
You can, but apple cider has a richer, more concentrated apple flavor that’s better for this shake. If you use apple juice, it might taste a bit one-dimensional. I’d recommend using real cider if you can find it. If you only have juice, use a little less because it’s sweeter.
Why did my whipped cream turn out runny?
Usually, this means the cream wasn’t cold enough, or you over-whipped it. Heavy cream needs to be very cold to whip properly. Also, make sure your bowl is cold. If you over-whipped it, it might have started to separate. Try adding a little more cold cream and gently folding it in.
Can I make this ahead for a party?
Not really. Milkshakes melt fast! I’d recommend making them right before serving. But you can prep the whipped cream ahead of time and chop the apples ahead of time. Just blend everything fresh when guests arrive.
Is this shake too sweet?
It is sweet, but the tartness of the apple and the cinnamon help balance it out. If you find it too sweet, reduce the caramel sauce by half and use a tart apple like Granny Smith. You can also skip the powdered sugar in the whipped cream.
Can I use frozen apples?
Yes! In fact, frozen apples make the shake thicker and colder. If you use frozen apples, you might not need ice cubes. Just make sure your blender is powerful enough to crush them. If not, let them thaw for a few minutes first.
What’s the best caramel sauce to use?
I like the bottle kind from the store for convenience, but homemade is better if you have time. Look for a caramel sauce that’s pourable and not too thick. If it’s too thick, warm it up in the microwave before adding it to the blender.
Can I make this in a food processor?
Yes, but it might not get as smooth as a blender. You’ll need to blend it longer and stop to scrape down the sides. A blender is definitely easier for this recipe.
Pin This Recipe!
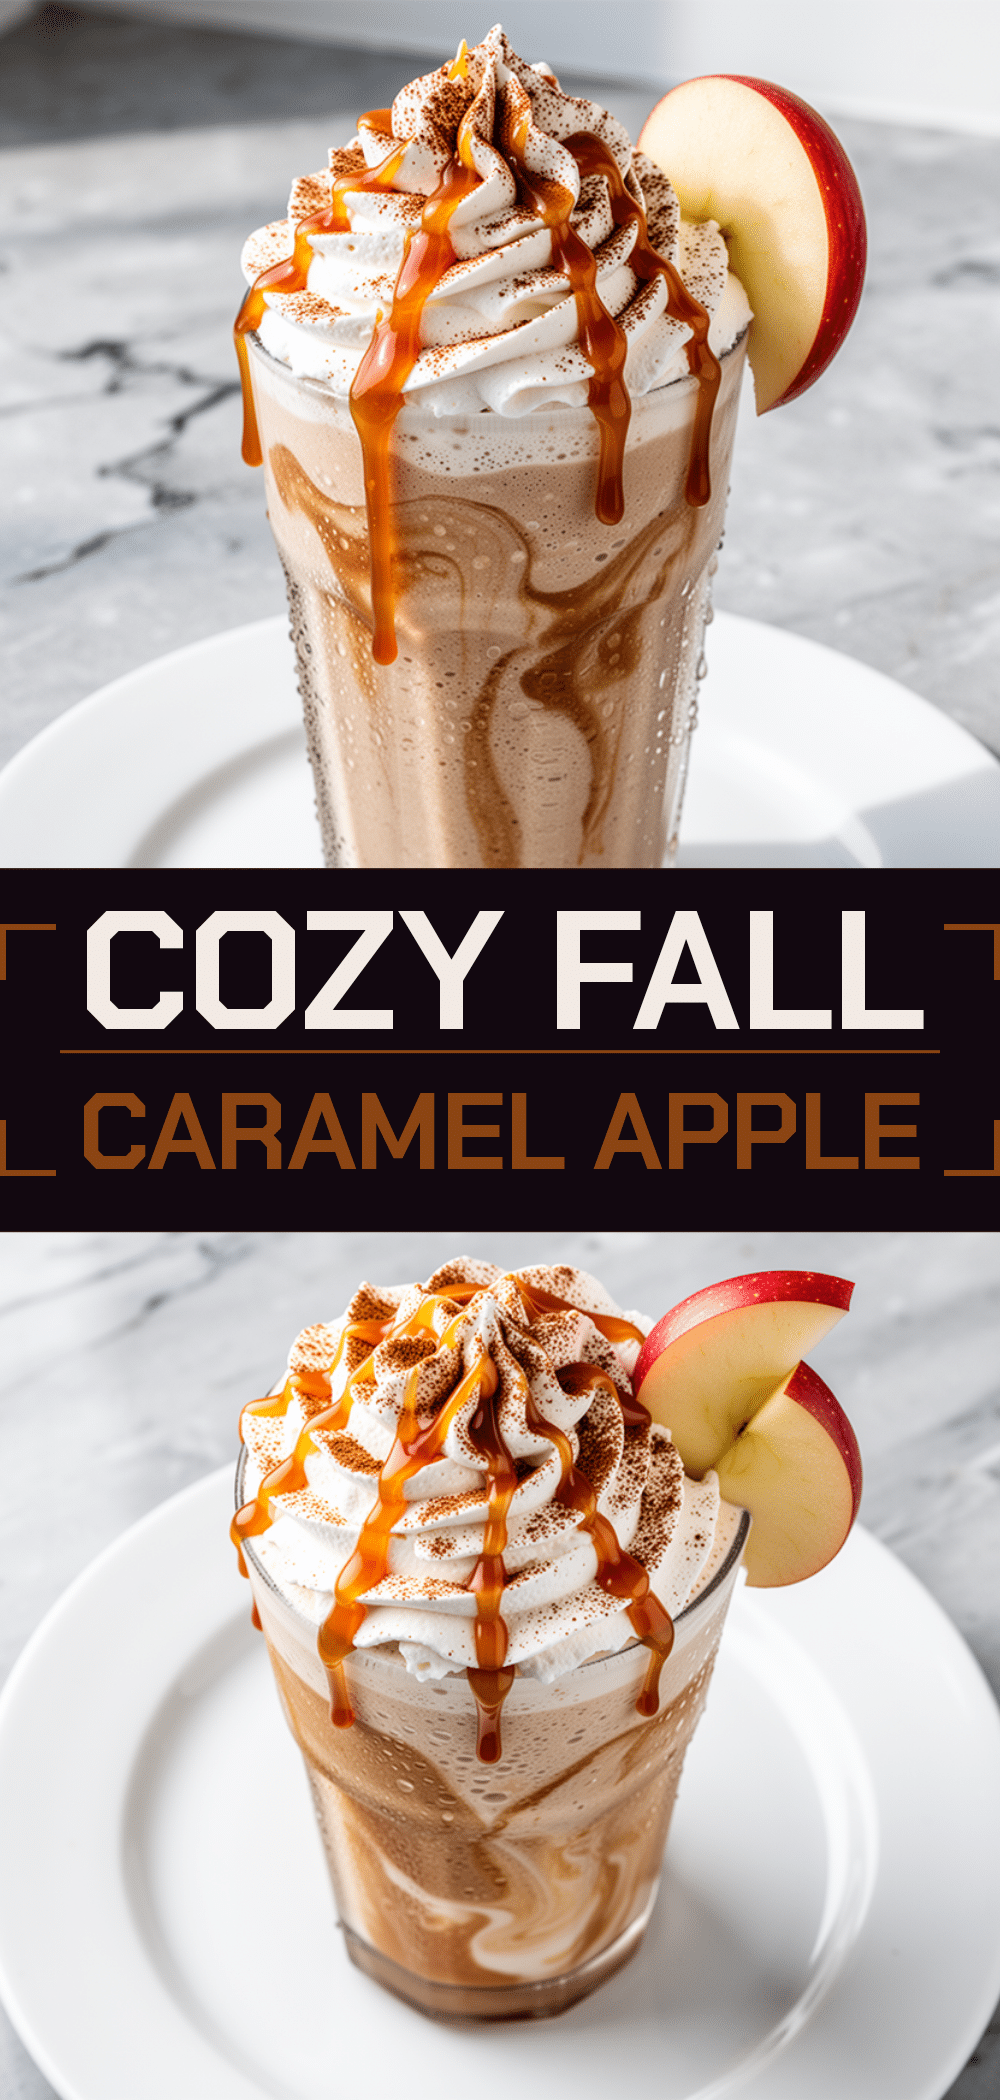
Fall Caramel Apple Milkshake: Easy Cozy Autumn Drink
- Total Time: 10 minutes
- Yield: 2 servings 1x
Description
A thick, creamy milkshake blending fresh apples, caramel sauce, and vanilla ice cream, topped with homemade cinnamon whipped cream for a cozy autumn treat.
Ingredients
- 2 cups (450g) Vanilla Ice Cream
- 2 medium (about 300g) Fresh Apples, peeled, cored, and chopped
- ½ cup (120ml) Whole Milk
- ¼ cup (60ml) Apple Cider
- ¼ cup (60ml) Caramel Sauce
- ½ cup (75g) Ice Cubes (optional)
- 1 cup (240ml) Heavy Cream, cold
- 2 tablespoons (15g) Powdered Sugar
- ½ teaspoon Cinnamon
- ½ teaspoon Vanilla Extract
- Pinch of Salt
Instructions
- Peel, core, and chop the apples into 1-inch chunks.
- Add vanilla ice cream, apple chunks, milk, apple cider, caramel sauce, and ice cubes (if using) to a high-speed blender.
- Pulse to break up ingredients, then blend on high for 30-60 seconds until smooth and creamy. Adjust consistency with more milk or ice cream as needed.
- In a chilled mixing bowl, combine heavy cream, powdered sugar, cinnamon, vanilla extract, and salt.
- Whip on medium-high speed until soft peaks form.
- Drizzle extra caramel on the inside of tall glasses.
- Pour the milkshake into the glasses.
- Top with a generous dollop of cinnamon whipped cream.
- Sprinkle with a pinch of cinnamon or sea salt if desired. Serve immediately.
Notes
Use cold ingredients for best texture. Apple cider provides a richer flavor than apple juice. Milkshakes are best served fresh as they melt quickly. Whipped cream can be made ahead and stored in the fridge for up to 2 days. For a dairy-free version, use coconut milk ice cream and oat milk. For keto, use sugar-free caramel and keto-friendly sweeteners.
- Prep Time: 5 minutes
- Cook Time: 0 minutes
- Category: Dessert
- Cuisine: American
Nutrition
- Serving Size: 1 tall glass
- Calories: 580
- Sugar: 55
- Sodium: 210
- Fat: 28
- Saturated Fat: 16
- Carbohydrates: 72
- Fiber: 2
- Protein: 8
Keywords: fall recipe, caramel apple milkshake, autumn drink, easy dessert, homemade milkshake, cinnamon whipped cream, cozy recipes



