It was the fourth quarter of the Super Bowl, the score was tied, and my living room smelled like a disaster. I had tried to deep-fry wings in my apartment kitchen using a pot of oil that was way too close to the curtains. The smoke alarm was screaming, my guests were coughing, and the wings themselves were soggy, greasy messes that clung to the plate. I was about to order pizza and accept my fate as a terrible party host when my dad called. He didn’t even ask about the smoke alarm. He just said, “Stop frying them. Bake them. But you have to get the skin dry first.”
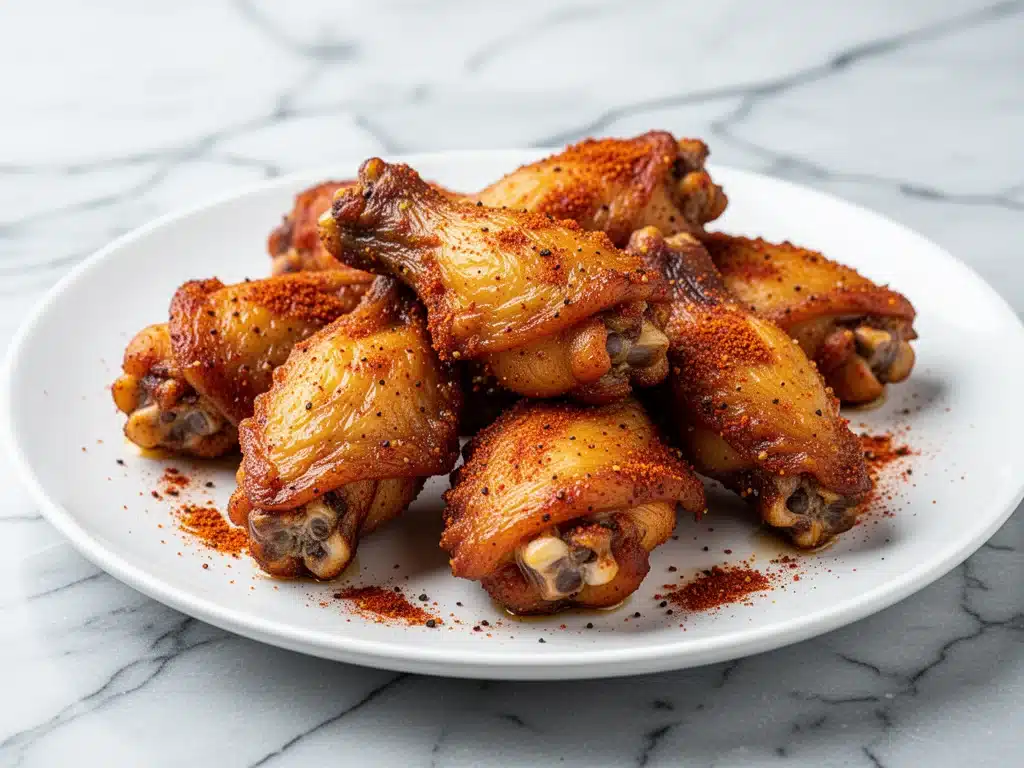
I hung up, wiped down my counter, and started over. This time, I skipped the oil bath and went straight to the oven. I used a simple smoky dry rub, a baking rack, and a little bit of patience. Thirty minutes later, the smell wafting through the apartment wasn’t smoke—it was pure, intoxicating barbecue smoke and garlic. When I pulled the tray out, the wings were shattering crisp. No grease. No mess. Just perfect, crunchy skin that held the rub together.
That was three years ago. Since then, I’ve made this football game day crispy baked chicken wings recipe for every Sunday game, every Super Bowl party, and even random Tuesday nights when I just want something that feels indulgent but isn’t a hassle. My friends don’t even know they’re baked anymore. They think I’ve secretly mastered deep-frying. (I haven’t. I just learned the secret to dry skin.)
This recipe is my answer to the eternal game day dilemma: How do you get restaurant-quality crunch without turning your kitchen into a grease fire hazard? The answer lies in the smoky dry rub and the technique. It’s foolproof, it feeds a crowd, and it’s so good that people will fight over the last wing. If you’re looking for other easy crowd-pleasers to round out your spread, you might also enjoy checking out these football Sunday frosted sugar cookies for dessert, or maybe some easy creamy southern-style pasta salad to balance out the richness.
Why You’ll Love This Smoky Dry Rub Recipe
There are a million ways to make chicken wings, but most of them involve too much work or too many ingredients. This method strips it back to basics and focuses on what actually matters: texture and flavor. Here’s why this recipe has taken over my game day rotation.
- Actually Crispy, Not Soggy — Most baked wings fail because the skin steams instead of crisps. By using a rack and a specific drying technique, the skin gets shatteringly crisp, just like fried wings. I’ve tested this on picky eaters who swear they can tell the difference, and they can’t.
- Five Ingredients Only — You don’t need a pantry full of spices. Just paprika, garlic powder, onion powder, salt, and black pepper. If you have these, you already have the rub. It’s stupid simple.
- Smoky Flavor Without the Smoke — Since we aren’t using a smoker, I use smoked paprika to give that deep, barbecue vibe. It adds a richness that regular paprika just doesn’t have. My husband thinks I’m using liquid smoke, but I’m not. It’s all in the powder.
- Zero Grease Spills — Because we’re baking, not frying, there’s no hot oil to handle. No splatters on the stove, no dangerous deep fryer cleanup. Just a baking sheet and a rack. The grease drains away into the pan, leaving you with clean hands and a happy kitchen.
- Make-Ahead Friendly — You can prep these hours before the game starts. Keep them in the fridge, then throw them in the oven right before kickoff. They stay hot and crisp for a long time, which is crucial when you’re watching the first half and the second half back-to-back.
This is the wing recipe that saves game day. It’s reliable, it’s delicious, and it makes you look like a pro chef without the stress. I’ve made this for over twenty people, and it always disappears first. Even the people who claim they don’t like chicken wings end up asking for seconds.
Ingredients You’ll Need
Here’s the best part: you probably have most of this already. This isn’t a recipe that requires a special trip to the store. It’s built on pantry staples and basic chicken. I’m particular about the type of paprika, though—don’t skip that step.
For the Wings
Chicken wings (3 to 4 pounds / 1.5 to 2 kg) — I always buy the “party style” wings, which are just the drumettes and flatettes separated. If you get whole wings, you’ll need to cut them at the joint. Look for wings that are pink and fresh, not pale or slimy. I buy the biggest bag I can find because these vanish fast.
Baking powder (1 tablespoon / 15g) — This is the secret weapon. Not baking soda. Baking powder. It raises the pH of the skin, helping it brown and crisp up in the oven. It sounds weird, but it’s non-negotiable for this recipe. Make sure it’s aluminum-free for the best taste.
Vegetable oil (1 tablespoon / 15ml) — Just a tiny bit to help the rub stick. You don’t need a lot. If you’re worried about the baking powder taste, you can skip this, but the oil helps the spices adhere better.
For the Smoky Dry Rub
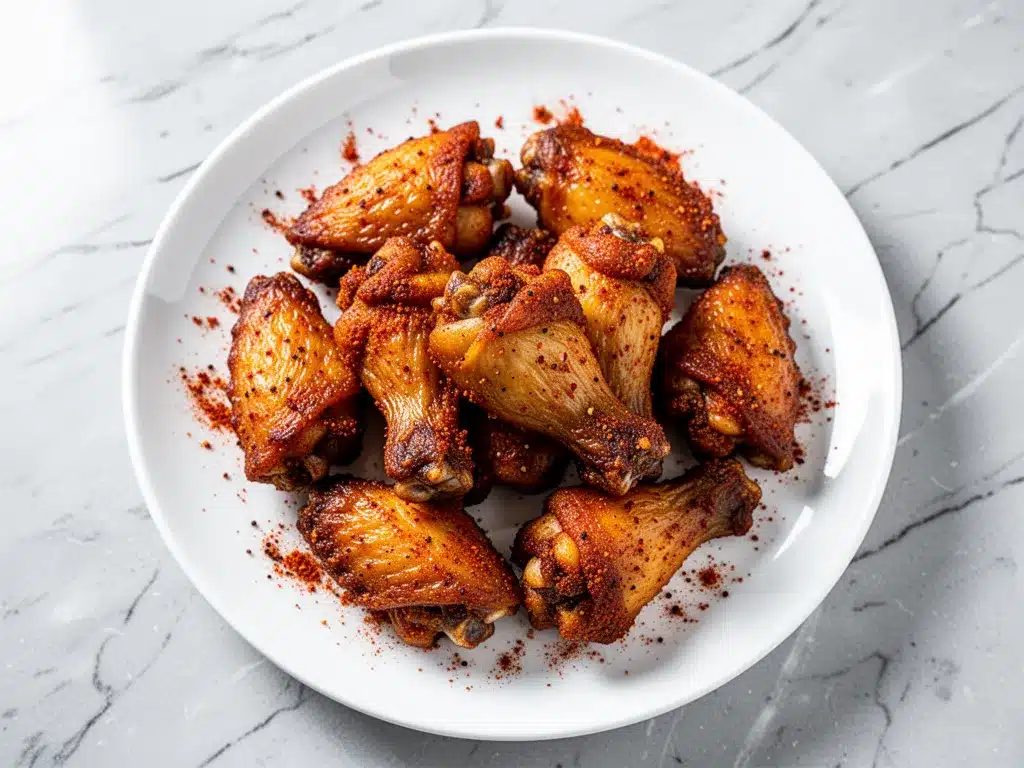
Smoked paprika (2 teaspoons) — This is the star. It gives you that wood-fired flavor without the grill. If you buy regular paprika, it’ll taste flat. Smoked paprika adds depth and color. I use the Spanish smoked paprika (pimentón) if I can find it, but any good smoked paprika works.
Garlic powder (1 teaspoon) — Not fresh garlic. Fresh garlic burns in the oven and turns bitter. Powder gives you that savory garlic punch without the risk. Use a good quality brand; the flavor difference is noticeable.
Onion powder (1 teaspoon) — Adds a sweet, savory backbone to the rub. It balances the heat and smoke. Again, powder only. Fresh onion would just get soggy.
Kosher salt (1 teaspoon) — Kosher salt is better than table salt because it’s less dense and easier to control. If you use table salt, start with half a teaspoon. You want to season the skin, not just the meat.
Black pepper (½ teaspoon) — Freshly cracked is best. It adds a little heat and earthiness. Pre-ground pepper loses its punch quickly, so grind your own if you have a mill.
Optional Add-ins
Cayenne pepper (½ teaspoon) — If you like heat, add this to the rub. Start with less if you’re sensitive to spice. I usually add a pinch for my friends who like it spicy, and leave it out for the kids.
Brown sugar (1 teaspoon) — A little sweetness helps caramelize the rub. It’s optional, but it gives the wings a nice glaze-like finish without making them sticky.
Equipment Needed
You don’t need fancy gadgets for this. Here’s what I actually use, and what you can skip.
Baking sheet — I use a standard half-sheet pan (18×13 inches). If you have a smaller pan, you’ll need to cook in two batches. Don’t crowd the wings! Space is crucial for crispiness. If you crowd them, they steam. I learned this the hard way during my first failed attempt.
Wire rack — This is the most important tool. You need a wire cooling rack that fits inside your baking sheet. The wings sit on the rack, so the hot air circulates underneath. This prevents the bottom from getting soggy. If you don’t have a rack, you can place the wings directly on the pan, but they won’t be as crispy on the bottom. I’ve tried it. It’s okay, but the rack is better.
Small bowl — For mixing your dry rub. Any bowl works.
Paper towels — You’ll need a lot of these. Patting the wings dry is step one. If they’re wet, they won’t crisp. I use two layers of paper towels to soak up the moisture.
Tongs — For flipping the wings halfway through. Metal tongs are best because they’re sturdy. Plastic might melt if they get too close to the heating element.
Instant-read thermometer — Optional but helpful. You want the internal temperature to reach 165°F (74°C). If you don’t have one, just time it right. But for peace of mind, a thermometer is great.
How to Make It: Step-by-Step
Alright, let’s make this! I’m walking you through exactly how I do it, including the little tricks I’ve picked up over the years. This process takes about 45 minutes total, but most of that is hands-off baking time.
Step 1: Prep the Wings (10 minutes)
Take your wings out of the package and pat them very dry with paper towels. I mean really dry. Squeeze them a little. You want to remove as much surface moisture as possible. This is the single most important step for crispiness. If the skin is wet, it will steam. If it’s dry, it will crisp. Place the dried wings on a clean plate or tray.
Step 2: Season with Baking Powder (5 minutes)
Put the dried wings in a large bowl. Sprinkle the baking powder over them. Toss them until every wing is lightly coated. You don’t want a thick layer, just a dusting. The baking powder helps the skin break down and crisp up. Let them sit uncovered in the fridge for at least 30 minutes, or up to 24 hours. This air-dries the skin further. If you’re short on time, you can skip the fridge rest, but the longer they sit, the crispier they get. I usually prep them the morning of the game.
Step 3: Make the Dry Rub (2 minutes)
In a small bowl, mix together the smoked paprika, garlic powder, onion powder, salt, black pepper, and cayenne (if using). Stir well. The mixture should look reddish-brown and smell smoky. Taste a tiny pinch (it’s safe, just salty and spicy). Adjust salt or spice to your liking.
Step 4: Coat the Wings (5 minutes)
Take the wings out of the fridge. They should feel dry to the touch now. Drizzle the tablespoon of vegetable oil over them and toss to coat lightly. Then, sprinkle the dry rub over the wings. Use your hands to massage the rub into the skin. Get into every nook and cranny. You want every wing to be evenly coated. Don’t be shy with the rub. This is where the flavor lives.
Step 5: Arrange on the Rack (2 minutes)
Line your baking sheet with foil for easy cleanup (optional but recommended). Place the wire rack on top. Arrange the wings on the rack in a single layer. Make sure they aren’t touching. If they’re touching, they’ll stick together and steam. Give them space. Airflow is your friend here.
Step 6: Bake (40-45 minutes)
Preheat your oven to 400°F (200°C). Once hot, put the wings in the oven. Bake for 40-45 minutes. Flip the wings halfway through (around the 20-minute mark) to ensure even browning. You’ll know they’re done when the skin is golden brown, crispy, and pulling away slightly from the bone. The internal temperature should be at least 165°F (74°C).
Step 7: Rest and Serve (5 minutes)
Take the wings out of the oven and let them rest for 5 minutes. This lets the juices redistribute so they don’t run out when you bite into them. Serve immediately with your favorite dipping sauces. I love classic ranch, blue cheese, or a honey mustard. But honestly, these are so good on their own that you might not need any sauce at all.
Expert Tips & Tricks
Here’s everything I’ve learned from making these dozens of times. These tips will save you from my mistakes.
Pat Them Dry Twice
I can’t stress this enough. Pat the wings dry, then pat them dry again. If you see moisture, keep going. Dry skin = crispy skin. It’s physics.
Don’t Skip the Fridge Rest
If you have time, let the wings sit uncovered in the fridge after the baking powder step. The cold, dry air of the fridge draws out more moisture. This is the pro move that makes the difference between “good” and “amazing.”
Use a Wire Rack
I know it’s one more thing to wash, but it’s worth it. Baking directly on the pan makes the bottom soggy. The rack lifts them up, allowing heat to circulate all around. If you absolutely don’t have a rack, use a bed of coarse salt or chopped onions to lift them slightly, but a rack is best.
Flip Midway
Ovens have hot spots. Flipping the wings ensures they brown evenly on both sides. Don’t skip this step, or you’ll have pale wings on one side.
Keep Them Warm
If you’re making a big batch, keep the cooked wings warm in a 200°F (95°C) oven while you finish the rest. They’ll stay crisp for a while. If they get soft, just pop them back in a 400°F oven for 5 minutes to re-crisp.
Variations & Substitutions
Once you’ve nailed the basic smoky dry rub, here’s how you can mix it up. I’ve tried all of these.
Spicy Kick
Add 1 teaspoon of cayenne pepper or ½ teaspoon of chili powder to the rub. If you like it really hot, add a pinch of crushed red pepper flakes.
Herb Crusted
Skip the smoked paprika and use dried thyme, rosemary, and oregano. It gives a more Mediterranean vibe. Great with a lemon dipping sauce.
Buffalo Style
Make the dry rub without paprika. Bake the wings, then toss them in melted butter and Frank’s RedHot sauce. Classic game day flavor.
Honey Garlic Glaze
After baking, toss the wings in a mixture of 2 tablespoons honey, 1 tablespoon soy sauce, and 1 teaspoon minced fresh garlic. Sweet and savory perfection.
Dietary Modifications
This recipe is naturally gluten-free and dairy-free. Just make sure your baking powder and spices are certified gluten-free if you have celiac disease. The baking powder is the only potential source of gluten in some brands.
Serving & Storage
How to Serve
Serve these straight from the rack. They look rustic and impressive. Put them in a big platter in the center of the table. Have bowls of ranch, blue cheese, and celery sticks nearby. Celery is traditional, but carrot sticks and cucumber slices work too.
Side Dishes
These wings go well with almost anything. I like serving them with garlic parmesan roasted sweet potato wedges for a hearty side, or a simple green salad to cut through the richness. If you want something sweet to balance the meal, try these fall brown butter pear upside-down cake.
Storage
Store leftovers in an airtight container in the fridge for up to 3 days. The skin will soften in the fridge, which is normal. To re-crisp, pop them in the oven at 400°F for 10 minutes. Don’t microwave them unless you want soggy wings. (I’ve made this mistake. Don’t do it.)
Freezing
You can freeze baked wings for up to 3 months. Let them cool completely, then freeze in a single layer on a baking sheet before transferring to a bag. Reheat in the oven to restore crispiness.
Nutrition Information
I’m not a nutritionist, but here’s the breakdown if you’re tracking. These are estimates per wing (based on 24 wings).
- Calories: 120
- Protein: 10g
- Carbs: 0.5g
- Fat: 8g
- Sodium: 150mg
These wings are high in protein and low in carbs, making them a good option for keto or low-carb diets. The main source of calories is the fat in the chicken skin. If you want to reduce fat, you can remove the skin before eating, but you’ll miss out on the best part. Enjoy in moderation!
Final Thoughts
So that’s my go-to football game day crispy baked chicken wings! I’ve probably talked your ear off at this point, but when you make a recipe this often, you have a lot to say about it. These wings have saved me from grease fires, satisfied hungry crowds, and made me the hero of every game day party. They’re easy, they’re delicious, and they’re foolproof.
Make them yours! Try different rubs, add some heat, or serve them with your favorite sauces. The best recipes are the ones you adapt to your tastes. If you make these, drop a comment and let me know how they turned out! I love hearing how recipes work in your kitchen. And if something doesn’t work, tell me—I’m here to help troubleshoot.
Happy cooking! And I hope your kitchen smells half as good as mine does right now.
Frequently Asked Questions
Can I use boneless chicken wings?
You can, but they cook much faster. Boneless wings will take about 20-25 minutes at 400°F. Keep an eye on them so they don’t dry out. The texture will be different too—less crispy, more tender. For the best crunch, stick with bone-in wings.
Why are my wings not crispy?
Usually, this means they weren’t dry enough before baking, or they were crowded on the pan. Make sure you pat them dry thoroughly, use a wire rack, and give them space. Also, check that your oven is actually preheated to 400°F. If the oven is too cool, they’ll steam instead of crisp.
Can I make these in an air fryer?
Yes! Air fryers are great for wings. Cook at 380°F for 20-25 minutes, shaking the basket halfway through. They’ll be even crispier than the oven method. Just don’t overcrowd the basket. You’ll likely need to cook in batches.
What dipping sauces go best with smoky wings?
Classic ranch or blue cheese are traditional. But because the rub is smoky, I also love a honey mustard or a spicy sriracha mayo. The sweetness of honey balances the smoke, and the heat of sriracha complements it. Get creative!
How do I keep the wings warm for a party?
Set your oven to 200°F (95°C). Place the cooked wings on a rack over a baking sheet and put them in the oven. They’ll stay warm and crisp for up to an hour. If you need to hold them longer, you can freeze them and reheat later.
Can I prep these ahead of time?
Absolutely. Prep the wings with the baking powder and rub, then store them uncovered in the fridge for up to 24 hours. When you’re ready to cook, just put them in the oven. This is actually better because the skin dries out more overnight.
Pin This Recipe!
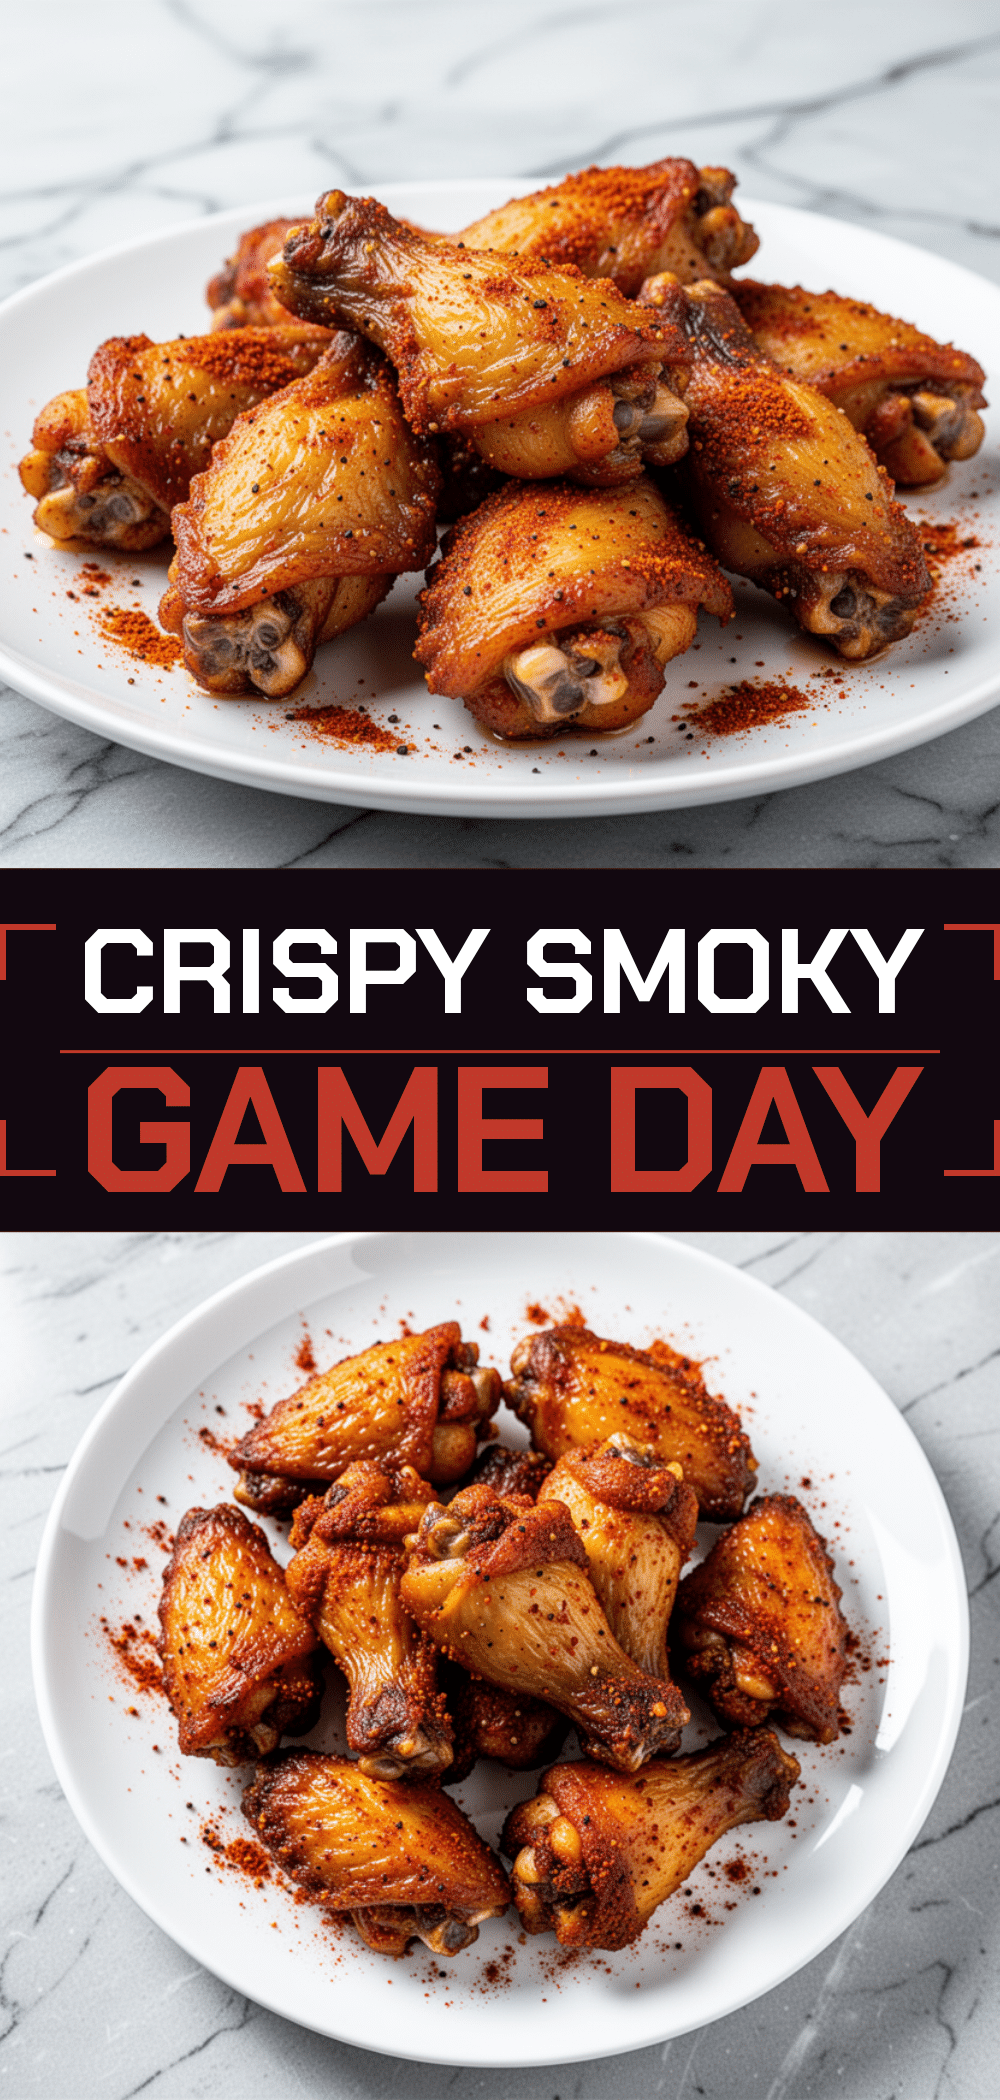
Football Game Day Crispy Baked Chicken Wings: 5-Ingredient Smoky Dry Rub Recipe
- Total Time: 60 minutes
- Yield: 24 wings 1x
Description
Achieve restaurant-quality crunch with these baked chicken wings using a simple smoky dry rub and a wire rack. This foolproof method ensures crispy, non-greasy wings without the hassle of deep-frying.
Ingredients
- 3 to 4 pounds chicken wings (party style: drumettes and flatettes)
- 1 tablespoon baking powder (aluminum-free)
- 1 tablespoon vegetable oil
- 2 teaspoons smoked paprika
- 1 teaspoon garlic powder
- 1 teaspoon onion powder
- 1 teaspoon kosher salt
- 1/2 teaspoon black pepper
- 1/2 teaspoon cayenne pepper (optional, for heat)
- 1 teaspoon brown sugar (optional, for caramelization)
Instructions
- Pat the chicken wings very dry with paper towels to remove surface moisture.
- Place dried wings in a large bowl and sprinkle with baking powder. Toss until lightly coated.
- Let wings sit uncovered in the refrigerator for at least 30 minutes (or up to 24 hours) to air-dry the skin.
- In a small bowl, mix smoked paprika, garlic powder, onion powder, salt, black pepper, and cayenne (if using).
- Remove wings from fridge. Drizzle with vegetable oil and toss to coat lightly.
- Sprinkle the dry rub over the wings and massage it into the skin until evenly coated.
- Line a baking sheet with foil and place a wire rack on top. Arrange wings in a single layer on the rack, ensuring they are not touching.
- Preheat oven to 400°F (200°C).
- Bake for 40-45 minutes, flipping wings halfway through (around 20 minutes) to ensure even browning.
- Wings are done when skin is golden brown, crispy, and internal temperature reaches 165°F (74°C).
- Let wings rest for 5 minutes before serving.
Notes
Patting the wings dry is the most critical step for crispiness. Using a wire rack allows air circulation underneath the wings. If you don’t have a rack, you can bake directly on the pan, but the bottom may be less crispy. To keep wings warm for a party, place them in a 200°F oven. To re-crisp leftovers, bake at 400°F for 10 minutes; do not microwave.
- Prep Time: 15 minutes
- Cook Time: 45 minutes
- Category: Appetizer
- Cuisine: American
Nutrition
- Serving Size: 1 wing
- Calories: 120
- Sodium: 150
- Fat: 8
- Saturated Fat: 2
- Carbohydrates: 0.5
- Protein: 10
Keywords: baked chicken wings, game day food, smoky dry rub, crispy wings, football snacks, easy appetizer, gluten-free



