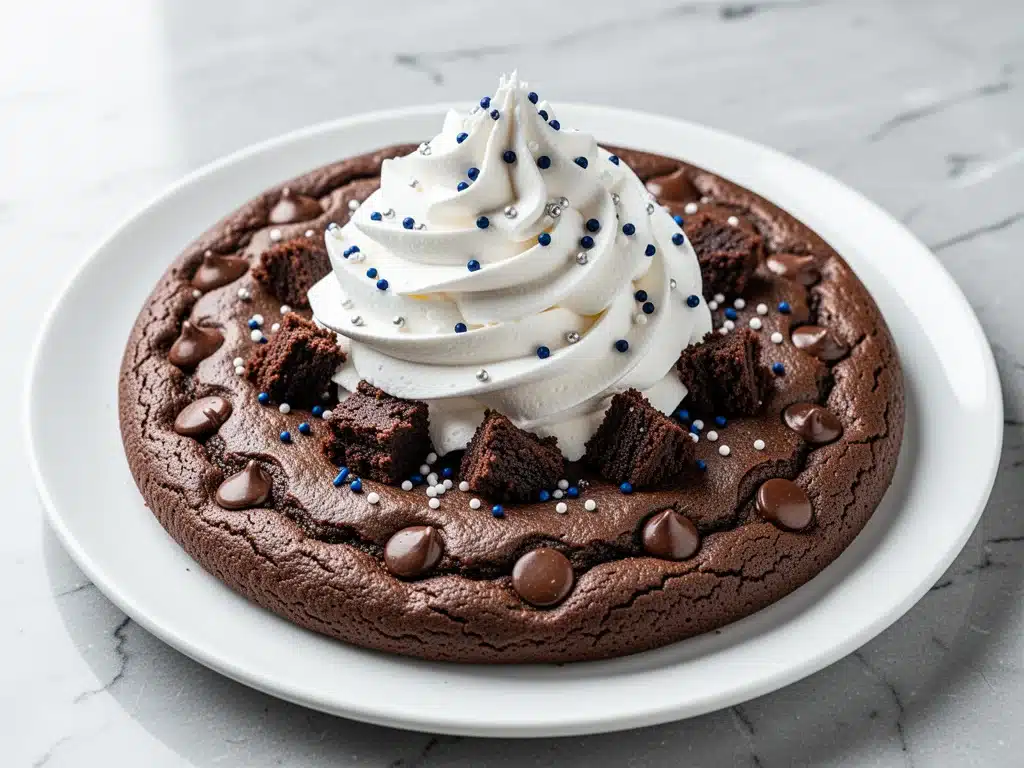
Last Sunday, I walked into my living room and saw a plate of cookies that looked like they’d been through a war zone. Or a game. I’m not entirely sure which. My nephew had tried to “decorate” them with white chocolate drizzle while I was in the kitchen finishing the whipped frosting, and he’d clearly misunderstood the concept of a football field. It was a chaotic, delicious mess of brown, white, and orange streaks. I was about to toss them in the trash (okay, I’m exaggerating, but I was tempted) when my husband took a bite of one of the “field” cookies and said, “This is actually incredible.”
That’s when I realized: perfection isn’t the goal for game day. Fun is. And this Football Party Chocolate Fudge Cookie Cake with Whipped Frosting is the perfect intersection of fun and flavor. It’s not a delicate, fussy dessert that requires tweezers and a steady hand. It’s a big, chunky, chocolatey cookie that’s baked in a single pan, frosted with light, airy whipped cream cheese frosting, and decorated in a way that celebrates the messiness of football Sunday.
I’ve made this recipe for three Super Bowls now, and it has become the undisputed champion of my dessert table. It’s the kind of treat that disappears before the second quarter even ends. The base is a rich, chewy chocolate fudge cookie—dense enough to hold up to a thick layer of frosting but soft enough to melt in your mouth. The frosting is tangy and sweet, cutting through the richness of the chocolate perfectly. And the best part? You can make it look like a professional bakery did it, or you can let your kids go wild with the icing bags, and either way, everyone wins.
If you’ve ever tried to bake a cake for a party and ended up with a dry, crumbly disaster, this cookie cake is your savior. It’s forgiving. It’s flexible. And it tastes like pure comfort. I remember the first time I made this, I was stressed about hosting a group of twenty people and didn’t have time for a three-tier cake. This cookie cake saved the evening. It sat in the center of the table, looking proudly lopsided, and became the star of the night. So, grab your mixing bowl, preheat that oven, and let’s make the best game-day dessert you’ll ever serve.
Why You’ll Love This Recipe
There are plenty of desserts you can make for football, but few hit this specific sweet spot of being impressive yet incredibly easy. This Football Party Chocolate Fudge Cookie Cake with Whipped Frosting has completely changed how I approach game-day hosting. Here’s why it’s become a staple in my kitchen:
- Zero Stress Decorating — Seriously, you don’t need to be an artist. The frosting is fluffy and forgiving. If your “yard lines” are crooked, it just looks rustic. I’ve made this with my kids, and the result is always cute, even if it’s messy.
- Rich, Chewy Texture — This isn’t a crisp cookie. It’s a fudge cookie. Dense, gooey, and chocolatey. It has the texture of a brownie but the shape of a cake. My husband says it’s “chocolate heaven” and refuses to eat it on a plate—he prefers a giant chunk straight from the pan.
- Makes a Huge Crowd — Baked in a 13×9 inch pan, this yields plenty of servings for a party. It’s easy to slice into squares, making it simple to serve without needing fancy cake cutters or server tools.
- Whipped Frosting Magic — The frosting is light, airy, and not overly sweet. It balances the heavy chocolate base perfectly. It’s essentially a whipped cream cheese frosting, which gives it a tangy kick that keeps you coming back for more.
- Make-Ahead Friendly — You can bake the cookie base a day ahead and frost it right before the game starts. This is huge for party planning because it takes the pressure off on game day itself.
This is my go-to when I want to look like a hero in the kitchen without actually doing any heavy lifting. It’s reliable, delicious, and always a crowd-pleaser, whether you’re hosting a small family dinner or a full-blown Super Bowl bash.
Ingredients You’ll Need
Here’s the best part: you probably have most of this already in your pantry. I’m particular about a few things here, especially the chocolate and the butter, but overall, this is a very approachable list. I’ll break down exactly what you need and why it matters.
For the Chocolate Fudge Cookie Base
Unsalted Butter (1 cup / 226g) — Softened to room temperature. This is crucial. If your butter is too cold, it won’t cream properly with the sugar, and your cookies will be dense and hard. I take mine out of the fridge about an hour before I start.
Granulated Sugar (1 cup / 200g) — This gives the cookies their crisp edges. Don’t substitute with brown sugar alone if you want that fudgy texture with a slight crunch. I use a mix of both in some recipes, but for this one, white sugar keeps it classic.
Brown Sugar (1 cup / 220g) — Packed. This is what gives the cookie its chewiness and moisture. Dark brown sugar is even better for a deeper molasses flavor, but light works fine too.
Eggs (2 large) — Room temperature. They help bind everything together and add structure. Don’t skip them!
Vanilla Extract (2 teaspoons) — Use the real stuff. I’m not a fan of imitation vanilla in desserts like this. It adds that warm, comforting aroma that makes your whole house smell like a bakery.
All-Purpose Flour (2 ½ cups / 315g) — Don’t overmeasure! Spoon it into the cup and level it off. Too much flour makes the cookies dry and crumbly.
Cocoa Powder (¾ cup / 75g) — Unsweetened cocoa powder. I use Dutch-processed cocoa because it has a richer, darker color and deeper flavor. Regular natural cocoa works too, but the color might be lighter.
Baking Powder (1 teaspoon) and Baking Soda (1 teaspoon) — These leavening agents help the cookies spread and rise slightly. Make sure they’re not expired!
Salt (1 teaspoon) — Essential for balancing the sweetness. Don’t skip it.
Chocolate Chips (1 ½ cups / 255g) — Semi-sweet or dark chocolate chips. I like to use a mix of chips and chunks for varied chocolate bursts in every bite.
For the Whipped Frosting
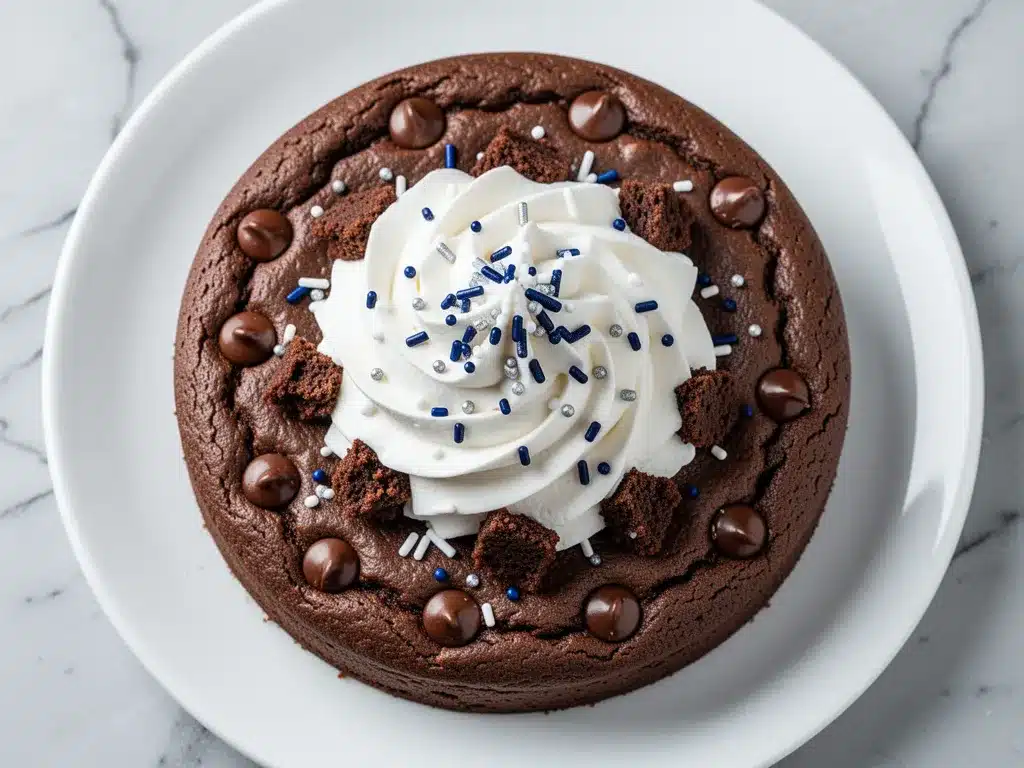
Cream Cheese (8 oz / 225g) — Full-fat, block style. Not the whipped kind in a tub. Let it soften to room temperature so it blends smoothly.
Butter (½ cup / 113g) — Unsalted, softened. Same rule as before—room temperature is key for a smooth frosting.
Powdered Sugar (3-4 cups / 360-480g) — Sifted if possible, to avoid lumps. You’ll add this gradually to get the right consistency.
Vanilla Extract (1 teaspoon) — For flavor.
Heavy Cream (2-3 tablespoons) — This is what makes it “whipped.” It lightens the frosting and makes it fluffy. Add it slowly until you reach your desired consistency.
For Decoration
White Chocolate Chips (½ cup / 85g) — Melted for drizzling or piping. You can also use white icing from a tube if you’re feeling lazy.
Orange Food Coloring (Gel paste preferred) — For the football laces and details. Gel coloring is better because it doesn’t add extra liquid to your frosting.
Equipment Needed
You don’t need fancy equipment for this. Here’s what I actually use:
13×9 Inch Baking Pan — This is standard for cookie cakes. Line it with parchment paper for easy removal, or grease it well. I prefer parchment because it guarantees no sticking.
Electric Mixer — Handheld or stand mixer. Creaming the butter and sugar by hand is possible but tiring. I use my stand mixer on medium speed.
Offset Spatula — Essential for spreading the frosting evenly. A regular spatula works, but the offset makes it easier to get a smooth surface.
Piping Bags (Optional) — If you want to pipe the laces and details, piping bags with small round tips are helpful. But a ziplock bag with the corner cut off works just as well.
Microwave-Safe Bowl — For melting the white chocolate chips for decoration.
Cooling Rack — Let the cookie cool completely before frosting. Warm cookie + frosting = melt disaster.
How to Make It: Step-by-Step
Alright, let’s make this! I’m walking you through exactly how I do it, including the little tricks I’ve picked up over the years.
Step 1: Prep Your Pan and Oven (5 minutes)
Preheat your oven to 350°F (175°C). Grease a 13×9 inch baking pan with butter or non-stick spray. I line it with parchment paper, leaving an overhang on the sides. This makes it super easy to lift the cookie out later if you want to transfer it to a serving platter, though I usually just serve it right in the pan.
Step 2: Cream the Butter and Sugars (3-4 minutes)
In a large bowl, beat the softened butter, granulated sugar, and brown sugar together on medium-high speed until light and fluffy. This takes about 3 minutes. Don’t rush this step! Proper creaming incorporates air, which helps the cookies have a better texture. The mixture should look pale and creamy.
Step 3: Add Eggs and Vanilla (2 minutes)
Beat in the eggs one at a time, mixing well after each addition. Add the vanilla extract. Scrape down the sides of the bowl with a spatula to make sure everything is incorporated. The mixture might look slightly curdled—that’s okay. It’ll come together once you add the dry ingredients.
Step 4: Mix Dry Ingredients (2 minutes)
In a separate bowl, whisk together the flour, cocoa powder, baking powder, baking soda, and salt. Sifting the cocoa powder is a good idea to avoid lumps. Gradually add the dry ingredients to the wet mixture, mixing on low speed just until combined. Overmixing at this stage can make the cookies tough.
Step 5: Fold in Chocolate Chips (1 minute)
Stir in the chocolate chips by hand with a spatula. You want to distribute them evenly without overworking the dough. The dough will be thick and stiff.
Step 6: Bake the Cookie (25-30 minutes)
Spread the dough evenly into the prepared pan. It will be thick, so wet your hands slightly to press it into the corners. Bake for 25-30 minutes, or until the edges are set and the center is just barely soft. A toothpick inserted into the center should come out with a few moist crumbs, not wet batter. If you bake it until the toothpick is completely clean, it’ll be dry. I pull mine out when they look slightly underdone—they’ll finish cooking in the pan.
Step 7: Cool Completely (1 hour)
Let the cookie cool in the pan for 10 minutes, then transfer it to a wire rack to cool completely. This is crucial. If you frost a warm cookie, the frosting will melt and slide off. Be patient here. I usually bake the cookie in the morning and frost it in the evening.
Step 8: Make the Whipped Frosting (10 minutes)
In a clean bowl, beat the softened cream cheese and butter together until smooth. Add the vanilla. Gradually add the powdered sugar, one cup at a time, mixing on low speed. Once all the sugar is added, increase the speed to medium-high and beat for 2-3 minutes until fluffy. Add the heavy cream, one tablespoon at a time, until the frosting is light and spreadable. It should hold soft peaks.
Step 9: Frost and Decorate (20 minutes)
Spread the frosting evenly over the cooled cookie. For the football look, you can pipe white chocolate laces and details using melted white chocolate in a ziplock bag with the corner cut off. Or, if you’re feeling creative, use orange and white frosting to draw a football pattern. I usually keep it simple: a white chocolate drizzle and a few orange dots for laces. It’s charming and easy.
Expert Tips & Tricks
Here’s everything I’ve learned from making this dozens of times. These tips will save you from my mistakes.
- Room Temperature Ingredients — This cannot be stressed enough. Cold butter and cream cheese will result in a lumpy, grainy frosting and dense cookies. Plan ahead and let your dairy sit out for an hour.
- Don’t Overbake — Cookie cakes continue to cook in the hot pan after you take them out. Pull them when the center looks slightly underdone. They’ll set as they cool.
- Sift Your Cocoa Powder — Cocoa powder tends to clump. Sifting it into the flour mixture ensures a smooth, lump-free cookie.
- Use Gel Food Coloring — If you’re piping details, gel coloring is more concentrated and won’t thin out your frosting like liquid coloring does.
- Chill Before Serving — After decorating, chill the cookie cake in the fridge for 30 minutes. This sets the frosting and makes slicing cleaner.
Common Mistakes (and how to avoid them)
Mistake: Frosting is too runny
Fix: You added too much heavy cream or the butter/cream cheese was too warm. Chill the frosting in the fridge for 15 minutes, then re-whip it.
Mistake: Cookie is dry
Fix: You overbaked it. Next time, reduce the baking time by 2-3 minutes. Also, make sure you’re measuring your flour correctly (spoon and level).
Mistake: Frosting is too sweet
Fix: The tang from the cream cheese helps balance it, but if it’s still too sweet, add a splash of lemon juice or a pinch of salt to the frosting.
Variations & Substitutions
Once you’ve nailed the basic version, here’s how you can mix it up. I’ve tried all of these.
Flavor Variations
Red Velvet Cookie Cake
Replace the cocoa powder with 2 tablespoons of red velvet cake mix and add 1 teaspoon of white vinegar. Use red food coloring in the frosting.
Peanut Butter Cup Cookie Cake
Swirl peanut butter into the frosting. Add crushed peanut butter cups on top for decoration.
White Chocolate Macadamia
Omit the cocoa powder. Add 1 cup white chocolate chips and 1 cup chopped macadamia nuts to the dough. Frost with vanilla buttercream.
Dietary Modifications
Gluten-Free
Use a 1:1 gluten-free flour blend. The texture might be slightly more crumbly, but it still tastes great.
Dairy-Free
Use dairy-free butter and chocolate chips. For the frosting, use dairy-free cream cheese and coconut cream instead of heavy cream. The flavor will be slightly different but still delicious.
Serving & Storage
I usually serve this straight from the pan at the dinner table—it looks rustic and stays warm. But here are other ways I’ve enjoyed it:
How to Serve
- Cut into squares or rectangles for easy handling.
- Serve with a cold glass of milk or a cup of coffee.
- For a fancy touch, add a dollop of whipped cream and a cherry on top.
Storage Instructions
Room Temperature:
Store in an airtight container for up to 3 days. If your kitchen is very hot, refrigerate it.
Refrigerator:
Store in an airtight container for up to 5 days. Let it come to room temperature before serving for the best texture.
Freezing:
You can freeze the unfrosted cookie base for up to 3 months. Wrap it tightly in plastic wrap and foil. Thaw overnight before frosting. The frosted cookie can also be frozen, but the frosting might change texture slightly. I recommend freezing the base and frosting fresh.
Pro Tip:
If leftovers are drying out, store a piece of bread in the container with the cookie. The bread releases moisture and keeps the cookie soft.
Nutrition Information
I’m not a nutritionist, but here’s the breakdown if you’re tracking. This is a rich dessert, so portion control is key!
Per Serving (based on 12 servings):
- Calories: 450
- Protein: 6g
- Carbs: 55g
- Fiber: 2g
- Sugar: 38g
- Fat: 24g
- Saturated Fat: 14g
- Cholesterol: 65mg
- Sodium: 280mg
Look, this is a dessert. It’s meant to be indulgent. But it’s made with real ingredients and no artificial junk. When I want to make it lighter, I reduce the sugar in the frosting by half a cup and use less chocolate chips in the dough. But usually? I just enjoy a square and savor it.
Final Thoughts
So that’s my go-to Football Party Chocolate Fudge Cookie Cake with Whipped Frosting! I’ve probably talked your ear off at this point, but when you make a recipe this often, you have a lot to say about it.
This has saved game-day dinners more times than I can count. It’s my answer to “what’s for dessert” when I’m tired, don’t want takeout, and still want something that tastes really good. My kids are happy, my husband’s happy, and I’m happy because I’m not stressed about cooking.
Make it yours! Try different add-ins, swap in your favorite colors for the team you’re rooting for, or just enjoy the simplicity of a big, chocolatey cookie. The best recipes are the ones you adapt to your family’s tastes.
If you make this, drop a comment and let me know what you think! I love hearing how recipes turn out in your kitchen. And if something doesn’t work, tell me that too—I’m here to help troubleshoot.
Happy cooking! And I hope your kitchen smells half as good as mine does right now.
Frequently Asked Questions
Can I use a different pan size?
You can, but the baking time will change. If you use a 9×13 pan, the cookies will be thinner and bake faster (check at 20 minutes). If you use a round pan, you’ll need to adjust the baking time and the frosting might be thicker. A 13×9 pan is ideal for the right thickness.
Why did my frosting break and look grainy?
This usually happens if the butter or cream cheese was too warm, or if you added the powdered sugar too quickly. Make sure your dairy is softened but not melted. Add the sugar gradually and mix on low speed first. If it’s already grainy, chill it for 15 minutes and re-whip.
Can I make this ahead for a party?
Yes! Bake the cookie base a day ahead. Store it covered at room temperature. Frost it the day of the party, 2-3 hours before serving. This gives the frosting time to set and makes slicing easier.
Can I use melted chocolate instead of chips?
You can, but chips hold their shape better during baking. If you use melted chocolate, the cookies might spread more and be crispier. I prefer chips for that fudgy, chewy texture.
How do I store leftovers?
Store in an airtight container at room temperature for up to 3 days. If your kitchen is hot, refrigerate it. Let it come to room temperature before serving for the best texture.
Can I freeze the frosted cookie cake?
It’s best to freeze the unfrosted base. The frosting can become watery or separate when thawed. If you must freeze the frosted cake, wrap it tightly in plastic wrap and foil. Thaw in the fridge overnight.
What if I don’t have a mixer?
You can mix the dough by hand, but it will take longer to cream the butter and sugar. For the frosting, whisking by hand is possible but tiring. A hand mixer makes a huge difference.
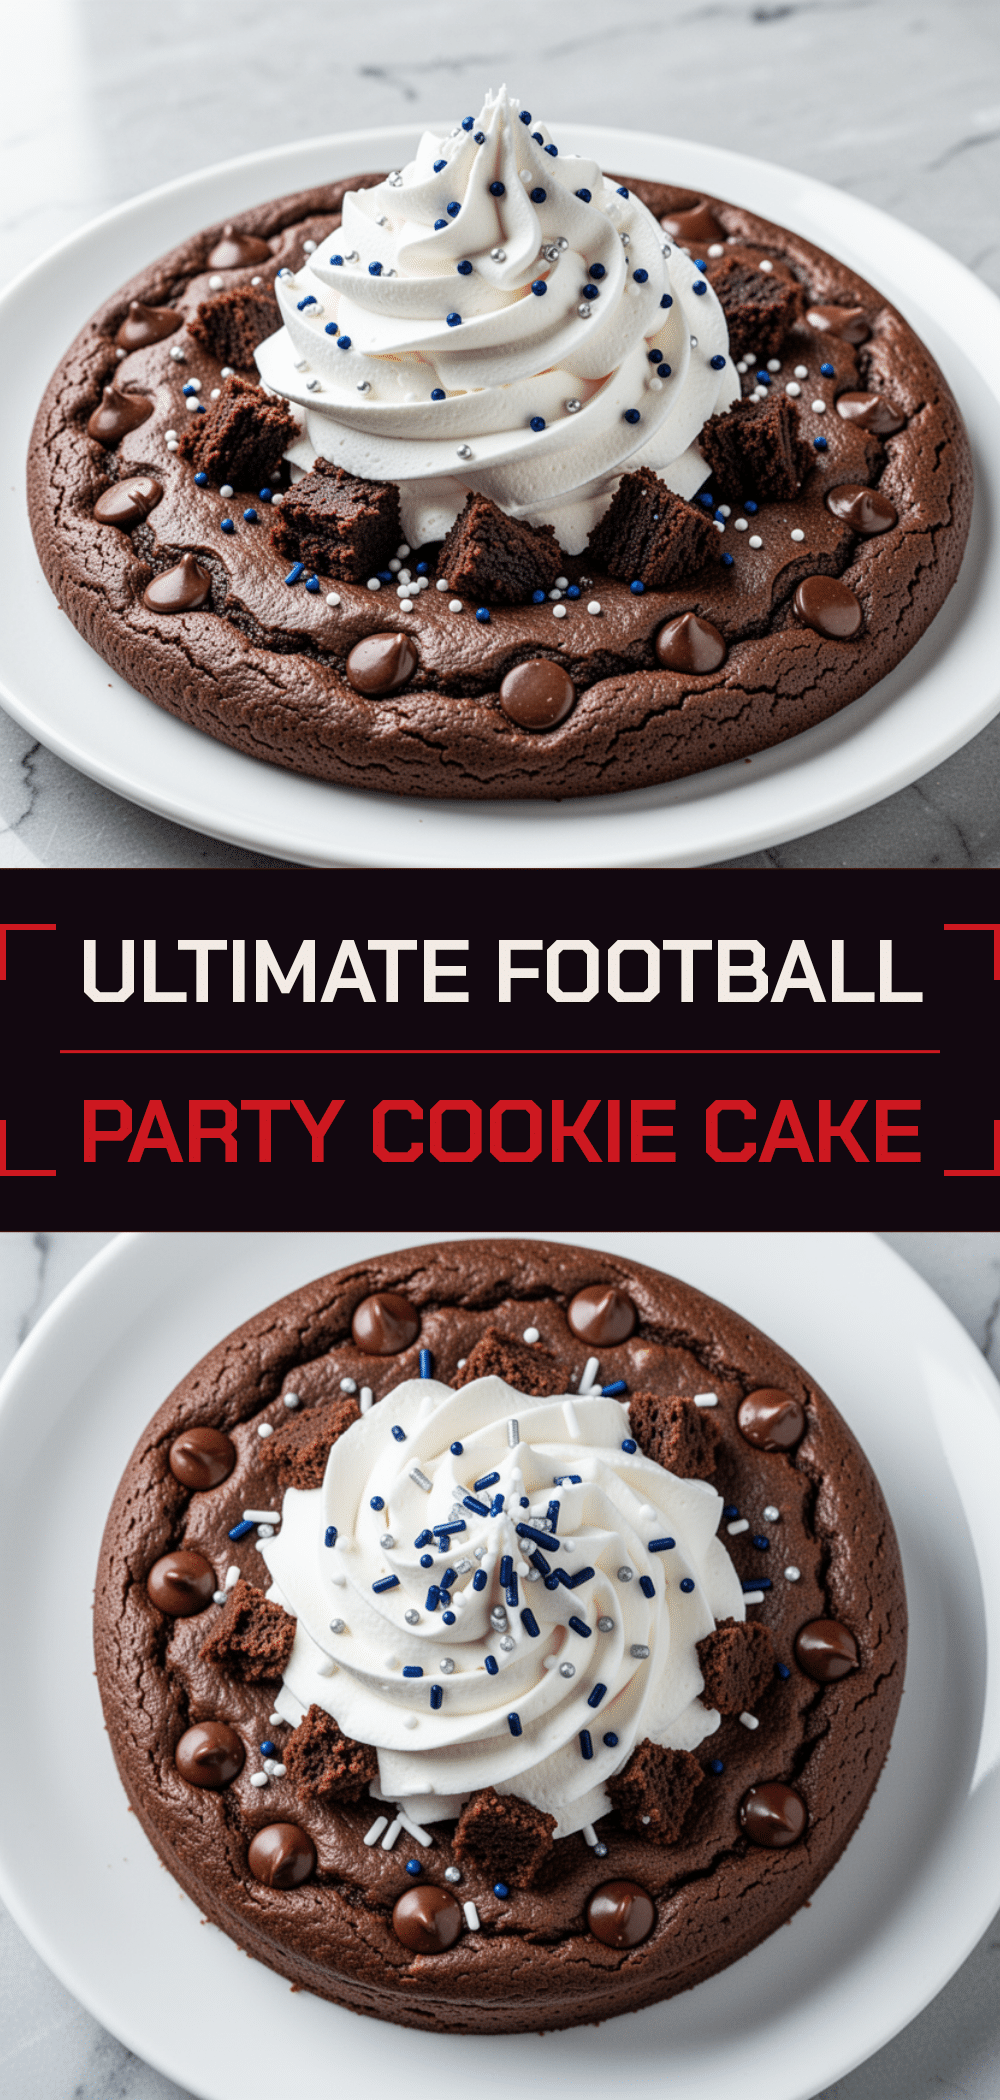
Pin This Recipe!
Football Party Chocolate Fudge Cookie Cake with Whipped Frosting
- Total Time: 50 minutes
- Yield: 12 servings 1x
Description
A rich, chewy chocolate fudge cookie baked in a 13×9 inch pan and topped with light, airy whipped cream cheese frosting. Perfect for game day, this forgiving dessert is easy to decorate and serves a large crowd.
Ingredients
- 1 cup (226g) unsalted butter, softened
- 1 cup (200g) granulated sugar
- 1 cup (220g) packed brown sugar
- 2 large eggs, room temperature
- 2 teaspoons vanilla extract
- 2 ½ cups (315g) all-purpose flour
- ¾ cup (75g) unsweetened cocoa powder
- 1 teaspoon baking powder
- 1 teaspoon baking soda
- 1 teaspoon salt
- 1 ½ cups (255g) semi-sweet or dark chocolate chips
- 8 oz (225g) full-fat cream cheese, softened
- ½ cup (113g) unsalted butter, softened
- 3–4 cups (360-480g) powdered sugar, sifted
- 1 teaspoon vanilla extract
- 2–3 tablespoons heavy cream
- ½ cup (85g) white chocolate chips, melted
- Orange gel food coloring
Instructions
- Preheat oven to 350°F (175°C). Grease a 13×9 inch baking pan and line with parchment paper.
- In a large bowl, beat softened butter, granulated sugar, and brown sugar on medium-high speed until light and fluffy (about 3 minutes).
- Beat in eggs one at a time, then add vanilla extract. Scrape down the sides of the bowl.
- In a separate bowl, whisk together flour, cocoa powder, baking powder, baking soda, and salt.
- Gradually add dry ingredients to the wet mixture on low speed until just combined.
- Fold in chocolate chips by hand.
- Spread dough evenly into the prepared pan, pressing into corners.
- Bake for 25-30 minutes until edges are set and center is slightly soft. Cool in pan for 10 minutes, then transfer to a wire rack to cool completely.
- For frosting, beat cream cheese and softened butter until smooth. Add vanilla and powdered sugar gradually.
- Increase speed to medium-high and beat until fluffy. Add heavy cream one tablespoon at a time until spreadable.
- Spread frosting over cooled cookie. Decorate with melted white chocolate drizzle and orange gel coloring details.
- Chill in fridge for 30 minutes before serving to set the frosting.
Notes
Ensure all dairy ingredients are at room temperature for best texture. Do not overbake the cookie as it continues to cook in the pan. Sift cocoa powder to avoid lumps. Use gel food coloring to prevent thinning the frosting. Can be made ahead: bake base a day in advance and frost before serving.
- Prep Time: 20 minutes
- Cook Time: 30 minutes
- Category: Dessert
- Cuisine: American
Nutrition
- Serving Size: 1 square
- Calories: 450
- Sugar: 38
- Sodium: 280
- Fat: 24
- Saturated Fat: 14
- Carbohydrates: 55
- Fiber: 2
- Protein: 6
Keywords: football dessert, cookie cake, chocolate fudge, whipped frosting, game day, super bowl, party dessert, easy baking



