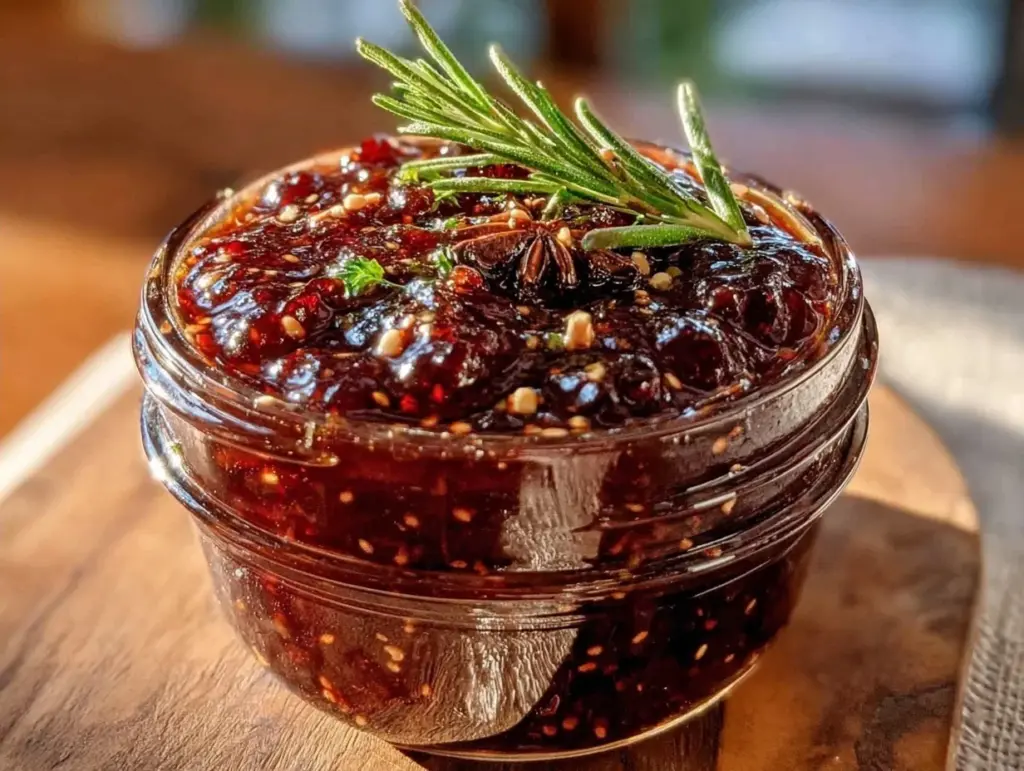
I’ll be honest with you. For years, I treated elderberry syrup like it was some kind of witch’s brew. You know the type—dark, mysterious, and probably made in a cauldron somewhere in the woods. I’d walk past the jars of deep purple syrup at the farmer’s market, see the price tag, and keep walking. It just felt too complicated for my kitchen. Too many ingredients I didn’t recognize. Too much simmering time I didn’t have.
Then last winter, my sister handed me a small bottle of her homemade elderberry syrup. She didn’t give me a lecture on immune systems or a scientific breakdown of anthocyanins. She just said, “Take a spoonful every morning when you feel a tickle in your throat. It works.”
I took it. I felt fine. A week later, I felt a scratchy throat—the same one that usually sends me running to the pharmacy for cough drops. I took a spoon of the syrup. By bedtime, the scratch was gone. By the next day, I was back to normal. No sniffles. No aches. Just… normal.
That’s when I decided to figure this out myself. I wanted to know how she did it. I wanted to make something that actually worked, without needing a degree in herbalism or a pantry full of exotic roots.
What I found was that making this homemade elderberry immune boosting syrup is actually incredibly simple. It’s not magic. It’s just good ingredients, a little bit of heat, and patience. And the best part? You only need four main ingredients. Just four. If you can boil water and mash a few berries, you can make this. Seriously. You really can’t mess this up.
This isn’t about turning your kitchen into an apothecary. It’s about having a natural, delicious tool in your drawer for when life throws a cold at you. Or just because you want to support your body proactively. It tastes like tart berries and warm spices. It’s better than any artificial grape drink I’ve ever had, and it’s way cheaper than the store-bought stuff.
So, let’s make this. No fancy equipment. No stress. Just four ingredients and a jar of liquid gold that will make you feel like a wellness wizard without doing any wizard work.
Why You’ll Love This Recipe
There are a dozen reasons I keep making this elderberry syrup, but I’m going to keep it real with you. These are the reasons that actually matter when you’re standing in your kitchen wondering if it’s worth the effort.
Stupid Simple — I mean it. If you have a pot, a spoon, and a jar, you’re good to go. There’s no chopping, no blending, no weird techniques. You just simmer and strain. That’s it. I’ve made this while watching TV. I’ve made this while my kids were screaming in the other room. It’s foolproof.
Only 4 Ingredients — Seriously. Elderberries, water, honey, and maybe a cinnamon stick. That’s the whole list. No obscure powders from a health food store you’ll never use again. No ginger root you have to peel. Just four things you can probably find or easily grab. This minimalism is my favorite part. Less is more, and in this case, less means fewer things to go wrong.
Tastes Actually Good — I’ve tried homemade syrups that taste like dirt or medicine. This one? It’s tart, sweet, and warm. The cinnamon adds a cozy background note that makes it feel like a treat, not a chore. My kids ask for it. I know, I know, kids and “health food” don’t usually go together, but this one wins them over. It’s like a fancy grape juice with benefits.
Costs Pennies — Store-bought elderberry syrup is expensive. Like, $20 for a tiny bottle expensive. Making this at home? Maybe $5 if you buy dried berries in bulk. That’s a massive difference. You’re getting a bigger bottle, too. We’re talking about a jar that lasts for weeks.
Works When You Need It — This isn’t just a placebo. I’ve used this for myself and my family for three winters now. When that first tickle hits, this syrup takes the edge off. It feels like my body is getting a boost, and honestly, knowing I’m putting natural, real ingredients into my body feels good. It’s not a cure-all, but it’s a solid, natural ally.
This is my go-to when I want to feel like I’m taking care of myself without spending hours in the kitchen. It’s the kind of recipe that just works. Quietly, effectively, and deliciously.
Ingredients You’ll Need
Here’s the best part: this list is short. I’m not kidding. I’ve seen recipes with twelve ingredients, including things like “ashwagandha root powder” and “mushroom extract.” I don’t have those. I don’t want those. I just want something that works.
So, let’s talk about these four ingredients. I’m particular about two of them, and I’ll tell you exactly why.
Dried Elderberries
(1 cup / about 120g)
This is the star. You want dried elderberries, not fresh. Fresh ones are tricky because they need to be cooked thoroughly to remove toxins, and they’re hard to find. Dried elderberries are available at most grocery stores now (check the bulk bins or the tea aisle) or online. I usually buy the organic ones because I’m paranoid about pesticides on small berries. Don’t substitute with blueberries or blackberries. They’re different berries with different properties. Stick to elderberries.
Water
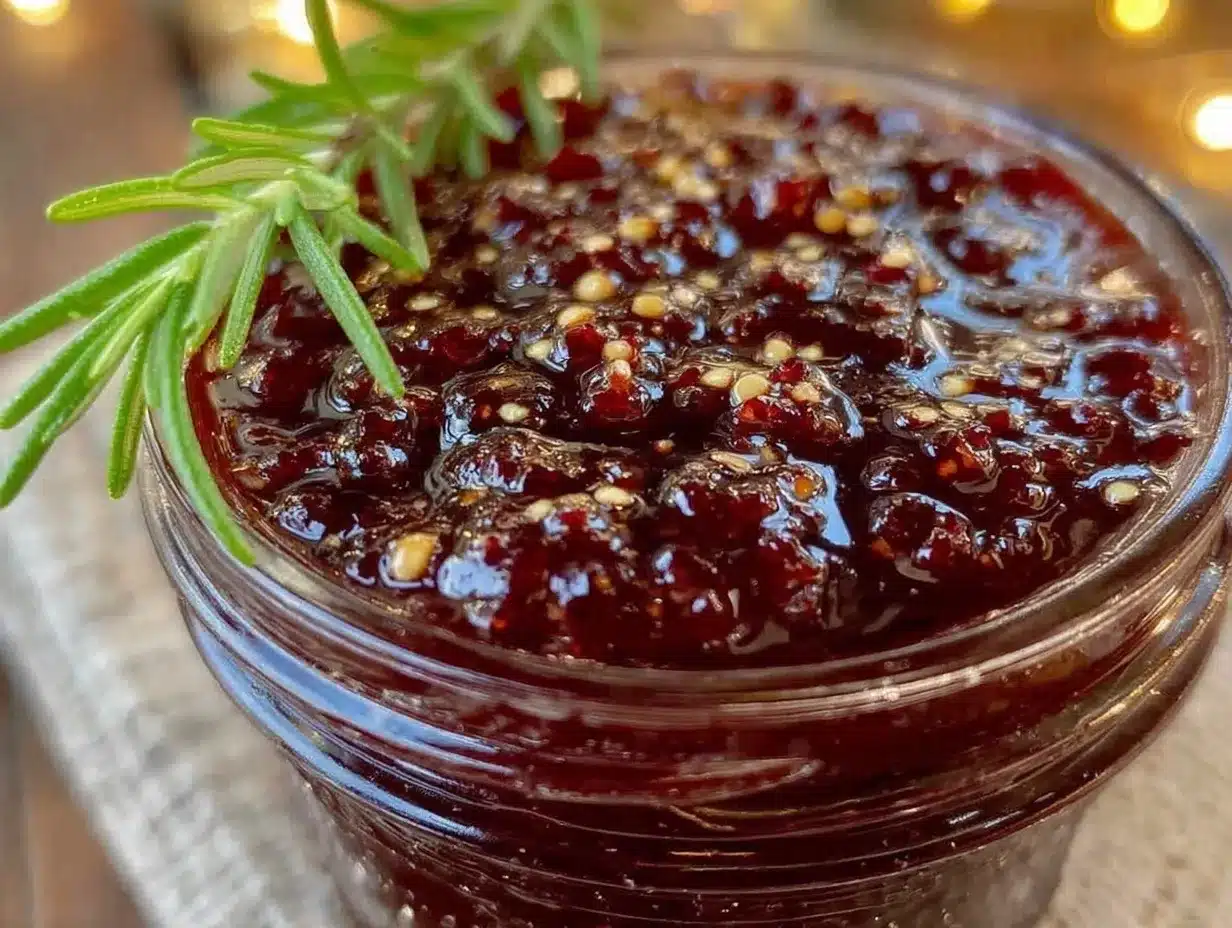
(2 cups / 480ml)
Just plain old tap water. Or filtered if you prefer. This is what we simmer the berries in to extract all that good stuff. You don’t need fancy spring water. Just water.
Raw Honey
(½ cup / 170g)
This is the sweetener and the preservative. I use raw honey because it has more natural enzymes and flavor than processed honey. Manuka honey is great but expensive. Any good quality raw honey works. Local honey is a nice touch because it might help with seasonal allergies (though that’s a whole other debate). The key here is to add the honey after the mixture has cooled down a bit. High heat destroys the good stuff in honey. So, don’t rush this.
Cinnamon Stick
(1 large stick / or 1 teaspoon ground cinnamon)
This is for flavor and warmth. I prefer a whole stick because it infuses the flavor without making the syrup gritty. If you use ground cinnamon, the syrup will be a bit cloudy and you’ll have to strain it extra carefully. But it works. I also like to add a couple of whole cloves or a piece of star anise if I have them, but it’s not necessary. Keep it simple. One stick is enough.
Equipment Needed
You don’t need fancy equipment for this. Here’s what I actually use.
Small Saucepan — I use a 2-quart saucepan. It doesn’t need to be big. Just big enough to hold the berries and water without boiling over. My old, slightly dented saucepan works fine.
Wooden Spoon — For stirring. You’ll need to mash the berries a bit as they cook. A wooden spoon is perfect for this. It’s gentle on the pot and strong enough to crush the fruit.
Mesh Strainer — This is the most important tool. You need a fine-mesh strainer to separate the berries from the liquid. A regular colander won’t work; the bits will get through. I use a small chinois or a fine-mesh sieve. If you don’t have one, a nut milk bag works too, but a strainer is faster.
Large Spoon or Potato Masher — To press the berries through the strainer. You want to get every drop of that purple goodness out. A spoon works, but a potato masher makes it easier to press the pulp.
Glass Jar — For storing. A clean mason jar or any glass jar with a lid works. Glass is best because honey and acidic berries can interact with some plastics over time. I use a 16-ounce mason jar. It holds about half the syrup, which is perfect for my fridge space.
Measuring Cups and Spoons — Standard stuff. Dollar store versions work fine. You don’t need to be precise, but having a rough idea helps.
Optional: Funnel — If you’re pouring the syrup into a narrow-necked bottle, a funnel saves a mess. I usually just pour it into the jar, so I skip this. But if you’re messy like me, get a funnel.
How to Make It: Step-by-Step
Alright, let’s make this! I’m walking you through exactly how I do it, including the little tricks I’ve picked up.
Step 1: Combine Berries and Water (2 minutes)
Grab your small saucepan. Add the dried elderberries and the water. It’s that simple. No chopping, no prep. Just dump them in. Stir them around a bit to make sure the berries are submerged. They’ll absorb the water and plump up as they cook.
Step 2: Simmer the Berries (20 minutes)
Place the pot on the stove over medium-high heat. Bring it to a boil. Once it’s boiling, reduce the heat to low. You want a gentle simmer, not a rolling boil. If it’s boiling too hard, the water will evaporate too fast, and you’ll lose liquid. Add the cinnamon stick now. Let it simmer for about 20 minutes. You’ll notice the water turning a deep, dark purple. The berries will start to burst. This is good. It means the flavor is coming out.
Step 3: Mash and Rest (5 minutes)
After 20 minutes, turn off the heat. Now comes the fun part. Take your wooden spoon and mash the berries against the side of the pot. You want to crush them as much as possible to release all the juice. Don’t worry about getting every single seed out yet. Just get the pulp broken down. Let the pot sit off the heat for about 10-15 minutes. This helps the flavors steep and cool down slightly. I usually use this time to wash the strainer and get the jar ready.
Step 4: Strain the Liquid (5 minutes)
Place your mesh strainer over a large bowl or measuring cup. Pour the berry mixture into the strainer. Use your spoon or a potato masher to press the berries. Press hard. You want to get every drop of liquid out. The liquid that comes through will be a beautiful, deep purple. The solids left in the strainer will look like a mushy mess. That’s okay. They’re done their job.
Step 5: Cool and Add Honey (5 minutes)
Let the strained liquid cool down until it’s warm to the touch, not hot. This is crucial. If you add honey to hot liquid, you kill the beneficial enzymes. Wait until it’s lukewarm. Then, stir in the raw honey. It will dissolve easily. Taste it. It should be sweet and tart. If you want it sweeter, add a little more honey. If you want it tarter, add a splash of lemon juice (optional, but I love it).
Step 6: Store and Enjoy
Pour the syrup into your clean glass jar. Seal it tightly. Store it in the fridge. It will keep for up to 3 months. When you want to use it, just take a tablespoon every morning, or a tablespoon every few hours when you’re feeling sick. Shake the jar before using it, just in case the honey settles.
Total Time: About 45 minutes (mostly hands-off simmering)
Expert Tips & Tricks
Here’s everything I’ve learned from making this dozens of times. These tips will save you from my mistakes.
Don’t Rush the Simmer
I know it’s tempting to boil it faster. But the low simmer is what extracts the nutrients properly. If you boil it too hard, you might destroy some of the delicate compounds. Patience pays off here.
Press Hard When Straining
I used to be gentle with the berries. Big mistake. You need to press that pulp to get the full yield. If you’re lazy here, you’re leaving flavor (and immunity) in the trash. Use a spoon, a masher, or even your fingers (if you’re clean and don’t mind the mess) to get every drop.
Cool Before Adding Honey
I cannot stress this enough. Hot honey is useless for health benefits. It’s just sugar. Wait until the syrup is lukewarm. If you’re impatient like me, you can put the bowl in the fridge for 10 minutes to speed it up. But don’t skip this step.
Add Lemon for Preservation
If you want your syrup to last longer, add a tablespoon of lemon juice. The citric acid helps preserve it. It also adds a nice brightness to the flavor. I always add it now. It’s a small step that makes a big difference.
Use a Funnel
If you’re pouring the syrup into a narrow bottle, use a funnel. I’ve spilled more elderberry syrup on my counter than I care to admit. It’s sticky and purple. Trust me, get a funnel.
Variations & Substitutions
Once you’ve nailed the basic version, here’s how you can mix it up. I’ve tried all of these.
Spicy Version
Add a small piece of fresh ginger (peeled and sliced) when you simmer the berries. It adds a nice kick and is great for sore throats. I love this version when I’m really feeling under the weather.
Vanilla Bean
Instead of cinnamon, add half a vanilla bean (scraped) or a teaspoon of vanilla extract after cooling. It makes the syrup taste more like a dessert sauce. My kids love this version.
Extra Sweet
If you’re making this for kids who are picky, you can increase the honey to ¾ cup. It’s still healthy, just sweeter. Or use a mix of honey and maple syrup.
Alcohol-Free vs. Tincture
This recipe is alcohol-free. If you want a longer-lasting shelf-stable version, you can add a splash of vodka or brandy after straining. The alcohol acts as a preservative. But for most people, the fridge version is fine and tastes better.
Gluten-Free & Vegan
This recipe is naturally gluten-free. It’s vegan if you use agave or maple syrup instead of honey. I use maple syrup sometimes, but I prefer the flavor of honey.
Serving & Storage
How to Serve:
I usually take a tablespoon straight from the spoon. It’s potent and delicious. You can also mix it into warm tea, water, or even yogurt. When I’m sick, I mix it with warm water and lemon for a soothing drink. It’s like a natural cold remedy that actually tastes good.
Side Pairings:
I often have this with my morning oatmeal or granola. It adds a nice tartness. I also keep it in the fridge next to the jam, so I can grab it easily.
Storage Instructions:
Refrigerator: Store in an airtight glass jar for up to 3 months. The syrup will thicken slightly in the fridge. This is normal. Just let it sit at room temperature for a few minutes before using.
Freezing: You can freeze this syrup! Pour it into ice cube trays, freeze them, then transfer the cubes to a freezer bag. Thaw a cube when you need it. This is great for travel or if you want to keep a stash.
Room Temperature: Don’t store it at room temperature. The honey helps, but it’s not enough to keep it safe without refrigeration. Always keep it in the fridge.
Nutrition Information
I’m not a nutritionist, but here’s the breakdown if you’re tracking.
Per Serving (1 tablespoon):**
- Calories: 25
- Carbs: 6g
- Sugar: 5g
- Fat: 0g
- Protein: 0g
What’s Good:
- Low calorie
- Rich in antioxidants from the elderberries
- Natural sugars from honey
- No artificial ingredients
What to Know:
- Contains honey (not for infants under 1 year)
- High in sugar if you take multiple tablespoons
- Nutritional value comes from the berries, not the honey
My Take:
Look, this isn’t a superfood that will make you live forever. But it’s a simple, natural way to support your immune system. It’s better than taking a synthetic supplement, in my opinion. I just take a spoonful every morning, and I feel good about it. It’s a small habit with a big payoff.
Final Thoughts
So that’s my homemade elderberry immune boosting syrup! I’ve probably talked your ear off at this point, but when you make a recipe this often, you have a lot to say about it.
This has been a game-changer for my family. It’s simple, effective, and delicious. It’s the kind of thing that makes you feel like you’re taking control of your health, without any fuss. And honestly, that’s what cooking is all about. Making things that are good for you and good for your soul.
Make it yours! Try different spices, adjust the sweetness, or add ginger. The best recipes are the ones you adapt to your tastes. And if you’re worried about messing it up, don’t be. You really can’t mess this up. It’s forgiving and simple.
If you make this, drop a comment and let me know what you think! I love hearing how recipes turn out in your kitchen. And if something doesn’t work, tell me that too—I’m here to help troubleshoot.
Happy cooking! And I hope your kitchen smells half as good as mine does right now.
Frequently Asked Questions
Can I use fresh elderberries instead of dried?
You can, but you need to be careful. Fresh elderberries contain small amounts of cyanogenic glycosides, which are toxic if not cooked properly. You must boil fresh elderberries for at least 10 minutes to make them safe. Dried elderberries are already processed and safe to use. For simplicity and safety, I stick with dried. It’s easier and less risky.
How long does this syrup last?
In the fridge, it lasts up to 3 months. If you add lemon juice, it might last even longer. If you freeze it in ice cube trays, it can last up to 6 months. If it starts to smell funny or look moldy, throw it out. Better safe than sorry.
Can I give this to my kids?
Yes, but not for infants under 1 year old due to the honey. For older kids, it’s great. I mix it with warm water or tea to make it less sweet and easier to drink. They love it because it tastes like juice.
Why is my syrup cloudy?
Cloudiness is normal, especially if you didn’t press the berries hard enough or if you used ground cinnamon. If you want it clear, strain it twice through a coffee filter or nut milk bag. But cloudiness doesn’t mean it’s bad. It’s still good.
Can I make this in a slow cooker?
You can, but it takes longer. Add the berries, water, and cinnamon to the slow cooker. Cook on low for 4-6 hours. Then strain and add honey. It’s easier, but the stovetop method is faster and gives you more control. I prefer the stovetop.
Does this really boost immunity?
Elderberries are rich in antioxidants and vitamins that support the immune system. Many studies suggest they can reduce the duration and severity of colds. It’s not a magic cure, but it’s a solid natural support. I use it as part of my overall health routine, along with good sleep and diet.
Can I substitute the honey with maple syrup?
Yes, for a vegan version. Maple syrup works well, but it has a distinct flavor. Some people prefer it. Just know that maple syrup doesn’t preserve as well as honey, so your syrup might not last as long in the fridge. Use it up faster if you use maple syrup.
Pin This Recipe!
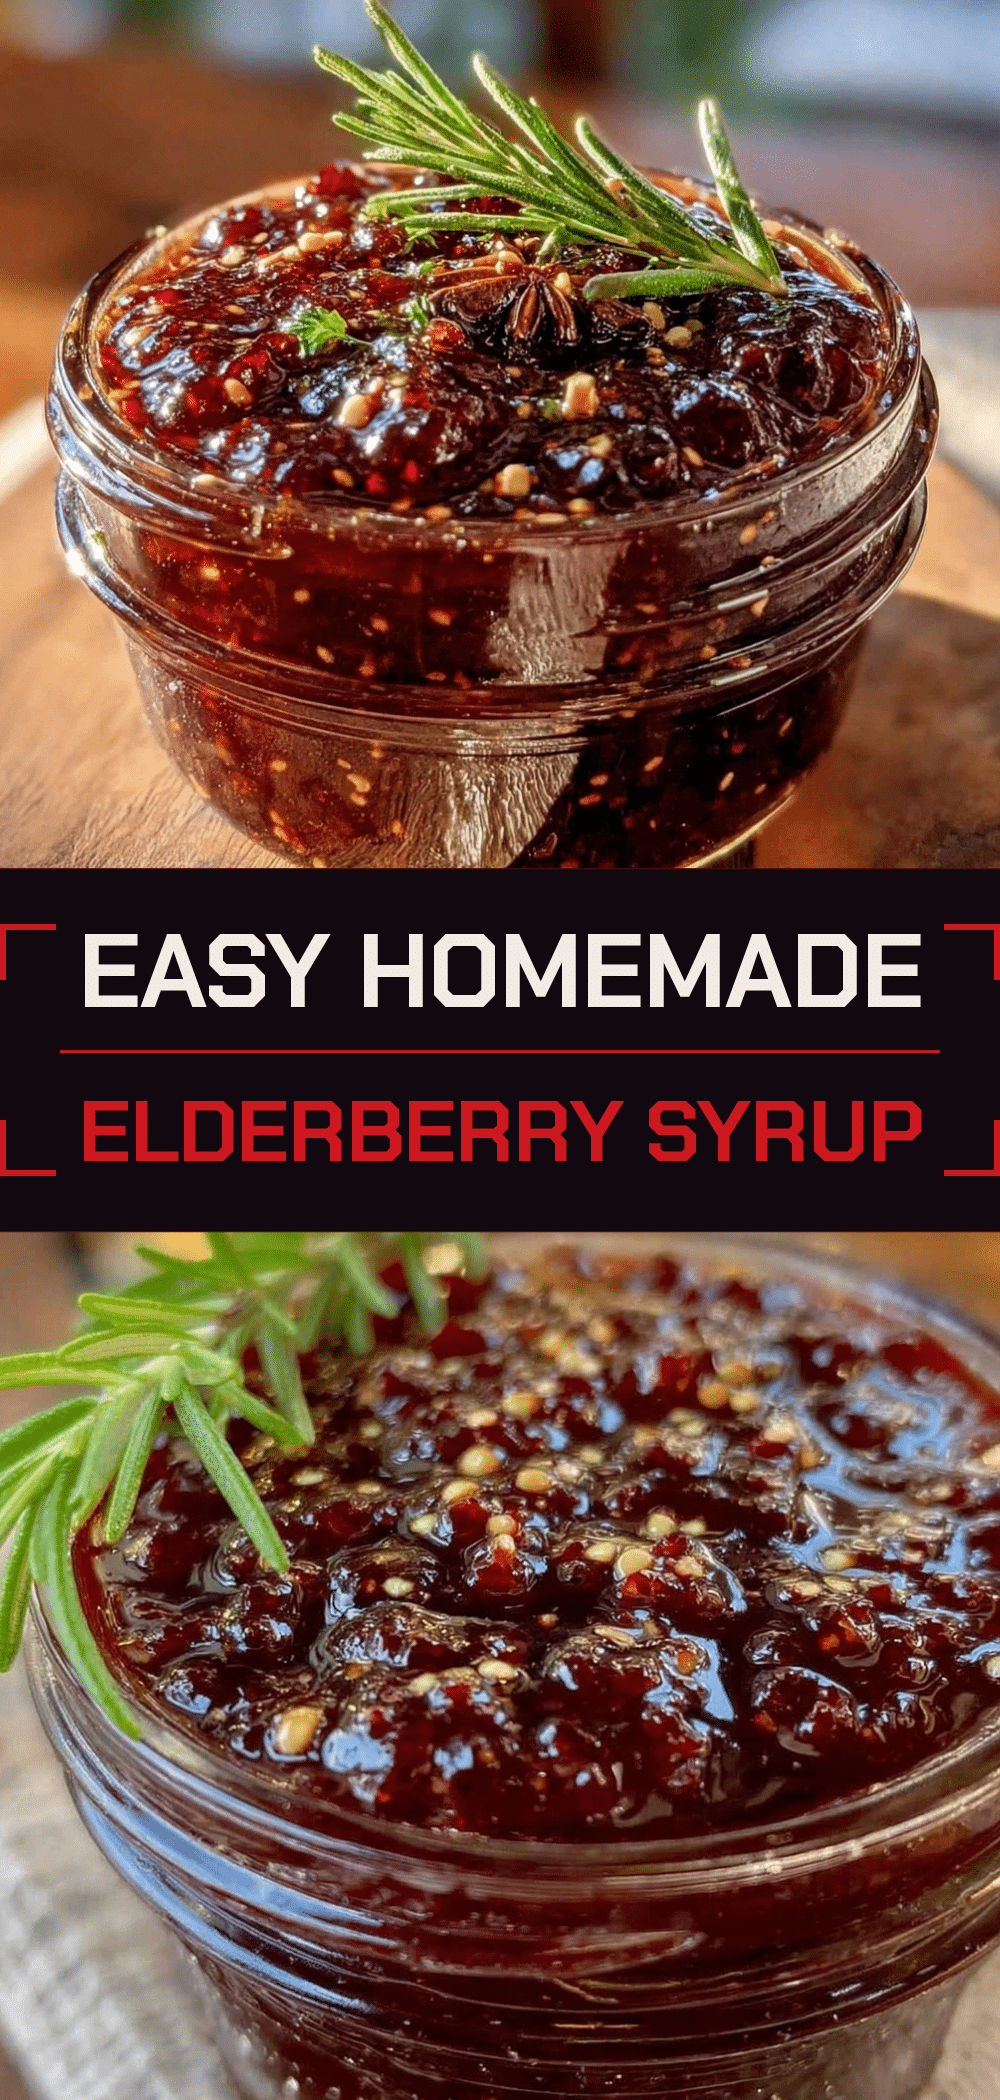
Homemade Elderberry Syrup: 4 Ingredients
- Total Time: 45 minutes
- Yield: Approximately 16 servings (1 tablespoon each) 1x
Description
A simple, immune-boosting elderberry syrup made with just four ingredients: dried elderberries, water, honey, and cinnamon. This natural remedy is easy to make, delicious, and effective for supporting health during cold season.
Ingredients
- 1 cup dried elderberries (about 120g)
- 2 cups water
- 1 large cinnamon stick (or 1 teaspoon ground cinnamon)
- ½ cup raw honey
Instructions
- Combine the dried elderberries and water in a small saucepan. Stir to ensure berries are submerged.
- Place the pot on the stove over medium-high heat and bring to a boil. Reduce heat to low to maintain a gentle simmer.
- Add the cinnamon stick and simmer for 20 minutes, allowing the water to turn deep purple and berries to burst.
- Turn off the heat and mash the berries against the side of the pot with a wooden spoon to release the juice. Let the mixture sit for 10-15 minutes to cool slightly and steep.
- Place a fine-mesh strainer over a large bowl or measuring cup. Pour the berry mixture into the strainer and press hard with a spoon or potato masher to extract all the liquid.
- Let the strained liquid cool until it is lukewarm (not hot) to preserve the beneficial enzymes in the honey.
- Stir in the raw honey until fully dissolved. Optionally add a tablespoon of lemon juice for preservation and brightness.
- Pour the syrup into a clean glass jar, seal tightly, and store in the refrigerator for up to 3 months.
Notes
Do not add honey to hot liquid as high heat destroys beneficial enzymes. Fresh elderberries contain toxins if not cooked thoroughly; dried elderberries are safer and easier to use. For a vegan version, substitute honey with maple syrup or agave. Add lemon juice to extend shelf life. Do not store at room temperature.
- Prep Time: 2 minutes
- Cook Time: 20 minutes
- Category: Condiments
- Cuisine: American
Nutrition
- Serving Size: 1 tablespoon
- Calories: 25
- Sugar: 5
- Carbohydrates: 6
Keywords: elderberry syrup, immune boost, natural remedy, homemade syrup, cold remedy, elderberry recipe, honey syrup, wellness



