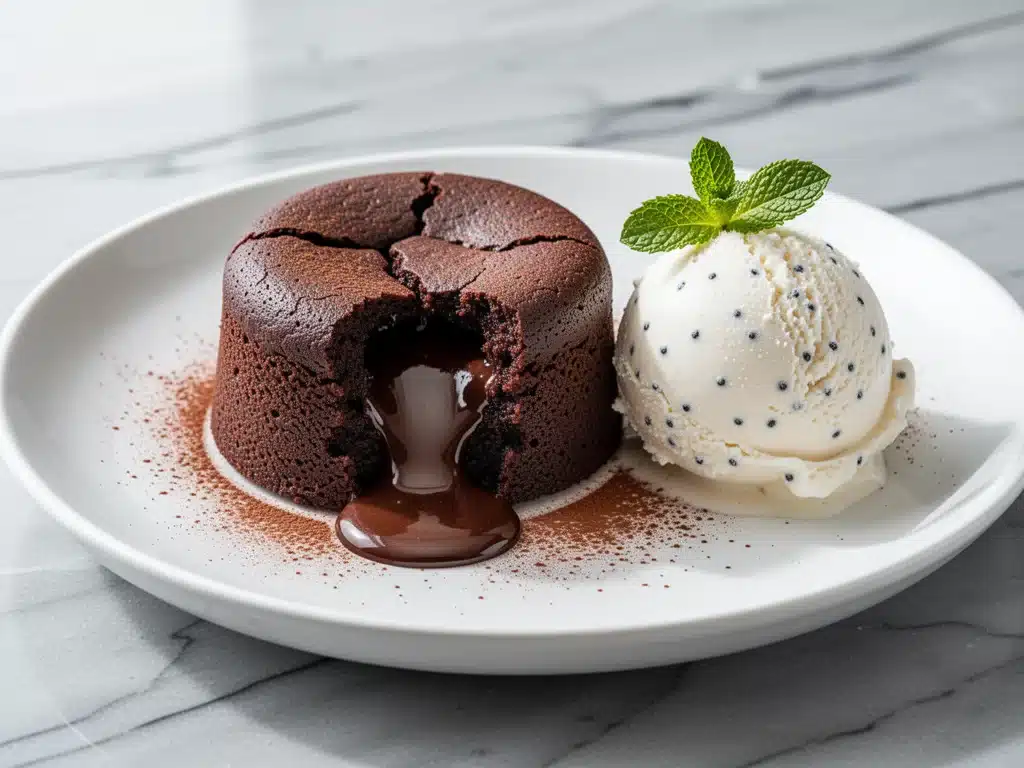
I have a confession to make: I used to be terrified of making chocolate cake from scratch. Not just any cake—molten chocolate cake. You know the kind. The ones where the outside looks perfectly set, but when you cut into it, warm chocolate lava spills out onto your plate. I thought it required some kind of pastry school magic or expensive equipment I definitely didn’t own. So, for years, I bought the frozen ones from the grocery store. Let’s just say they were… acceptable. But never amazing.
Then, last winter, I decided I was done settling. I wanted that restaurant experience at home, but without the $18 price tag or the 45-minute wait time. I spent three weekends testing different ratios of chocolate to butter, experimenting with ramekin sizes, and learning exactly how long to bake these little gems so they didn’t turn into dense brownies (which happened more than once, let me tell you). After about ten failed attempts, I finally cracked the code.
Now, this Molten Chocolate Cake is my absolute go-to for impressing guests or just treating myself on a Tuesday night. It’s ridiculously simple, takes less than 30 minutes from start to finish, and the smell of melting chocolate that fills your kitchen is honestly the best part. Paired with a scoop of cold vanilla bean ice cream, it’s the kind of dessert that makes people close their eyes and sigh. I’ve made this recipe so many times that my family now considers it a “weekend ritual.” If you’ve been looking for a way to elevate your dessert game without losing your mind, you’re in the right place. This is hands-down the best method for achieving that perfect gooey center every single time.
Why You’ll Love This Recipe
There are a million reasons to keep this Molten Chocolate Cake recipe in your rotation, but I’ll keep it real with you. This isn’t just about the chocolate; it’s about the relief of making something that tastes fancy with minimal effort.
- Stupid Simple Ingredients — Seriously, if you have chocolate, butter, eggs, sugar, and flour, you have everything you need. I don’t even use vanilla extract because the ice cream covers that base. It’s pantry-friendly in the best way.
- Lightning Fast — From mixing to eating, this takes about 25 minutes. The prep is 5 minutes, the bake is 12-14 minutes. I make this after dinner while everyone is still chatting at the table. It feels like magic.
- Restaurant Quality — The texture is everything. Crisp edges, soft middle, liquid center. It tastes like you spent hours tempering chocolate, but you didn’t. Your friends will be jealous.
- Zero Fail Factor — Once you get the timing right (which I’ll help you with), this never fails. Unlike brown butter pear cake which can be tricky with moisture levels, this is very forgiving. Overbaking is the only enemy, and we’re avoiding that.
- Perfect for Any Occasion — Date night? Done. Movie night? Done. Impressing your in-laws? Definitely done. It’s elegant but not stiff.
This is my answer to “what’s for dessert?” when I want something special but don’t want to spend the whole evening in the kitchen. It’s reliable, delicious, and makes everyone happy.
Ingredients You’ll Need
Here’s the best part: you probably have most of this already. This Molten Chocolate Cake relies on quality over quantity. You don’t need exotic spices or rare flours. You just need good chocolate and butter.
For the Cake Batter
Bittersweet Chocolate (7 ounces / 200g) — This is the star. I use 60-70% cocoa chocolate. Avoid chocolate chips; they have stabilizers that prevent them from melting smoothly. Buy a bar of high-quality baking chocolate and chop it up. Lindt or Ghirardelli work great.
Unsalted Butter (½ cup / 113g) — Don’t skimp here. Butter provides the richness and the structure. Use real butter, not margarine. It makes a huge difference in flavor.
Large Eggs (2 whole + 2 yolks) — This ratio is key. The extra yolks add richness and help create that dense, fudgy texture. If you’re short on yolks, you can use 3 whole eggs, but the texture will be slightly less luxurious.
Granulated Sugar (½ cup / 100g) — Regular white sugar. You might think it’s sweet enough, but the sugar helps create that shiny, crisp crust on the outside. Don’t reduce this unless you want a very different texture.
All-Purpose Flour (2 tablespoons / 16g) — Just a little bit. This gives the cake structure so it doesn’t collapse into a puddle. Don’t skip it, but don’t add more or you’ll get a brownie, not a molten cake.
Salt (¼ teaspoon) — Just a pinch to balance the sweetness and enhance the chocolate flavor.
For the Vanilla Bean Ice Cream
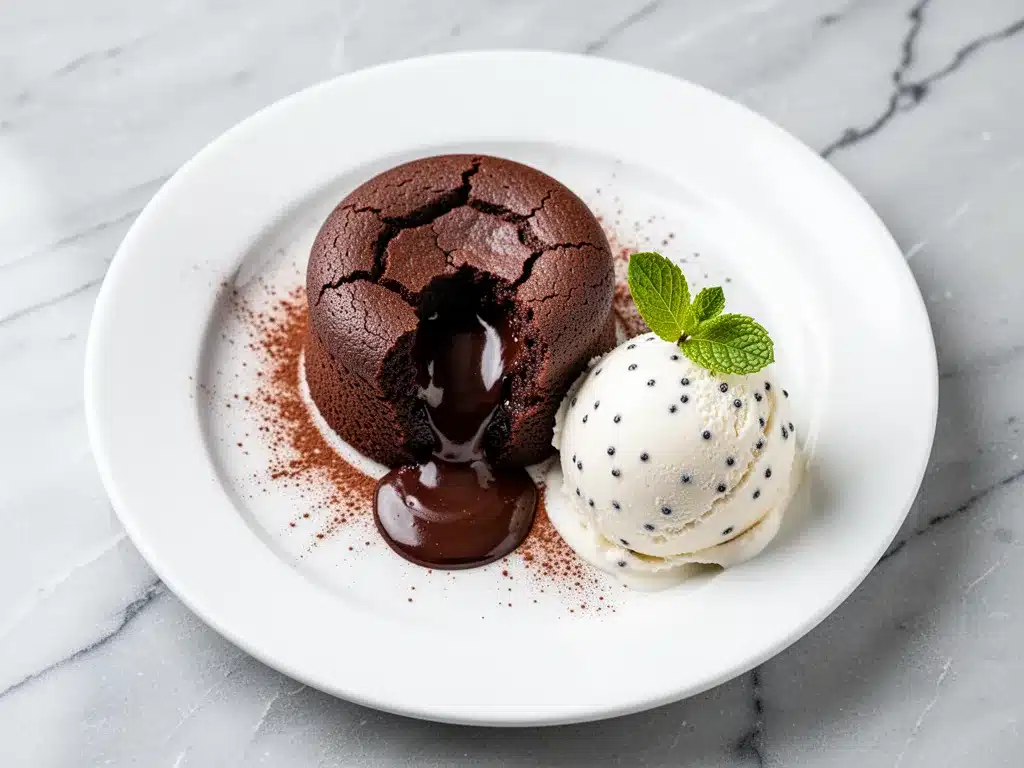
Vanilla Bean Ice Cream (2-4 scoops) — I’m not going to lie, buying high-quality store-bought ice cream is totally fine here. Look for brands like Ben & Jerry’s, Häagen-Dazs, or local artisan shops. You want something with visible vanilla specks. If you’re feeling extra fancy, you can make your own, but honestly? Store-bought is a time-saver and tastes incredible with warm cake. If you want a simpler dessert alternative, check out my fall maple cinnamon rice pudding for a cozy, warm option.
Optional Garnish — Fresh raspberries or a dusting of powdered sugar. Raspberries add a nice tart contrast to the sweet chocolate.
Equipment Needed
You don’t need fancy equipment for this. Here’s what I actually use:
- 6 Ramekins (6-ounce size) — This is the most important tool. Use ceramic or porcelain ramekins. Glass works but can crack if the temperature change is too sudden. I use Pyrex ramekins because they’re durable and I can see the sides.
- Small Saucepan or Microwave-Safe Bowl — For melting the chocolate and butter. A double boiler is ideal, but a microwave works fine if you’re careful.
- Mixing Bowls — One medium bowl for the dry ingredients, one larger bowl for the chocolate mixture.
- Whisk — A small whisk is perfect for beating the eggs and sugar until pale.
- Pastry Brush — Optional, but helpful for greasing the ramekins.
- Baking Sheet — To catch any potential drips and make transferring ramekins in and out of the oven easier.
Pro tip: If you don’t have ramekins, you can use a single 8-inch cake pan, but you’ll need to adjust the baking time significantly. I recommend sticking to ramekins for that authentic individual serving look.
How to Make It: Step-by-Step
Alright, let’s make this! I’m walking you through exactly how I do it, including the little tricks I’ve picked up over years of testing.
Step 1: Prep Your Ramekins (2 minutes)
Preheat your oven to 425°F (220°C). This high heat is crucial for getting that crisp exterior while the inside stays gooey. While the oven heats, butter your ramekins generously. Use softened butter and coat the entire inside surface, including the rim. Then, dust them with cocoa powder. Tap out the excess. This prevents the cake from sticking and adds a nice chocolatey crust.
Step 2: Melt the Chocolate and Butter (3-5 minutes)
Chop your chocolate into small pieces. Combine the chocolate and butter in a saucepan over low heat, stirring constantly until smooth. Alternatively, microwave them in 30-second intervals, stirring in between. Be careful not to overheat—the chocolate should be melted and glossy, not scorched. Set aside to cool slightly.
Step 3: Whisk Eggs and Sugar (2 minutes)
In a medium bowl, whisk the whole eggs and egg yolks with the sugar and salt. Beat vigorously for about 2-3 minutes. You want the mixture to become pale and slightly thickened. This incorporates air and helps create the cake’s structure. It’s a quick step, but don’t skip it.
Step 4: Combine Wet and Dry (2 minutes)
Pour the melted chocolate and butter mixture into the egg mixture. Stir gently until combined. Sift in the flour and fold it in gently with a spatula. Be careful not to overmix—just until no dry flour remains. The batter will be thick and glossy.
Step 5: Fill and Chill (10 minutes)
Distribute the batter evenly among the prepared ramekins, filling them about ¾ full. This is the secret step: refrigerate the ramekins for at least 10 minutes (or up to 24 hours). Chilling the batter helps the outside set faster than the inside when it hits the hot oven, creating that molten center. If you’re in a rush, you can skip this, but the results are less consistent.
Step 6: Bake (12-14 minutes)
Place the ramekins on a baking sheet and put them in the preheated oven. Bake for 12-14 minutes. The edges should be firm and puffed, but the center should still look soft and slightly jiggly. This is the hardest part—resisting the urge to bake them longer. They will continue to cook slightly after you take them out.
Step 7: Invert and Serve (2 minutes)
Remove from the oven. Let them cool for exactly 1 minute. Then, run a knife around the edge to loosen. Place a serving plate upside down over the ramekin and flip it quickly. The cake should slide out onto the plate. Serve immediately with a scoop of vanilla bean ice cream on top or on the side.
Expert Tips & Tricks
Here’s everything I’ve learned from making this dozens of times. These tips will save you from my mistakes.
Timing is Everything
12 minutes is usually perfect for standard 6-ounce ramekins. If you like a more set center, go to 13 minutes. If you like it liquid gold, stick to 12. If you go over 14 minutes, you risk getting a baked cake instead of molten. Use a timer. Seriously.
Don’t Skimp on Buttering
I’ve had cakes stick to ramekins before because I was lazy with the butter. Coat every nook and cranny. The cocoa powder dusting helps, but the butter is the non-stick agent. If you forget, your dessert might stick to the ramekin, and nobody wants to dig it out.
Chill for Success
I know it’s tempting to bake them right away, but chilling the batter helps the outside set faster. This creates the temperature gradient needed for the molten center. If you’re meal prepping, you can fill the ramekins up to 24 hours ahead and keep them in the fridge. Just add 1-2 minutes to the baking time if baking from cold.
Quality Chocolate Matters
Since there are only a few ingredients, the chocolate flavor will dominate. Use good quality chocolate. Cheap chocolate chips will leave you with a waxy, artificial taste. I use Ghirardelli 60% Bittersweet for a balance of sweetness and chocolate intensity.
Serve Immediately
These cakes start to set as they cool. The magic is in that first bite when the center is still warm and flowing. If you’re serving a group, bake them in batches. It’s faster to have two ramekins in the oven at once, but one batch is fine for small groups.
Variations & Substitutions
Once you’ve nailed the basic version, here’s how you can mix it up. I’ve tried all of these.
Add a Twist
Espresso Molten Cake: Add 1 teaspoon of instant espresso powder to the dry ingredients. The coffee enhances the chocolate flavor without making it taste like coffee. It’s a game-changer.
Orange Zest: Add the zest of one orange to the batter. The citrus pairs beautifully with dark chocolate and cuts through the richness.
Churro Style: After buttering the ramekins, coat them with a mixture of cinnamon and sugar instead of cocoa powder. It gives a nice crunch and spice.
Dietary Modifications
Gluten-Free: Substitute the all-purpose flour with a 1:1 gluten-free flour blend. The texture will be slightly denser, but still delicious. I’ve used Bob’s Red Mill 1:1 blend with great results.
Dairy-Free: Use high-quality dairy-free chocolate and vegan butter. The texture might be slightly less rich, but it still works. Coconut oil can replace butter, but it changes the flavor profile.
Single Serving Mug Cake
If you’re cooking for one, you can make this in a large mug. Use 1.5 ounces chocolate, 1.5 tablespoons butter, 1 egg, 2 tablespoons sugar, and 1 tablespoon flour. Microwave for 60-90 seconds. It’s not quite the same as the ramekin version, but it’s a quick fix. For a simpler mug cake, try my keto pumpkin spice mug cake.
Serving & Storage
How to Serve:
I usually serve these straight from the plate at the dinner table. The visual of the molten center is part of the experience. Top with a scoop of vanilla bean ice cream immediately after inverting. The contrast of hot cake and cold ice cream is what makes this dessert legendary. Garnish with fresh raspberries or a dusting of powdered sugar for a pretty finish.
Side Dishes:
These are rich and decadent, so keep sides light. A simple vanilla chia pudding with berries can be a lighter alternative if you want to skip the ice cream. Or serve with a crisp green salad if you’re having a savory meal first.
Storage Instructions:
Refrigerator: Leftover batter can be stored in the ramekins in the fridge for up to 24 hours. Leftover baked cakes don’t store well—they lose their molten texture. If you must store them, keep them in an airtight container for 1-2 days.
Reheating: Reheating molten cakes is tricky. The goal is to warm the center without overcooking it. Microwave for 15-20 seconds. It won’t be as gooey as fresh, but it’s edible. I rarely have leftovers because they’re too good.
Freezing: You can freeze the unbaked batter in the ramekins for up to 1 month. Thaw in the fridge overnight before baking. Add 2-3 minutes to the baking time. Do not freeze baked cakes—the texture will be ruined.
Nutrition Information
I’m not a nutritionist, but here’s the breakdown if you’re tracking. Please note that this is a rich dessert, so portions matter.
| Nutrient | Per Cake (1 of 6) |
|---|---|
| Calories | 380 |
| Protein | 6g |
| Carbs | 32g |
| Fiber | 2g |
| Sugar | 24g |
| Fat | 26g |
| Saturated Fat | 15g |
What’s Good: It provides some iron from the chocolate and protein from the eggs. It’s a smaller portion size compared to a slice of cake, so you can enjoy it without overindulging.
What to Know: High in sugar and saturated fat. Use it as a special treat, not an everyday snack. If you’re watching carbs, the gluten-free version helps slightly, but the sugar content remains high.
Final Thoughts
So that’s my go-to Molten Chocolate Cake! I’ve probably talked your ear off at this point, but when you make a recipe this often, you have a lot to say about it.
This has saved dessert nights more times than I can count. It’s my answer to “what’s for dessert?” when I want something special but don’t want to spend the whole evening in the kitchen. My kids are happy, my husband’s happy, and I’m happy because I’m not stressed about cooking. It’s reliable, delicious, and makes everyone happy.
Make it yours! Try different chocolates, add espresso, or switch up the ice cream. The best recipes are the ones you adapt to your family’s tastes. If you make this, drop a comment and let me know what you think! I love hearing how recipes turn out in your kitchen. And if something doesn’t work, tell me that too—I’m here to help troubleshoot.
Happy cooking! And I hope your kitchen smells half as good as mine does right now.
Frequently Asked Questions
Why did my molten cake come out solid instead of gooey?
This usually means you baked it for too long. Ovens vary, so 12 minutes might be perfect for you, while 14 minutes is needed for another. The key is to pull them out when the edges are set but the center still looks soft and jiggly. They will continue to cook from residual heat. If you’re unsure, err on the side of underbaking.
Can I make these ahead of time?
Yes! You can fill the ramekins with batter up to 24 hours in advance and keep them in the fridge. This actually helps the texture. When you’re ready to serve, just bake them as directed. If baking from cold, add 1-2 minutes to the baking time.
Can I use milk chocolate instead of bittersweet?
You can, but the cake will be much sweeter and less chocolatey. Bittersweet or semi-sweet chocolate provides a better balance. If you use milk chocolate, you might want to reduce the sugar slightly, but I recommend sticking with dark chocolate for the best flavor.
What if I don’t have ramekins?
You can use a single 8-inch cake pan, but the baking time will increase to 20-25 minutes. Check for doneness by inserting a toothpick; it should come out with moist crumbs, not clean. Alternatively, you can use a muffin tin lined with paper cups, but the cakes will be smaller and bake faster (10-12 minutes).
Can I make this gluten-free?
Absolutely. Substitute the all-purpose flour with a 1:1 gluten-free flour blend. The texture will be slightly denser, but still delicious. I’ve used Bob’s Red Mill 1:1 blend with great results.
Why is my cake sticking to the ramekin?
This happens if you didn’t butter the ramekins thoroughly enough or if you didn’t dust them with cocoa powder. Make sure to coat every surface, including the rim. If it does stick, run a knife around the edge carefully and try to flip it anyway—it might not be pretty, but it’s still edible!
Can I double this recipe?
Yes, just make sure you have enough ramekins. The baking time and temperature remain the same. If you’re baking in batches, keep the first batch warm in a low oven (200°F) while you bake the second batch.
Pin This Recipe!
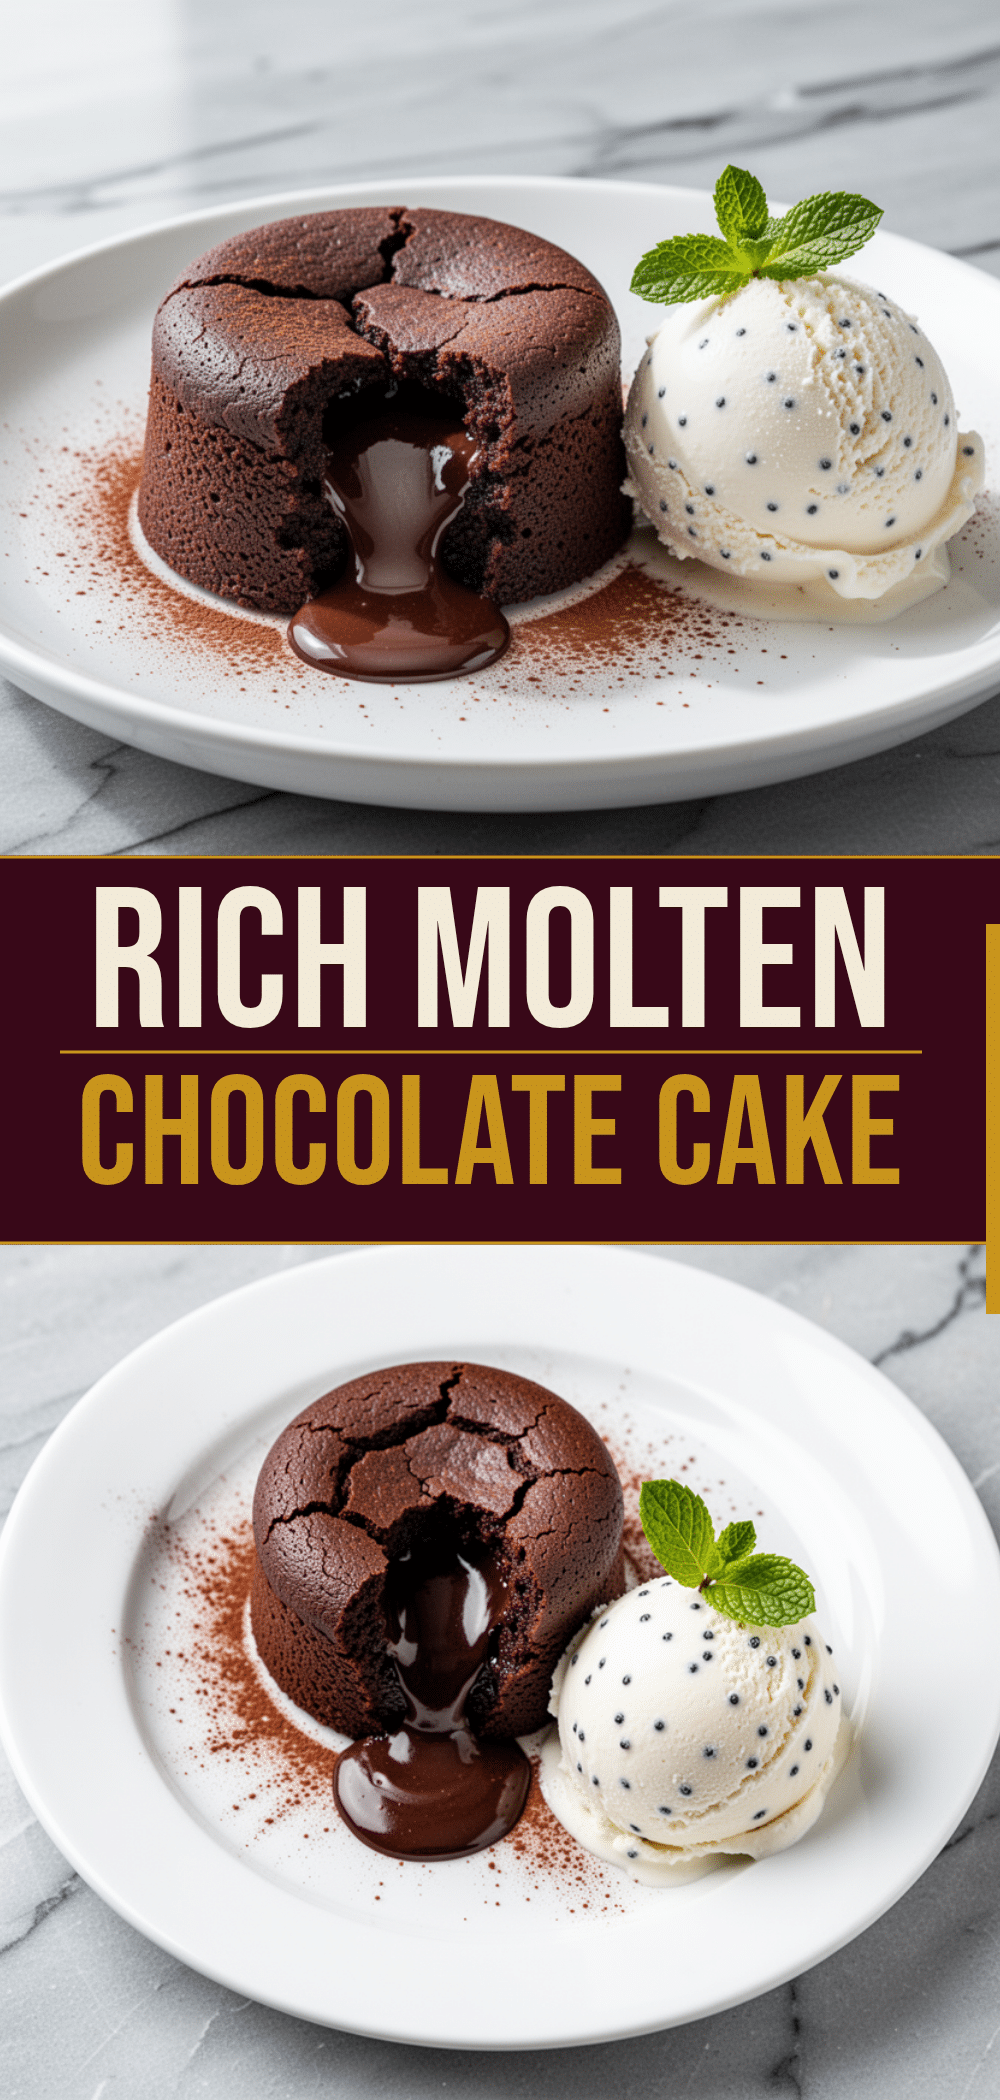
Molten Chocolate Cake: Easy Homemade Dessert
- Total Time: 30 minutes
- Yield: 6 servings 1x
Description
A rich, decadent dessert featuring a crisp exterior and a warm, liquid chocolate center. This easy recipe takes less than 30 minutes and requires only a few pantry staples.
Ingredients
- 7 ounces (200g) bittersweet chocolate (60-70% cocoa), chopped
- ½ cup (113g) unsalted butter
- 2 large eggs
- 2 large egg yolks
- ½ cup (100g) granulated sugar
- 2 tablespoons (16g) all-purpose flour
- ¼ teaspoon salt
- 2–4 scoops vanilla bean ice cream
- Optional: Fresh raspberries or powdered sugar for garnish
Instructions
- Preheat oven to 425°F (220°C). Generously butter 6 ramekins (6-ounce size) and dust with cocoa powder, tapping out excess.
- Melt chocolate and butter together in a saucepan over low heat or in the microwave in 30-second intervals, stirring until smooth. Set aside to cool slightly.
- In a medium bowl, whisk eggs, egg yolks, sugar, and salt vigorously for 2-3 minutes until pale and thickened.
- Pour the melted chocolate mixture into the egg mixture and stir gently to combine. Sift in flour and fold in gently until just combined.
- Divide batter evenly among prepared ramekins, filling them about ¾ full. Refrigerate for at least 10 minutes (or up to 24 hours).
- Place ramekins on a baking sheet and bake for 12-14 minutes. Edges should be firm and puffed, but centers should look soft and jiggly.
- Remove from oven and let cool for exactly 1 minute. Run a knife around the edge to loosen, then invert onto serving plates.
- Serve immediately with vanilla bean ice cream.
Notes
Chilling the batter is crucial for creating the molten center. Do not overbake, or the cake will become solid. If baking from cold (refrigerated), add 1-2 minutes to baking time. For a single serving, use a large mug and microwave for 60-90 seconds.
- Prep Time: 5 minutes
- Cook Time: 12-14 minutes
- Category: Dessert
- Cuisine: American
Nutrition
- Serving Size: 1 cake
- Calories: 380
- Sugar: 24
- Fat: 26
- Saturated Fat: 15
- Carbohydrates: 32
- Fiber: 2
- Protein: 6
Keywords: molten chocolate cake, lava cake, chocolate dessert, easy dessert, restaurant quality dessert, gluten-free dessert option



