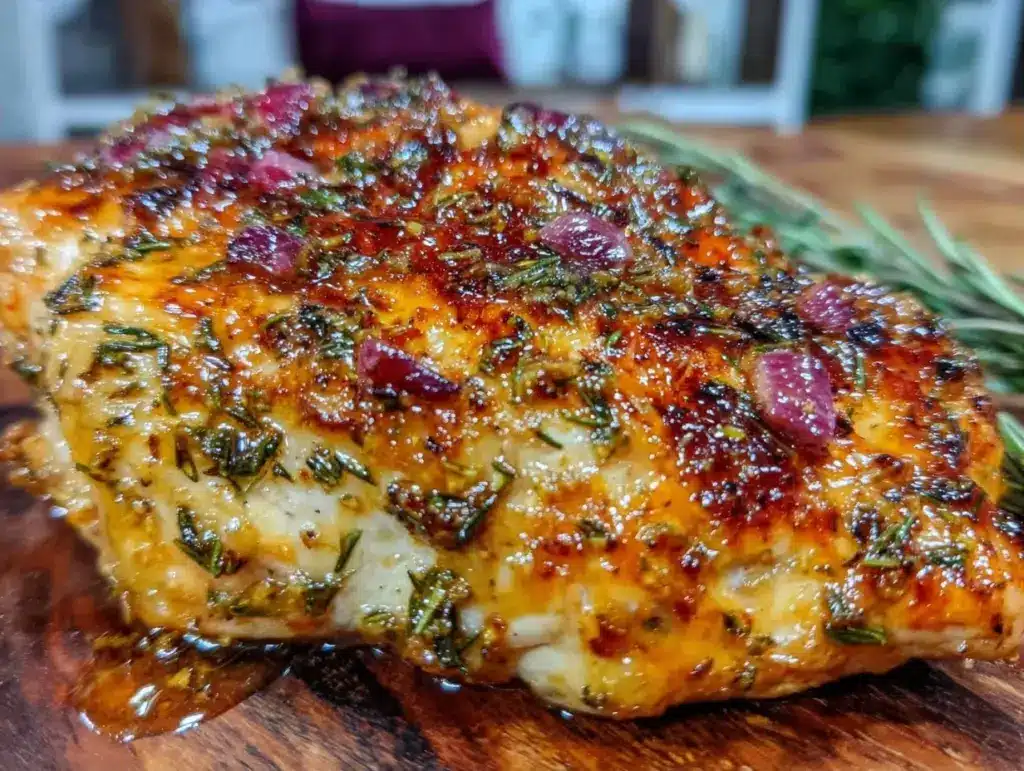
For the longest time, I lived in fear of the refrigerator door. Not because it was full, but because of what was hiding in the back: a single, lonely chicken breast that had been staring at me for three days. I’d buy a huge pack of chicken at Costco because it was “cheaper per pound,” and then I’d end up with one breast that I’d bake, eat, and then watch the remaining three slowly turn into a dry, rubbery regret in my Tupperware.
I was tired of overcooking dinner for one. I was tired of spending $12 on a pack of chicken and only using $3 worth of it. I was tired of chicken that tasted like sandpaper. So, I stopped buying bulk. I started buying exactly what I needed. And I started looking for a method that worked for one or two people, not four.
That search led me to this never-dry oven-baked chicken breast. It’s the only way I cook chicken now. It’s small-batch friendly, it takes almost no active time, and that garlic herb butter finish? It transforms a plain piece of meat into something that feels like a real meal, not just “protein for dinner.”
If you’re someone who cooks for one or two, or if you just hate the idea of eating chicken three nights in a row, this is your recipe. It’s about cooking right-sized portions, keeping things fresh, and actually enjoying your food. Let’s get into it.
Why You’ll Love This Small-Batch Chicken Recipe
There are about a million chicken breast recipes out there. But most of them are written for families of five or for meal-prepping containers that sit in the fridge until Thursday. This version is different. It’s designed for the reality of cooking for one or two people.
Here’s why this small-batch method wins every time:
- No More Leftovers — Seriously, this is the main selling point. The recipe yields exactly two breasts. Maybe three if you’re really hungry, but mostly two. That means you eat it fresh, you enjoy it, and you don’t have to scrape dry chicken off a container three days later. It’s finally, a recipe that doesn’t leave you with a week of leftovers you didn’t ask for.
- Stupid Simple Technique — You don’t need a meat thermometer if you don’t want one (though I recommend it). You don’t need to brine it for 12 hours. You just season it, top it with butter, and put it in the oven. That’s it. If you can open a package of butter, you can make this.
- Garlic Herb Butter Magic — Chicken breast is naturally bland. It needs help. The garlic herb butter isn’t just a garnish; it’s the flavor engine. The butter bastes the chicken as it bakes, keeping it moist and adding a rich, savory kick that plain seasoning just can’t match.
- Fast Cleanup — Because it’s a small batch, you’re using a small baking dish. Maybe even just a sheet pan lined with foil. There’s no giant pot to scrub. It’s easy, quick, and leaves you with more time to actually relax.
- Perfect for Meal Swapping — Since it’s only two breasts, it fits perfectly into other meals. Have some cozy creamy potato soup on the menu? This chicken is the perfect side. Want to toss it into a salad? Done. It’s versatile because it’s not dominating your fridge space.
This is my go-to when I want dinner to just work. No complicated techniques, no weird ingredients, just reliable, delicious food that makes everyone happy. Especially me, the one person who actually has to clean up after myself.
Ingredients You’ll Need
Here’s the best part: you probably have most of this already. This isn’t a recipe that requires a special trip to the store. It’s pantry-friendly, with just a few key items that make a huge difference.
For the Chicken
Chicken breasts (2 medium, about 6-8 oz each / 170-225g each) — Look for breasts that are roughly the same size. This ensures they cook at the same rate. If one is huge and one is tiny, you’ll end up with one dry and one undercooked. I usually buy a small pack of two at the store. If you have larger breasts, pound them down a bit so they’re even. Uniformity is key for small batches.
High-quality olive oil (1 tablespoon / 15ml) — Use extra virgin here. It adds flavor and helps the seasoning stick. Don’t skimp on quality; cheap oil tastes flat.
Kosher salt (1 teaspoon / 6g) — Kosher salt is less dense than table salt, so it’s easier to control. If you’re using table salt, use half a teaspoon. Seasoning generously is non-negotiable for flavor.
Black pepper (½ teaspoon / 2g) — Freshly cracked is best. Pre-ground pepper loses its punch quickly. I keep a small pepper grinder just for this.
Paprika (½ teaspoon / 1g) — I use smoked paprika if I have it, but regular sweet paprika works fine too. It adds a nice color and a subtle earthiness.
For the Garlic Herb Butter
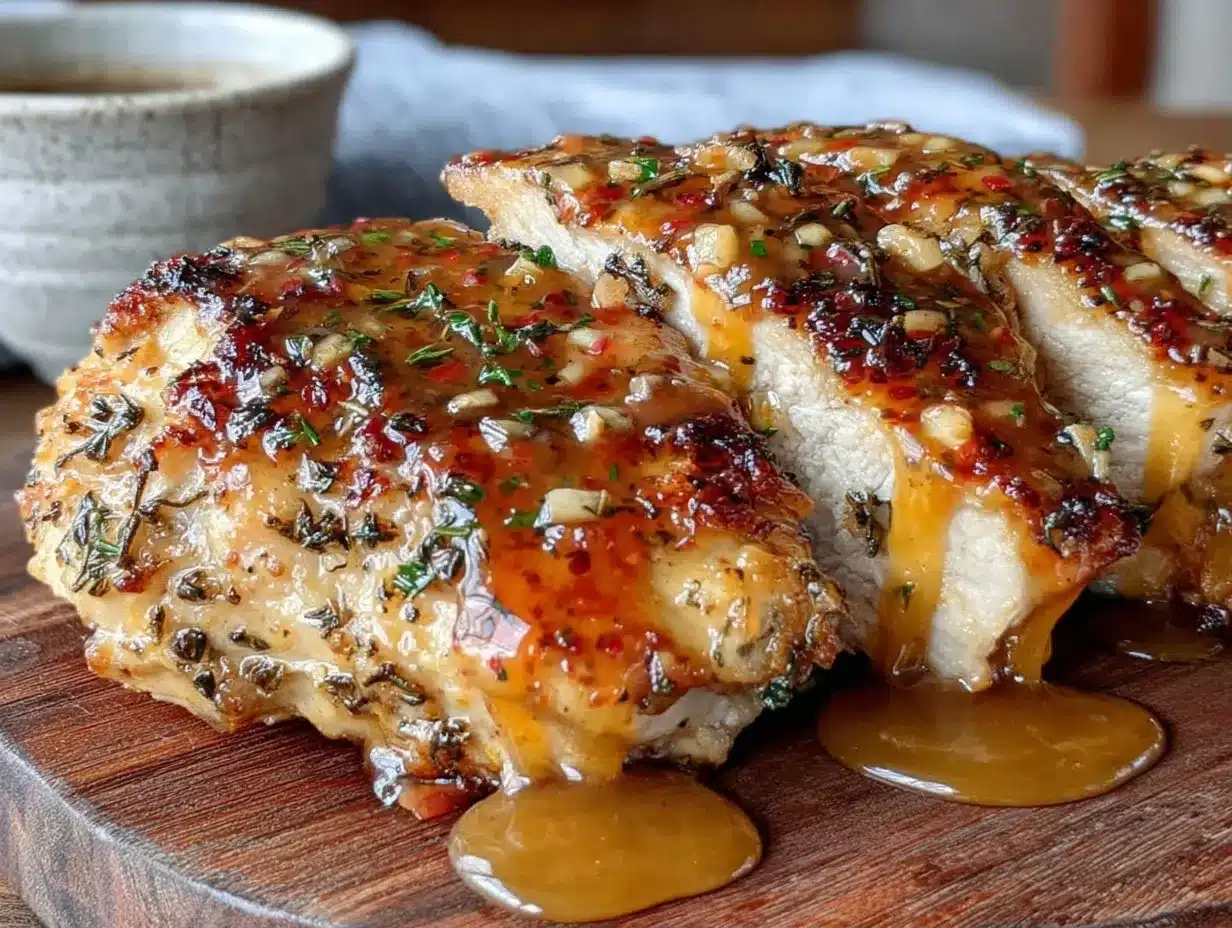
Unsalted butter (2 tablespoons / 28g) — Softened, not melted. This is crucial. If you melt it, it won’t coat the chicken properly. Let it sit on the counter for 15 minutes while you prep the oven. Unsalted lets you control the sodium.
Garlic (2 cloves, minced / about 1 tablespoon) — Fresh garlic only. No jarred stuff. The flavor difference is massive in a recipe this simple. Mince it finely so you get a bit of garlic in every bite.
Dried herbs (1 teaspoon total / 2g) — I use a mix of dried thyme and dried oregano. If you have fresh herbs, use double that amount. Fresh parsley is nice too, but dried holds up better in the oven. Thyme is my personal favorite with chicken.
Optional but recommended: A pinch of red pepper flakes if you like a little heat. It cuts through the richness of the butter nicely.
What to Avoid
Don’t use frozen chicken breasts unless you’ve thawed them completely. Wet chicken steams instead of bakes, and you won’t get that nice golden exterior. Also, don’t skip the butter. I know some people are avoiding dairy, but in this recipe, the butter is the moisture barrier. If you’re dairy-free, try using olive oil or a dairy-free butter alternative, but the texture will be slightly different.
Equipment Needed
You don’t need fancy equipment for this. Here’s what I actually use.
Small baking dish or 9-inch pie plate — I love using a ceramic pie plate for this. It’s the perfect size for two breasts. A small loaf pan works too, but make sure the chicken isn’t crowded. If it’s touching, it’ll steam.
Baking sheet with foil — If you’re using a flat sheet pan, line it with foil. Cleanup is instant. I spray the foil with non-stick spray just to be safe, though the butter usually handles it.
Meat mallet or rolling pin — Optional, but helpful. If your breasts are uneven, pounding them makes them uniform. I use the flat side of a meat mallet, but a heavy rolling pin works too. Just pound gently until they’re about ½ inch thick.
Small bowl — For mixing the garlic herb butter. A ramekin or small mixing bowl is perfect. No need for a large bowl.
Instant-read thermometer — Highly recommended. It takes the guesswork out. You want to pull the chicken at 160°F (71°C). It’ll carry over to 165°F (74°C) while resting. This is the only way to guarantee never-dry chicken.
Tongs — For flipping if needed, though you mostly just put it in and take it out.
That’s really it. No stand mixer, no food processor, no fancy gadgets. Just basic tools you already have.
How to Make It: Step-by-Step
Alright, let’s make this! I’m walking you through exactly how I do it, including the little tricks I’ve picked up to ensure those chicken breasts stay juicy and flavorful.
Step 1: Preheat and Prep (5 minutes)
Preheat your oven to 400°F (200°C). High heat is important here. It cooks the chicken quickly, sealing in the juices. While the oven heats, take your chicken breasts out of the fridge. Let them sit for 10-15 minutes. Cold chicken hitting a hot oven cooks unevenly. Pat them dry with paper towels. Moisture is the enemy of browning. If they’re wet, they’ll steam.
Step 2: Pound to Even Thickness (3 minutes)
Place the chicken between two sheets of plastic wrap or in a zip-top bag. Use your mallet or rolling pin to pound the thicker end of the breast until the whole piece is about ½ inch thick. You’re aiming for uniformity. This ensures both breasts finish cooking at the same time. If you skip this, one will be dry by the time the other is safe to eat.
Step 3: Season the Chicken (2 minutes)
Lightly drizzle both sides with olive oil. Then, sprinkle with salt, pepper, and paprika. Rub it in gently. Make sure you’re getting into the crevices. The oil helps the seasoning stick and promotes browning. Don’t be shy with the salt; chicken breast needs it.
Step 4: Make the Garlic Herb Butter (2 minutes)
In your small bowl, mix the softened butter, minced garlic, dried herbs, and red pepper flakes (if using). Mash it together with a fork until it’s a cohesive paste. It should smell amazing. If the butter is too cold and hard to mix, microwave it for 5 seconds to soften it slightly. You want it spreadable, not melted.
Step 5: Top and Bake (18-22 minutes)
Place the seasoned chicken in your baking dish. Spread the garlic herb butter evenly over the top of each breast. You want a generous layer. It should cover the entire surface. Put the dish in the oven. Bake for 18-22 minutes. Do not open the oven door for the first 15 minutes. You want steady heat.
Step 6: Check Temperature (1 minute)
Insert your thermometer into the thickest part of the chicken. You’re looking for 160°F (71°C). If it’s lower, give it 2 more minutes. If it’s higher, you’ve gone a bit too far (but it’s still edible, just less juicy). Remember, the temperature will rise 5 degrees while it rests.
Step 7: Rest and Serve (5 minutes)
Remove the chicken from the oven and transfer it to a plate. Tent it loosely with foil. Let it rest for 5 minutes. This is non-negotiable. If you cut into it immediately, all the juices run out, and you’re left with dry meat. Resting lets the juices redistribute. After 5 minutes, slice it against the grain and serve.
Total time is about 35 minutes from start to finish. Most of that is hands-off baking time.
Expert Tips & Tricks
Here’s everything I’ve learned from making this dozens of times. These tips will save you from my mistakes.
Don’t Skip the Rest
I know it’s tempting to dig in. But the 5-minute rest is what makes the difference between “okay” chicken and “amazing” chicken. The proteins relax, and the juices settle. If you rush this, you’re wasting the effort.
Uniformity is King
If you buy chicken breasts that are wildly different sizes, pound them down. Or, cook the larger one for a few minutes longer. Uneven chicken leads to uneven cooking. For a small batch, you want both pieces to be ready at the same time.
Use Real Garlic
I’ve tried using garlic powder in the butter before. It works, but fresh minced garlic has a brighter, sharper flavor that really shines through the butter. If you’re lazy, buy pre-minced fresh garlic in a jar, but mince it yourself if you can. It’s worth the 30 seconds.
Butter Temperature Matters
If your butter is melted, it will soak into the chicken rather than coating it. If it’s frozen, it won’t spread. Softened is the sweet spot. If you forgot to take it out, cut it into small cubes and microwave for 5 seconds at a time until it’s soft but not liquid.
Leftover Butter is Gold
Any butter left in the baking dish after the chicken is done? Don’t throw it away. Dip your bread in it. Or drizzle it over your vegetables. It’s infused with garlic and herbs, and it’s liquid gold.
Variations & Substitutions
Once you’ve nailed the basic version, here’s how you can mix it up. I’ve tried all of these.
Lemon Pepper Chicken
Skip the herbs and garlic. Use lemon zest and black pepper in the butter. Add a squeeze of fresh lemon juice after baking. It’s bright and tangy, perfect for summer.
Herb-Crusted
Instead of butter on top, mix dried herbs with breadcrumbs and press them onto the chicken before baking. It adds a nice crunch. Use panko for extra crispiness.
Spicy Cajun
Swap the dried herbs for Cajun seasoning. Add a teaspoon of paprika and a pinch of cayenne to the butter. It’s bold and flavorful.
Dairy-Free Option
Use olive oil or a dairy-free butter alternative. The texture will be slightly different, but the flavor will still be good. Just make sure to season generously.
Gluten-Free
This recipe is naturally gluten-free. Just make sure your spices and herbs are certified gluten-free if you have celiac disease.
Protein Swap
You can use this method for chicken thighs too. Thighs take about 25-30 minutes and are naturally juicier, so you have a bit more margin for error. I sometimes use thighs when I’m really tired and don’t want to worry about dryness.
Serving & Storage
How to serve this small-batch chicken is half the fun. Since it’s only two breasts, it’s easy to pair with something simple.
Side Dishes
I love serving this with Oktoberfest German potato salad for a hearty meal. Or, keep it light with a simple green salad and roasted asparagus. It pairs well with almost anything.
Storage
Store leftovers in an airtight container in the fridge for up to 3 days. The chicken will stay moist if you keep the buttery juices with it. Reheat gently in the microwave with a splash of water or broth to keep it from drying out.
Freezing
You can freeze cooked chicken breast, but it’s not ideal. It will be slightly drier when thawed. If you must freeze it, wrap it tightly in plastic wrap and foil. Thaw in the fridge overnight and reheat gently.
Nutrition Information
I’m not a nutritionist, but here’s the breakdown if you’re tracking. This is per serving (one chicken breast with butter).
Per Serving:
– Calories: 320
– Protein: 35g
– Carbs: 1g
– Fat: 18g
– Saturated Fat: 8g
– Cholesterol: 110mg
– Sodium: 450mg
It’s high in protein and low in carbs, making it great for keto or low-carb diets. The sodium comes from the salt and butter, so adjust accordingly if you’re watching salt intake.
Final Thoughts
So that’s my go-to never-dry oven-baked chicken breast! I’ve probably talked your ear off at this point, but when you make a recipe this often, you have a lot to say about it.
This has saved weeknight dinners more times than I can count. It’s my answer to “what’s for dinner” when I’m tired, don’t want takeout, and still want something that tastes really good. My husband’s happy, I’m happy, and best of all, I’m not stressed about cooking or dealing with leftovers.
Make it yours! Try different herbs, swap the garlic for lemon, or add some spice. The best recipes are the ones you adapt to your tastes.
If you make this, drop a comment and let me know what you think! I love hearing how recipes turn out in your kitchen. And if something doesn’t work, tell me that too—I’m here to help troubleshoot.
Happy cooking! And I hope your kitchen smells half as good as mine does right now.
Frequently Asked Questions
Can I use frozen chicken breasts?
You can, but you need to thaw them completely first. Cooking frozen chicken leads to uneven cooking and dryness. If you’re in a hurry, thaw them in cold water for 30 minutes. Do not cook them frozen.
Why did my chicken turn out dry?
Most likely, you overcooked it. Chicken breast cooks very quickly. Use a thermometer and pull it at 160°F. If you don’t have one, cut into the thickest part to check. It should be white with no pink, and the juices should run clear.
Can I make this in the air fryer?
Yes! Cook at 375°F for 10-12 minutes, flipping halfway. The butter might drip down, so line the basket with foil. It works great and is even faster.
How do I reheat leftovers without drying them out?
Add a splash of chicken broth or water to the chicken before reheating. Cover it and heat gently in the microwave. Or, reheat it in a skillet with a little butter over low heat. Avoid high heat, which dries it out.
Can I double this recipe?
Absolutely. Just use a larger baking dish and make sure the chicken isn’t crowded. You may need to add 2-3 minutes to the cooking time. Check the temperature to be sure.
Pin This Recipe!
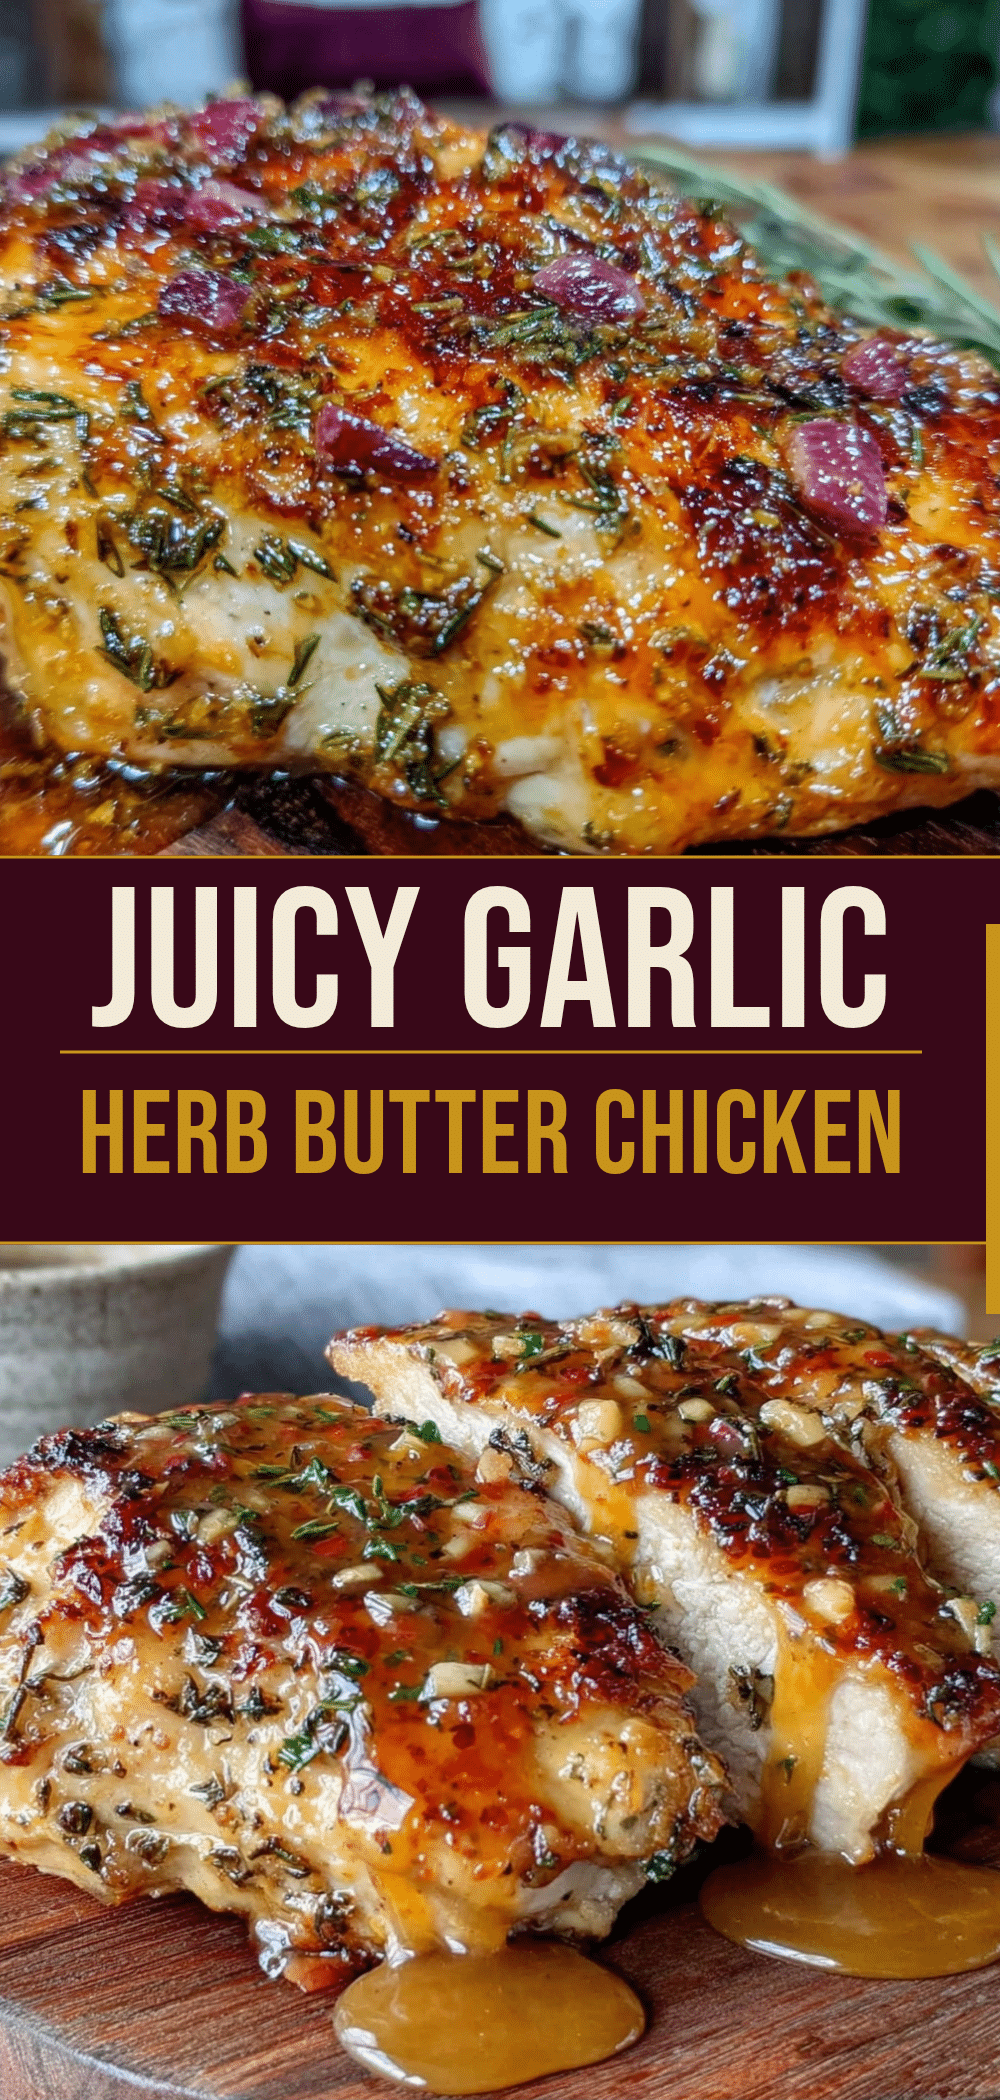
Never-Dry Oven-Baked Chicken Breast: Small Batch
- Total Time: 35 minutes
- Yield: 2 servings 1x
Description
A simple, small-batch recipe for oven-baked chicken breasts designed for one or two people. Using a garlic herb butter coating and precise temperature control, this method ensures juicy, flavorful chicken without leftovers.
Ingredients
- 2 medium chicken breasts (about 6–8 oz each)
- 1 tablespoon extra virgin olive oil
- 1 teaspoon kosher salt
- 1/2 teaspoon black pepper
- 1/2 teaspoon paprika (smoked or sweet)
- 2 tablespoons unsalted butter, softened
- 2 cloves garlic, minced
- 1 teaspoon dried herbs (thyme and oregano mix)
- Pinch of red pepper flakes (optional)
Instructions
- Preheat oven to 400°F (200°C). Let chicken breasts sit at room temperature for 10-15 minutes and pat dry.
- Place chicken between plastic wrap or in a bag and pound to an even 1/2 inch thickness.
- Drizzle both sides with olive oil and season with salt, pepper, and paprika, rubbing gently.
- In a small bowl, mix softened butter, minced garlic, dried herbs, and red pepper flakes into a paste.
- Place chicken in a small baking dish and spread the garlic herb butter evenly over the top.
- Bake for 18-22 minutes without opening the oven door for the first 15 minutes.
- Check internal temperature; it should reach 160°F (71°C).
- Remove from oven and let rest, tented with foil, for 5 minutes before slicing and serving.
Notes
Ensure chicken breasts are uniform in thickness for even cooking. Do not skip the resting period, as it allows juices to redistribute. If using table salt, reduce amount to 1/2 teaspoon. For dairy-free, substitute butter with olive oil or dairy-free alternative.
- Prep Time: 10 minutes
- Cook Time: 22 minutes
- Category: Main Course
- Cuisine: American
Nutrition
- Serving Size: 1 chicken breast wit
- Calories: 320
- Sodium: 450
- Fat: 18
- Saturated Fat: 8
- Carbohydrates: 1
- Protein: 35
Keywords: chicken breast, oven baked chicken, small batch recipe, easy dinner, garlic herb butter, juicy chicken, keto friendly, low carb



