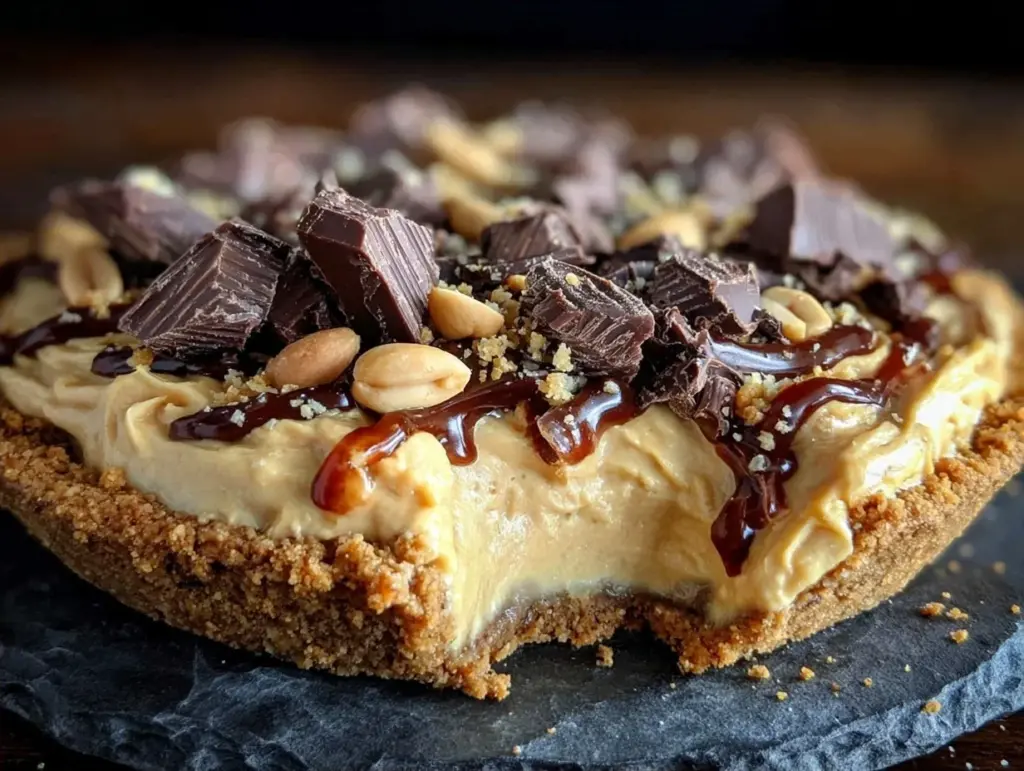
I have a confession to make. For years, I was terrified of pie crusts. I’m not talking about slightly uneven edges or a bit of cracking. I mean the kind of terror that makes you sweat before you even preheat the oven. I once spent forty-five minutes trying to roll out dough that just kept shrinking back into a ball, and I ended up ordering pizza instead. It was embarrassing. And honestly? It was delicious.
But this? This no-bake peanut butter chocolate pie is different. It’s the antidote to all my crust-related trauma. It’s the dessert you make when you want something that looks like it came from a fancy bakery but requires zero actual skill to pull off. There’s no rolling pin. There’s no blind-baking. There’s no praying to the kitchen gods that the oven temperature is accurate.
There are just four ingredients. Four. I’ve made this pie at least a dozen times now—sometimes for dinner parties, sometimes because I walked past a grocery store and smelled peanuts, and sometimes just because I needed a win after a bad day. Every single time, it turns out creamy, rich, and impossibly easy. If you can only make one dessert this year, make this. You really can’t mess it up.
This pie is my go-to when I want to impress people without stressing. The texture is somewhere between a cheesecake and a truffle, and the flavor combination is basically peanut butter cups in pie form. It’s sweet, salty, chocolatey, and smooth. And the best part? It sets in the fridge while you do literally anything else. You’re welcome.
Why You’ll Love This No-Bake Peanut Butter Chocolate Pie
There are about a million reasons to make this pie, but let’s be real about the ones that actually matter to you in the kitchen.
- Foolproof Simplicity — Seriously, if you can stir a bowl, you can make this. I’ve watched my nephew (who is currently four) help me mix the filling. He didn’t burn anything, and he didn’t break a single dish. It’s just mixing and chilling. Zero baking skills required.
- Only Four Ingredients — I’m not exaggerating. You need peanut butter, chocolate, cream, and a crust base (usually Oreos or graham crackers). That’s it. No weird spices, no gelatin, no tempering chocolate. Just simple, accessible ingredients you probably already have or can grab on a whim.
- Make-Ahead Magic — This pie gets better the longer it sits. I usually make it the night before I need it. It firms up in the fridge and becomes this dense, fudgy delight. It’s the ultimate stress-buster for hosting because it’s done before your guests even arrive.
- Texture Heaven — It’s not dry like a cookie. It’s not runny like a mousse. It’s that perfect, dense, spoonable consistency that feels indulgent but isn’t overly heavy. It melts in your mouth.
- Beginner-Proof — You know how some recipes say “easy” but actually require three different techniques and a thermometer? This isn’t one of those. It’s forgiving. If you stir a little longer, it’s fine. If you add a bit more peanut butter, it’s fine. It’s designed for success.
This is the recipe I hand to people who say, “I can’t cook.” It builds their confidence instantly. And let’s be honest, it builds yours too. There’s a specific kind of joy in slicing into a pie that looks perfect, knowing you didn’t sweat a drop to make it.
Ingredients You’ll Need
Here’s the beauty of this no-bake peanut butter chocolate pie: the ingredient list is short enough to fit on a sticky note. But because we’re aiming for perfection, I’m going to tell you exactly what to look for. Don’t buy the cheapest stuff, especially the peanut butter. Your taste buds will thank you.
For the Crust
Chocolate Sandwich Cookies (24 cookies / about 250g) — I use Oreos. Specifically, the regular ones, not the Double Stuf. You want the cookie part to be the base, not the extra cream. Crush them into fine crumbs. If you prefer a less sweet crust, you can use graham crackers, but the chocolate cookies complement the filling better.
Unsalted Butter (4 tablespoons / 57g) — Melted. This binds the crumbs together. Don’t skip it, or you’ll have a sandy mess instead of a crust. If you’re out of butter, you can use coconut oil, but it changes the flavor slightly.
For the Filling
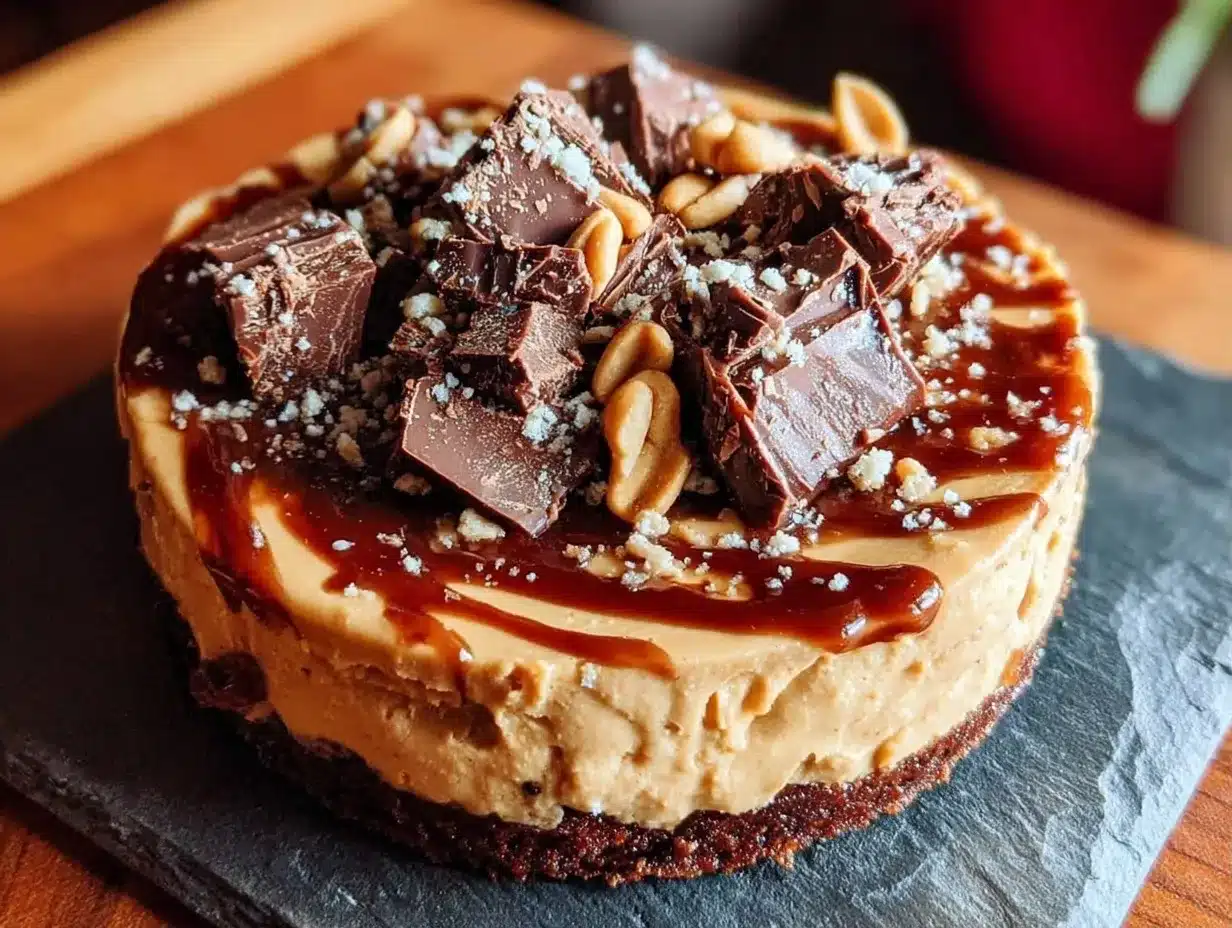
Cream Cheese (8 ounces / 225g) — This is the secret to the structure. It gives the pie that cheesecake-like density so it holds its shape when sliced. Make sure it’s softened to room temperature. Cold cream cheese leads to lumps, and nobody wants lumps in their pie.
Creamy Peanut Butter (1 cup / 250g) — Use a standard brand like Jif or Skippy. Natural peanut butter is too oily for this; it’ll make the filling runny. You want that processed, stable texture. Do not use crunchy unless you want chunks in your smooth pie.
Heavy Cream (1 cup / 240ml) — Full-fat only. Half-and-half won’t whip up stiff enough. You need this to provide that light, airy lift to the dense peanut butter and cream cheese mixture.
For the Chocolate Topping
Chocolate Chips (1 cup / 170g) — Semi-sweet or milk chocolate both work. Semi-sweet cuts the sweetness of the peanut butter better. Milk chocolate makes it sweeter, like a Reese’s Cup. Your call.
Coconut Oil (1 tablespoon) — This is the pro tip. Adding a tablespoon of coconut oil to the melted chocolate makes the topping glossy and slightly softer. Without it, the chocolate can crack when you slice the pie. With it, it snaps nicely but gives way easily.
Salt (a pinch) — Just a pinch on top of the chocolate while it’s wet. It elevates the peanut butter flavor massively. If you have flaky sea salt, use that. It’s pretty and tastes amazing.
Equipment Needed
You don’t need a fancy kitchen for this. Here’s what I actually use.
9-Inch Pie Dish — Glass or ceramic works best so you can see the layers. A metal pan works too, but glass holds cold better, which helps the pie set.
Food Processor or Ziploc Bag — For crushing the cookies. A food processor is fastest, but if you don’t have one, put the cookies in a sturdy Ziploc bag and smash them with a rolling pin or a heavy pan. It’s a great workout.
Mixer — A hand mixer or stand mixer is helpful for whipping the cream and beating the cream cheese. You can do it by hand with a whisk, but it takes about ten minutes of arm workout. I’m not judging, but I’d use a mixer.
Spatula — A flexible silicone spatula is essential for folding the whipped cream into the peanut butter mixture without deflating it. Be gentle.
Microwave-Safe Bowl — For melting the chocolate chips. Do this in 30-second intervals.
How to Make It: Step-by-Step
Alright, let’s make this no-bake peanut butter chocolate pie. It’s going to take about 20 minutes of active work, and then the fridge does the heavy lifting. Here is exactly how I do it.
Step 1: Make the Crust (5 minutes)
First, crush your cookies. If using a food processor, pulse until they are fine crumbs. If using a bag, keep pounding until they look like wet sand. Transfer the crumbs to a mixing bowl and pour in the melted butter. Stir until the crumbs are evenly coated and look like damp sand. Press this mixture firmly into the bottom and up the sides of your pie dish. Use the bottom of a measuring cup to pack it down tight. If it’s loose, the pie will crumble when you slice it. Place the crust in the fridge while you make the filling.
Step 2: Beat the Cream Cheese (3 minutes)
In a large bowl, beat the softened cream cheese until it is completely smooth and creamy. This is crucial. If you have lumps here, you’ll have lumps everywhere. Scrape down the sides of the bowl. Make sure it’s pale and fluffy.
Step 3: Add the Peanut Butter (2 minutes)
Add the creamy peanut butter to the cream cheese. Beat it together until fully combined. The mixture will look thick and dense. This is the base of your pie. It should be smooth and uniform.
Step 4: Whip the Cream (3 minutes)
In a separate cold bowl, whip the heavy cream until you form stiff peaks. This means when you lift the beaters, the cream stands up straight and doesn’t droop. Don’t over-whip it into butter, just stop when it holds its shape.
Step 5: Fold It All Together (3 minutes)
This is the most important step for texture. Gently fold the whipped cream into the peanut butter mixture. Use your spatula. Cut down through the middle, scrape the bottom, and fold over. Rotate the bowl. Do this until there are no more white streaks. Be gentle! You want to keep the air in the cream so the pie is light, not a brick.
Step 6: Fill the Crust (2 minutes)
Spoon the filling into the chilled crust. Smooth the top with your spatula. It should look like a perfect, creamy mound. Place the pie in the freezer for 30 minutes to firm up while you make the topping. This helps the layers set.
Step 7: Make the Chocolate Topping (5 minutes)
Melt the chocolate chips and coconut oil in the microwave. Heat in 30-second bursts, stirring in between, until smooth. Do not let it get hot—just melted. Pour the chocolate over the frozen pie. Use a spatula to spread it evenly to the edges. Sprinkle with a pinch of salt immediately.
Step 8: Chill and Serve
Place the pie back in the fridge for at least 4 hours, or preferably overnight. This allows the chocolate to set and the filling to become sliceable. Slice with a sharp knife dipped in hot water for clean cuts.
Expert Tips & Tricks
Here’s everything I’ve learned from making this pie dozens of times. These tips will save you from my mistakes.
Room Temperature is Key
I can’t stress this enough. Your cream cheese MUST be room temperature. If it’s cold, you will get lumpy chunks that you can’t beat out. Take it out of the fridge 30 minutes before you start. If you forget, microwave it in 5-second bursts until it’s soft but not melted.
Don’t Overmix the Cream
When folding the whipped cream, stop as soon as it’s combined. If you overmix, you deflate the air, and your pie will be dense and heavy. It should be airy and light.
The Freezer Step is Non-Negotiable
Don’t skip freezing the pie before adding the chocolate. If you pour chocolate on a soft filling, it will sink in and mix with the peanut butter. Freezing it for 30 minutes creates a barrier so the chocolate stays on top as a distinct layer.
Use Real Chocolate
For the topping, avoid chocolate syrup or candy melts if you can help it. Real chocolate chips give you that nice snap and rich flavor. The coconut oil is the trick to making it sliceable without being hard as rock.
Slicing Strategy
Use a sharp chef’s knife. Dip it in hot water and wipe it dry before every single cut. This keeps the layers clean and prevents the chocolate from smearing. It’s a small trick that makes the presentation look professional.
Variations & Substitutions
Once you’ve nailed the basic version, here’s how you can mix it up. I’ve tried all of these.
Crust Variations
Instead of Oreos, use graham crackers for a more traditional pie feel. Or try chocolate wafer cookies for an even more intense chocolate base. If you want a nutty crunch, add ½ cup of chopped peanuts to the crust crumbs.
Flavor Twists
Add a teaspoon of vanilla extract to the peanut butter mixture for extra aroma. Or swirl in a tablespoon of honey for a lighter sweetness. For a boozy kick, add a splash of bourbon to the filling—it pairs beautifully with peanut butter.
Gluten-Free Option
Simply use gluten-free chocolate sandwich cookies or gluten-free graham crackers. The rest of the recipe is naturally gluten-free (check your peanut butter label just to be sure).
Lower Sugar
Use sugar-free chocolate chips and sugar-free cookies. It’s not as sweet, but it still tastes great. I find that the salt on top helps balance the reduced sugar.
Protein Boost
Some people add a scoop of vanilla protein powder to the filling. I haven’t tried this myself because it can make the texture dry, but if you mix it with a little extra milk, it might work. Let me know if you try it!
Serving & Storage
This pie is best served cold. It’s essentially a frozen dessert in pie form.
How to Serve
I serve this with a dollop of whipped cream and a drizzle of peanut butter on top. It looks fancy. It tastes fancier. Pair it with a glass of cold milk or a strong coffee. It’s also great alongside fudgy espresso brownie bites if you’re making a dessert platter.
Storage
Store leftovers in the refrigerator, covered tightly with plastic wrap or in an airtight container, for up to 5 days. It actually gets firmer the longer it sits, which I love.
Freezing
You can freeze this pie for up to 2 months. Wrap it tightly in plastic wrap and then foil. Thaw it in the fridge for a few hours before slicing. The texture might change slightly after freezing (it can get a bit icy), but it’s still delicious.
Reheating
Don’t reheat it. This is a cold dessert. Eat it straight from the fridge or freezer.
Nutrition Information
I’m not a nutritionist, but here’s the breakdown if you’re tracking. Keep in mind this is a rich, indulgent dessert.
Per Slice (1 of 8 slices):
- Calories: 380
- Protein: 8g
- Carbs: 32g
- Fat: 24g
- Sugar: 22g
This pie is high in fat and sugar, obviously, thanks to the peanut butter, cream, and chocolate. But it’s also high in protein from the cream cheese and peanuts. It’s filling, so you don’t need a huge slice. I usually eat two small slices and call it a day.
Final Thoughts
So that’s my no-bake peanut butter chocolate pie! It’s simple, it’s delicious, and it’s incredibly forgiving. I’ve made this for picky eaters, for dessert lovers, and for people who claim they don’t like sweet things (they always change their minds after one bite).
This pie has saved me more times than I can count. It’s my answer to “what can I bring to the potluck?” or “I need to cheer myself up.” It requires minimal effort but delivers maximum satisfaction. And honestly? That’s what cooking should be about.
Make it yours! Try different cookies for the crust, add sprinkles on top, or swirl in some caramel. The best recipes are the ones you adapt to your tastes. But start with this base. It’s solid. It’s reliable. It’s perfect.
If you make this, drop a comment and let me know what you think! I love hearing how recipes turn out in your kitchen. And if something doesn’t work, tell me that too—I’m here to help troubleshoot.
Happy baking! Well, no-baking. Happy chilling!
Frequently Asked Questions
Can I use crunchy peanut butter?
You can, but the texture will be chunky throughout the filling. For that smooth, cheesecake-like consistency, creamy peanut butter is best. If you want crunch, add chopped peanuts to the crust or sprinkle them on top.
Why did my pie not set?
This usually happens if the pie wasn’t chilled long enough. The filling needs at least 4 hours in the fridge to firm up. If you rush it, it will be soft. Also, make sure your cream cheese was fully softened before mixing, or it won’t emulsify properly with the peanut butter.
Can I make this without a mixer?
Yes, but it takes more elbow grease. You’ll need to whisk the cream cheese and peanut butter vigorously by hand until smooth, and whip the cream by hand until stiff peaks form. It’s doable, just tiring. A hand mixer makes it effortless.
What if I don’t have heavy cream?
You can use whipping cream, which is essentially the same thing. If you’re out of both, this recipe won’t work well with milk or half-and-half because they don’t have enough fat to whip into stiff peaks. You’d need to change the recipe entirely.
Can I use a different type of chocolate?
White chocolate works too, though it’s sweeter. Dark chocolate (70% or higher) will make the topping less sweet and more bitter, which balances the peanut butter well. Just make sure to use chips or bars that melt smoothly, not baking chips with stabilizers that might seize.
How do I store this if I’m bringing it to a party?
Keep it in the pie dish and cover it tightly with plastic wrap. If your car doesn’t have AC, bring a cooler with ice packs. This pie is best cold, so keeping it chilled is important for texture. If you have to leave it out for more than 2 hours, the filling might soften too much.
Pin This Recipe!
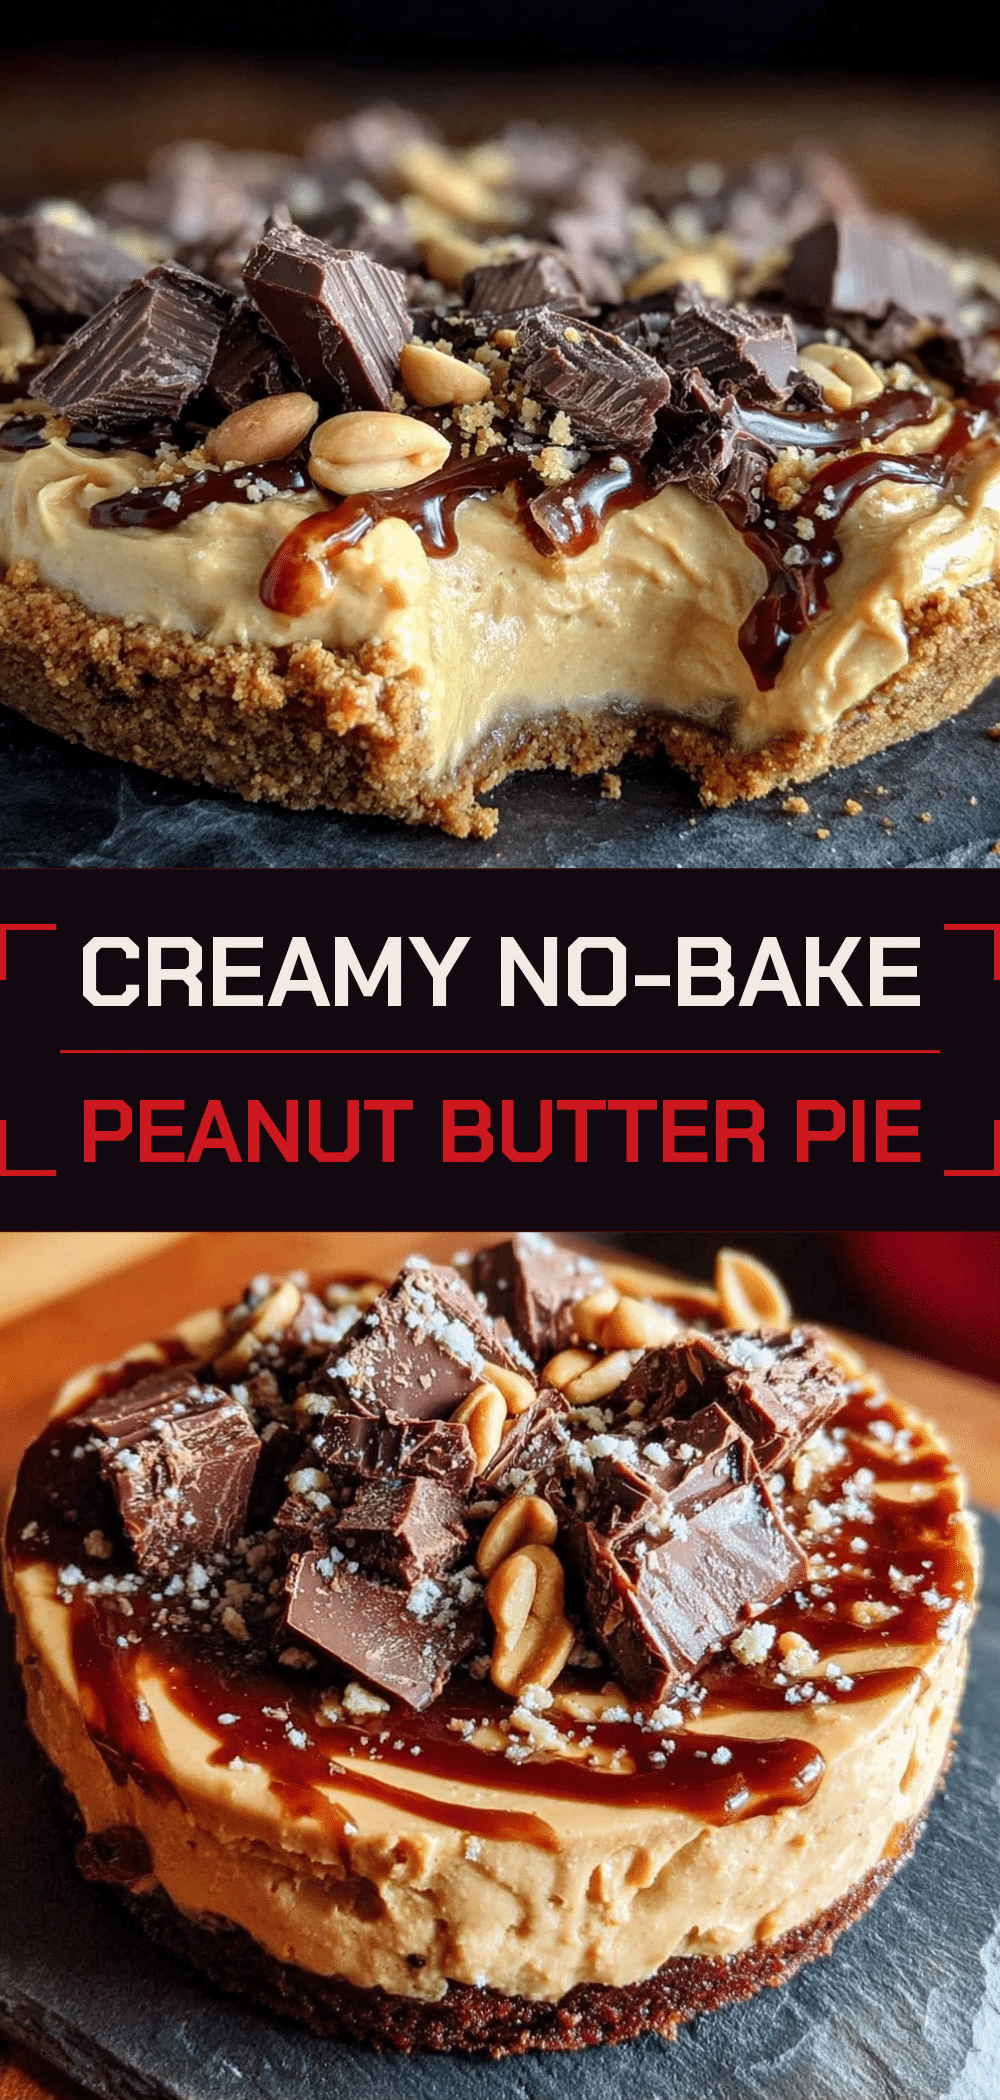

No-Bake Peanut Butter Chocolate Pie
- Total Time: 4 hours 20 minutes
- Yield: 8 servings 1x
Description
A foolproof, no-bake dessert featuring a creamy peanut butter and cream cheese filling set in a chocolate cookie crust, topped with a glossy chocolate layer. It requires only a few ingredients and minimal effort for maximum flavor.
Ingredients
- 24 chocolate sandwich cookies (about 250g, such as Oreos)
- 4 tablespoons unsalted butter, melted
- 8 ounces cream cheese, softened to room temperature
- 1 cup creamy peanut butter (250g)
- 1 cup heavy cream (240ml)
- 1 cup chocolate chips (170g)
- 1 tablespoon coconut oil
- Pinch of salt (preferably flaky sea salt)
Instructions
- Crush the chocolate cookies into fine crumbs using a food processor or a zip-top bag.
- Mix the cookie crumbs with the melted butter until the texture resembles wet sand.
- Press the crumb mixture firmly into the bottom and up the sides of a 9-inch pie dish. Chill in the fridge.
- In a large bowl, beat the softened cream cheese until smooth and creamy.
- Add the creamy peanut butter to the cream cheese and beat until fully combined and smooth.
- In a separate cold bowl, whip the heavy cream until stiff peaks form.
- Gently fold the whipped cream into the peanut butter mixture using a spatula until no white streaks remain.
- Spoon the filling into the chilled crust and smooth the top. Freeze for 30 minutes to firm up.
- Melt the chocolate chips and coconut oil in a microwave-safe bowl in 30-second intervals, stirring until smooth.
- Pour the melted chocolate over the frozen pie and spread evenly to the edges.
- Sprinkle with a pinch of salt immediately.
- Refrigerate for at least 4 hours or overnight until the chocolate and filling are fully set.
- Slice with a sharp knife dipped in hot water for clean cuts.
Notes
Ensure cream cheese is at room temperature to avoid lumps. Do not skip the 30-minute freeze step before adding chocolate to prevent sinking. For a gluten-free version, use gluten-free cookies. Store in the refrigerator for up to 5 days or freeze for up to 2 months.
- Prep Time: 20 minutes
- Cook Time: 0 minutes
- Category: Dessert
- Cuisine: American
Nutrition
- Serving Size: 1 slice
- Calories: 380
- Sugar: 22
- Sodium: 250
- Fat: 24
- Saturated Fat: 12
- Carbohydrates: 32
- Fiber: 2
- Protein: 8
Keywords: no-bake pie, peanut butter dessert, chocolate pie, easy dessert, 4 ingredient recipe, make-ahead dessert, gluten-free option



