Let’s be real for a second. I don’t bake on Sundays because I’m feeling “creative.” I bake on Sundays because I have a plan, and that plan involves not thinking about dessert for the next four days.
Last week, I was staring at my meal prep containers, looking at a week of chicken, rice, and roasted veggies, and I knew something was missing. Not a nutritional missing piece—I had my vitamins covered—but a joy piece. I needed dessert. But I didn’t need another batch of energy balls that tasted like cardboard, and I definitely didn’t want to bake a fresh cake every single night. That’s inefficient. That’s chaotic. That’s not how I roll.
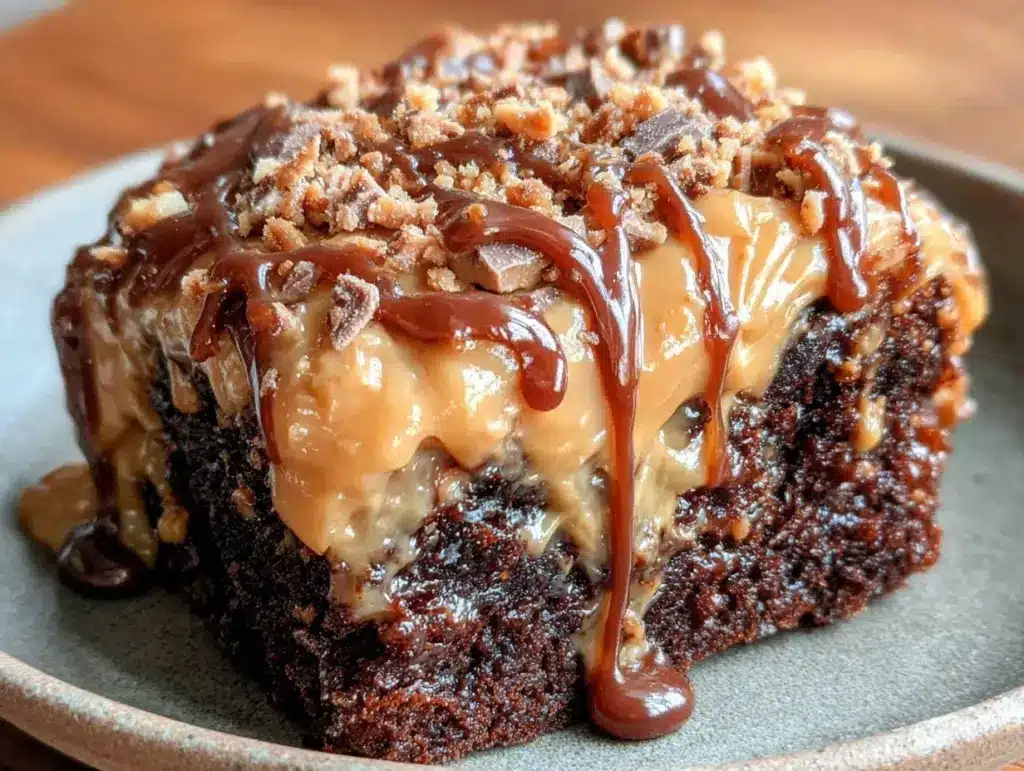
So I made this Reese’s Peanut Butter Poke Cake. Specifically, I made it with meal prep in mind. I’ve tested this recipe about eight times now, tweaking the poke size, the peanut butter ganache consistency, and the storage method, until I found the sweet spot. And here’s the thing: it’s not just a cake. It’s a meal prep strategy disguised as a treat.
I call it the “Make Once, Eat Four Days” dessert. You bake the chocolate base once. You poke holes. You pour the peanut butter filling. You slice it into four equal portions. And for the next four days, you have a rich, chocolate-peanut butter dessert that actually tastes better on day three than it did fresh out of the oven. It’s the ultimate time-saver for anyone who wants to stay on track with their weekly prep without sacrificing the good stuff.
If you’ve ever tried to meal prep something delicate like my ultra creamy white chocolate raspberry cheesecake, you know it’s a nightmare to slice and store without it falling apart. This cake? It’s sturdy. It’s moist. It’s basically built for the Tupperware life.
Why You’ll Love This Recipe for Your Weekly Prep
There are a few reasons I keep coming back to this Reese’s Peanut Butter Poke Cake for my Sunday ritual. It’s not just about the taste (though the chocolate-peanut butter combo is basically a hug for your soul). It’s about the logistics.
- Zero Daily Decision Fatigue — By Sunday night, dessert is done. For four days, I don’t have to wonder what I’m eating after dinner. I just grab a square. It removes one tiny stressor from an already packed schedule.
- Actually Stays Fresh — Most cakes dry out by Wednesday. This poke cake stays moist because the peanut butter ganache soaks into the crumb. In fact, I’ve found that Day 3 is peak flavor. The flavors meld together in the fridge.
- Perfect Portion Control — I slice it into eight large squares or twelve small bites right after baking. That means I know exactly how much I’m eating. No sneaking bites from the whole cake while standing at the counter.
- Freezes Like a Dream — If I’m having a crazy week and can’t meal prep on Sunday, I freeze four squares immediately. They thaw in the fridge by lunchtime and taste just as good as fresh. I’ve compared them side-by-side with the refrigerated batch, and honestly? You can’t tell the difference.
- Gluten-Free Friendly Base — I use a gluten-free chocolate cake mix as my base. It keeps the texture dense enough to hold the holes without collapsing. If you eat gluten, standard mix works too, but I’ve found the GF version holds up better in the fridge.
This isn’t a “bake it and forget it” recipe. It requires about 20 minutes of active time. But that investment pays off for four days of happiness. It’s efficient, it’s delicious, and it fits into a busy life without demanding constant attention.
Ingredients You’ll Need
Here’s the best part: you probably have most of these ingredients already. This isn’t a complicated ingredient list with exotic spices or hard-to-find items. It’s pantry staples with a couple of key components that make the magic happen.
For the Chocolate Cake Base
Chocolate Cake Mix (1 box, 15.25 oz / 432g) — I use a gluten-free chocolate cake mix because it creates a denser crumb that holds the poke holes better. If you’re not gluten-free, a standard devil’s food cake mix works fine. Just don’t use a light or angel food cake—they’re too airy and will fall apart.
Instant Pudding Mix (3.4 oz / 96g, chocolate flavor) — This is the secret weapon. Adding instant pudding to the batter makes the cake incredibly moist and helps it stay tender for days. It’s a trick I learned from my grandma, and it works every time.
Vegetable Oil (½ cup / 120ml) — Oil keeps cakes moister than butter does, especially when stored in the fridge. Butter-based cakes can get hard when cold. Oil keeps this cake soft.
Eggs (3 large) — Room temperature eggs incorporate better into the batter. I just take them out of the fridge when I start prepping.
Water or Coffee (1 cup / 240ml) — I use hot coffee. It doesn’t make the cake taste like coffee; it just deepens the chocolate flavor. If you hate coffee, water works fine, but trust me on the coffee.
For the Peanut Butter Ganache
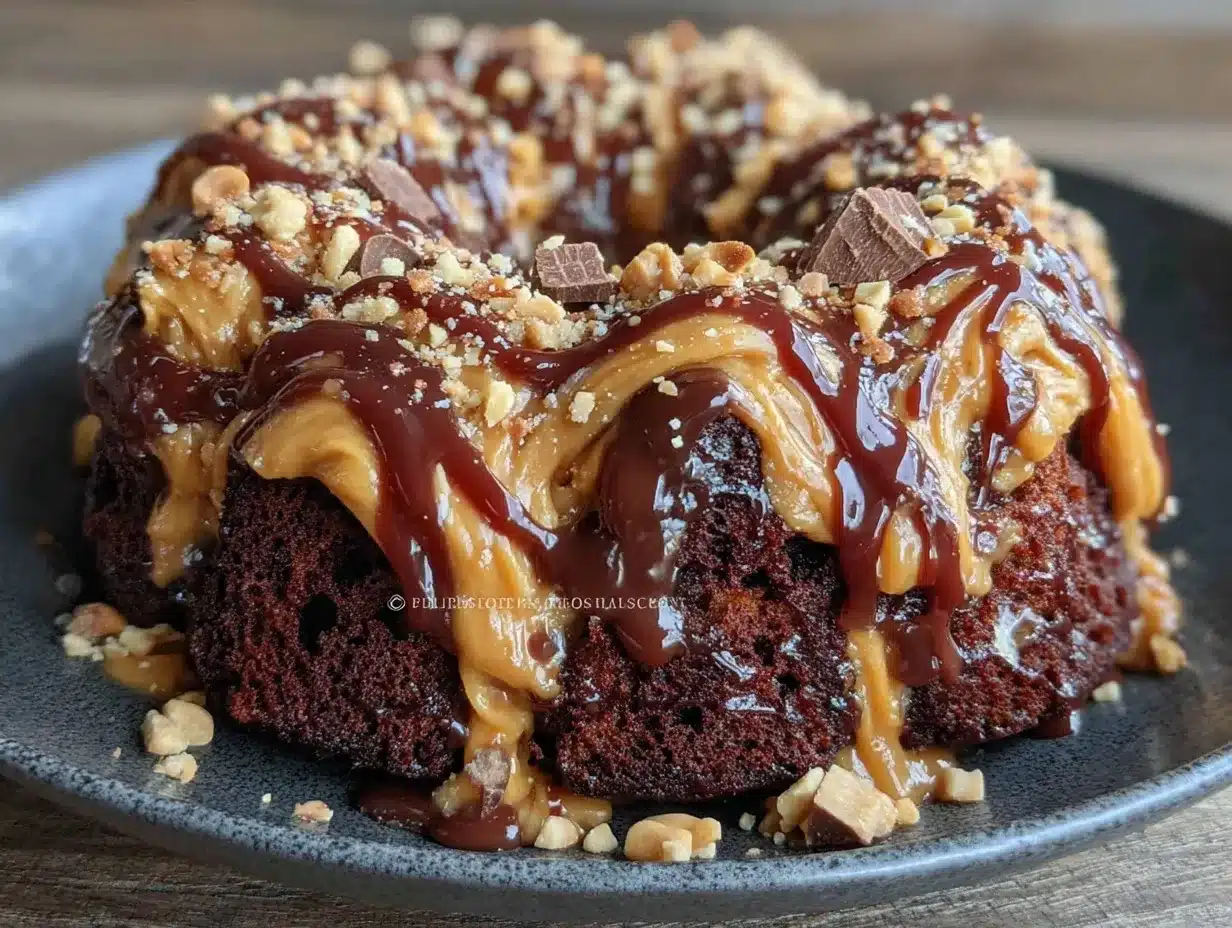
Reese’s Peanut Butter Cups (1.5 cups, chopped / approx. 200g) — Yes, the real deal. I chop them up roughly. You want chunks of chocolate and peanut butter, not just smooth PB. It adds texture.
Heavy Cream (½ cup / 120ml) — Full-fat only. This creates the ganache that soaks into the cake. Half-and-half is too thin and won’t set properly.
Butter (2 tablespoons / 30g) — Unsalted. This adds richness and helps the ganache shine. It also helps it set a bit firmer for slicing.
Chocolate Chips (½ cup / 85g, semi-sweet) — I add these to the ganache for extra thickness. It makes the filling sturdier so it doesn’t run out of the holes.
Equipment Needed
You don’t need fancy gadgets for this. Here’s what I actually use.
9×13 Inch Baking Pan — I use a glass Pyrex pan. It distributes heat evenly. Metal pans work too, but glass is easier to clean and I can see the bottom browning.
Wooden Spoon or Whisk — For mixing the batter. A whisk is faster, but a spoon gives you more control if you’re worried about overmixing.
Chopsticks or Straw — This is crucial. I use chopsticks to poke the holes. They’re thin, easy to handle, and create the perfect size hole. A fork creates too many holes and weakens the structure.
Small Saucepan — For melting the ganache. Non-stick is easiest here. If you don’t have one, a microwave-safe bowl works too (30-second intervals).
Sharp Knife — For slicing. I chill the cake first, then slice. Cold cake cuts cleaner. A serrated knife helps if you’re dealing with a softer cake.
Airtight Containers — I use four separate 8-ounce containers. This keeps the squares from sticking to each other and makes grab-and-go easy.
How to Make It: Step-by-Step
Alright, let’s get into the weeds. I’m walking you through exactly how I do it, including the little tricks I’ve picked up over eight test batches.
Step 1: Prep Your Pan and Oven (5 minutes)
Preheat your oven to 350°F (175°C). Grease your 9×13 inch pan with cooking spray or butter. I line the bottom with parchment paper too, just in case. It makes cleanup way easier, and I hate scrubbing pans.
Step 2: Mix the Cake Batter (5 minutes)
In a large bowl, combine the cake mix, instant pudding mix, eggs, oil, and hot coffee. Whisk vigorously for about 2 minutes. The batter will be thin. That’s normal. Don’t add more flour. The thin batter is what helps it bake up tender. Pour it into your prepared pan and spread it out evenly.
Step 3: Bake the Cake (30-35 minutes)
Put it in the oven. Bake for 30-35 minutes. You’ll know it’s done when a toothpick inserted into the center comes out with just a few moist crumbs attached, not wet batter. If it’s wet, give it 5 more minutes. Pull it out and let it cool on the counter for 10 minutes. It should be warm, not hot, when you poke it.
Step 4: The Poke (5 minutes)
This is the most important step. Use your chopsticks to poke holes all over the cake. Aim for about 1 inch apart. Go all the way to the bottom. Don’t be shy. The more holes, the more peanut butter goodness. If you’re worried about the cake falling apart, just be gentle but firm. The batter is sturdy enough.
Step 5: Make the Ganache (5 minutes)
While the cake cools, make the ganache. In a small saucepan, heat the heavy cream and butter over medium heat until it just starts to simmer (tiny bubbles around the edge). Remove from heat. Add the chopped Reese’s cups and chocolate chips. Let them sit for 2 minutes, then stir until smooth. It should be glossy and pourable but thick. If it’s too thin, add a few more chips. If it’s too thick, add a teaspoon of cream.
Step 6: Pour and Soak (5 minutes)
Pour the warm ganache over the warm cake. It will sink right into the holes. Use a spatula to gently spread it to the edges. You’ll see the cake drink it up. Let it cool completely at room temperature, then cover with plastic wrap and refrigerate for at least 4 hours (or overnight).
Step 7: Slice and Store
Once chilled, slice into 8 squares. Place each square in an airtight container. Stack them if you have to, but put a piece of parchment paper between layers to prevent sticking. This is your week’s dessert.
Expert Tips & Tricks
Here’s everything I’ve learned from making this dozens of times. These tips will save you from my mistakes.
Don’t Skip the Pudding Mix
I tried this recipe without the instant pudding once. The cake was fine, but by Day 3, it was dry. The pudding mix adds moisture-retaining properties that are essential for meal prep. Don’t skip it.
Chop the Cups, Don’t Melt Them First
If you melt the Reese’s cups first, you lose the chocolate chunks. I want bits of peanut butter cup in every bite. Chopping them and melting them into the cream gives you the best of both worlds.
Cool Completely Before Slicing
If you slice the cake while it’s still warm, the ganache will slide off. The cake needs to set in the fridge. Patience pays off. I know it’s hard, but wait.
Use Chopsticks, Not Forks
Forks create too many small holes and can tear the cake. Chopsticks create clean, deep holes that hold the ganache better. It’s a small detail that makes a big difference.
Label Your Containers
I label my meal prep containers with the date. This is especially important for desserts because they can last longer than savory meals. But I like to eat this within 4 days for peak freshness.
Variations & Substitutions
Once you’ve nailed the basic version, here’s how you can mix it up. I’ve tried all of these.
Gluten-Free Option
As mentioned, I use a GF chocolate cake mix. It works perfectly. Just make sure your pudding mix is also GF (most are, but check labels).
Dairy-Free Version
Use dairy-free butter and dairy-free chocolate chips. For the Reese’s cups, you’ll need to find a dairy-free peanut butter cup brand (like Enjoy Life). The heavy cream can be swapped for full-fat coconut cream, but the flavor will be slightly coconutty.
Lower Sugar
Use sugar-free pudding mix and sugar-free chocolate chips. The Reese’s cups still have sugar, so this isn’t keto, but it’s less sweet. I tried this for my husband, and he liked it, but I prefer the full-sugar version.
Mini Cupcakes
You can make this in a muffin tin. Bake for 15-18 minutes. Poke the tops. Pour ganache. These are great for portion control. I make these for my kids’ lunches.
No-Bake Option
If you’re tired of baking, use no-bake chocolate cookie bars as the base. Poke them, pour ganache. It’s not the same texture, but it’s faster.
Serving & Storage
How to serve it:
I serve this cold, straight from the fridge. It’s firm, rich, and satisfying. No need to warm it up. The cold temperature actually enhances the peanut butter flavor.
Side dishes:
- A glass of cold milk (obviously)
- A cup of black coffee
- Sliced strawberries (the acidity cuts the richness)
Storage:
Refrigerator: Store in airtight containers for up to 5 days. It stays moist the whole time.
Freezer: Wrap individual squares tightly in plastic wrap, then in foil. Freeze for up to 3 months. Thaw in the fridge overnight. I freeze extra squares in case I have a late night or a busy week.
Reheating: I don’t recommend reheating this cake. The texture changes when warmed. Cold is best.
Nutrition Information
I’m not a nutritionist, but here’s the breakdown if you’re tracking.
Per Serving (1 square, based on 8 servings):
- Calories: 420
- Protein: 8g
- Carbs: 52g
- Fiber: 3g
- Sugar: 38g
- Fat: 22g
What’s Good:
- Decent protein from the peanut butter and eggs
- Calcium from the cream and cheese
What to Know:
- High in sugar and calories. This is a treat, not a health food.
- Contains gluten (unless using GF mix), dairy, and nuts.
My Take:
Look, this is dessert. It’s supposed to be indulgent. But because I portion it out, I can enjoy it without overdoing it. It’s better than buying a box of cookies because I know exactly what’s in it.
Final Thoughts
So that’s my Reese’s Peanut Butter Poke Cake! I’ve probably talked your ear off at this point, but when you make a recipe this often, you have a lot to say about it.
This has saved my Sunday nights more times than I can count. It’s my answer to “what’s for dessert?” when I’m tired, don’t want takeout, and still want something that tastes really good. My kids are happy, my husband’s happy, and I’m happy because I’m not stressed about cooking.
Make it yours! Try different add-ins, swap in your favorite chocolate, adjust the peanut butter (though more is always better in my opinion). The best recipes are the ones you adapt to your family’s tastes.
If you make this, drop a comment and let me know what you think! I love hearing how recipes turn out in your kitchen. And if something doesn’t work, tell me that too—I’m here to help troubleshoot.
Happy cooking! And I hope your kitchen smells half as good as mine does right now.
Frequently Asked Questions
Can I use a different cake mix?
You can, but I stick with chocolate because it pairs best with peanut butter. A devil’s food cake is ideal. If you use vanilla, it will be less rich. I wouldn’t recommend yellow cake unless you want a lighter flavor.
Why did my ganache run out of the holes?
If the ganache was too thin, it will run out. Make sure you use heavy cream and enough chocolate chips. Also, if you pour it while the cake is still hot, the holes might be too wide. Let the cake cool for 10 minutes before poking.
Can I make this ahead for a party?
Absolutely. Make it 2 days ahead. It actually tastes better after sitting in the fridge for a day. The flavors meld. Just keep it covered in the fridge until you’re ready to serve.
How long does this last?
In the fridge, up to 5 days. In the freezer, up to 3 months. I rarely get to day 5 because it’s usually gone by day 3.
Can I use peanut butter instead of Reese’s cups?
You can, but you’ll lose the chocolate chunks. If you use smooth peanut butter, add chopped chocolate chips to the ganache. If you use chunky peanut butter, it will work, but the texture will be different. I prefer the Reese’s for the combo.
Is this recipe keto-friendly?
No, not as written. The cake mix and Reese’s cups are high in sugar. You can make a keto version using almond flour cake mix and sugar-free peanut butter cups, but the texture and taste will be different.
Can I double this recipe?
Yes, but you’ll need a larger pan (9×13 is standard, but if you double, use two pans or a 9×13 and bake longer). The cooking time might increase by 5-10 minutes. Keep an eye on it.
Pin This Recipe!
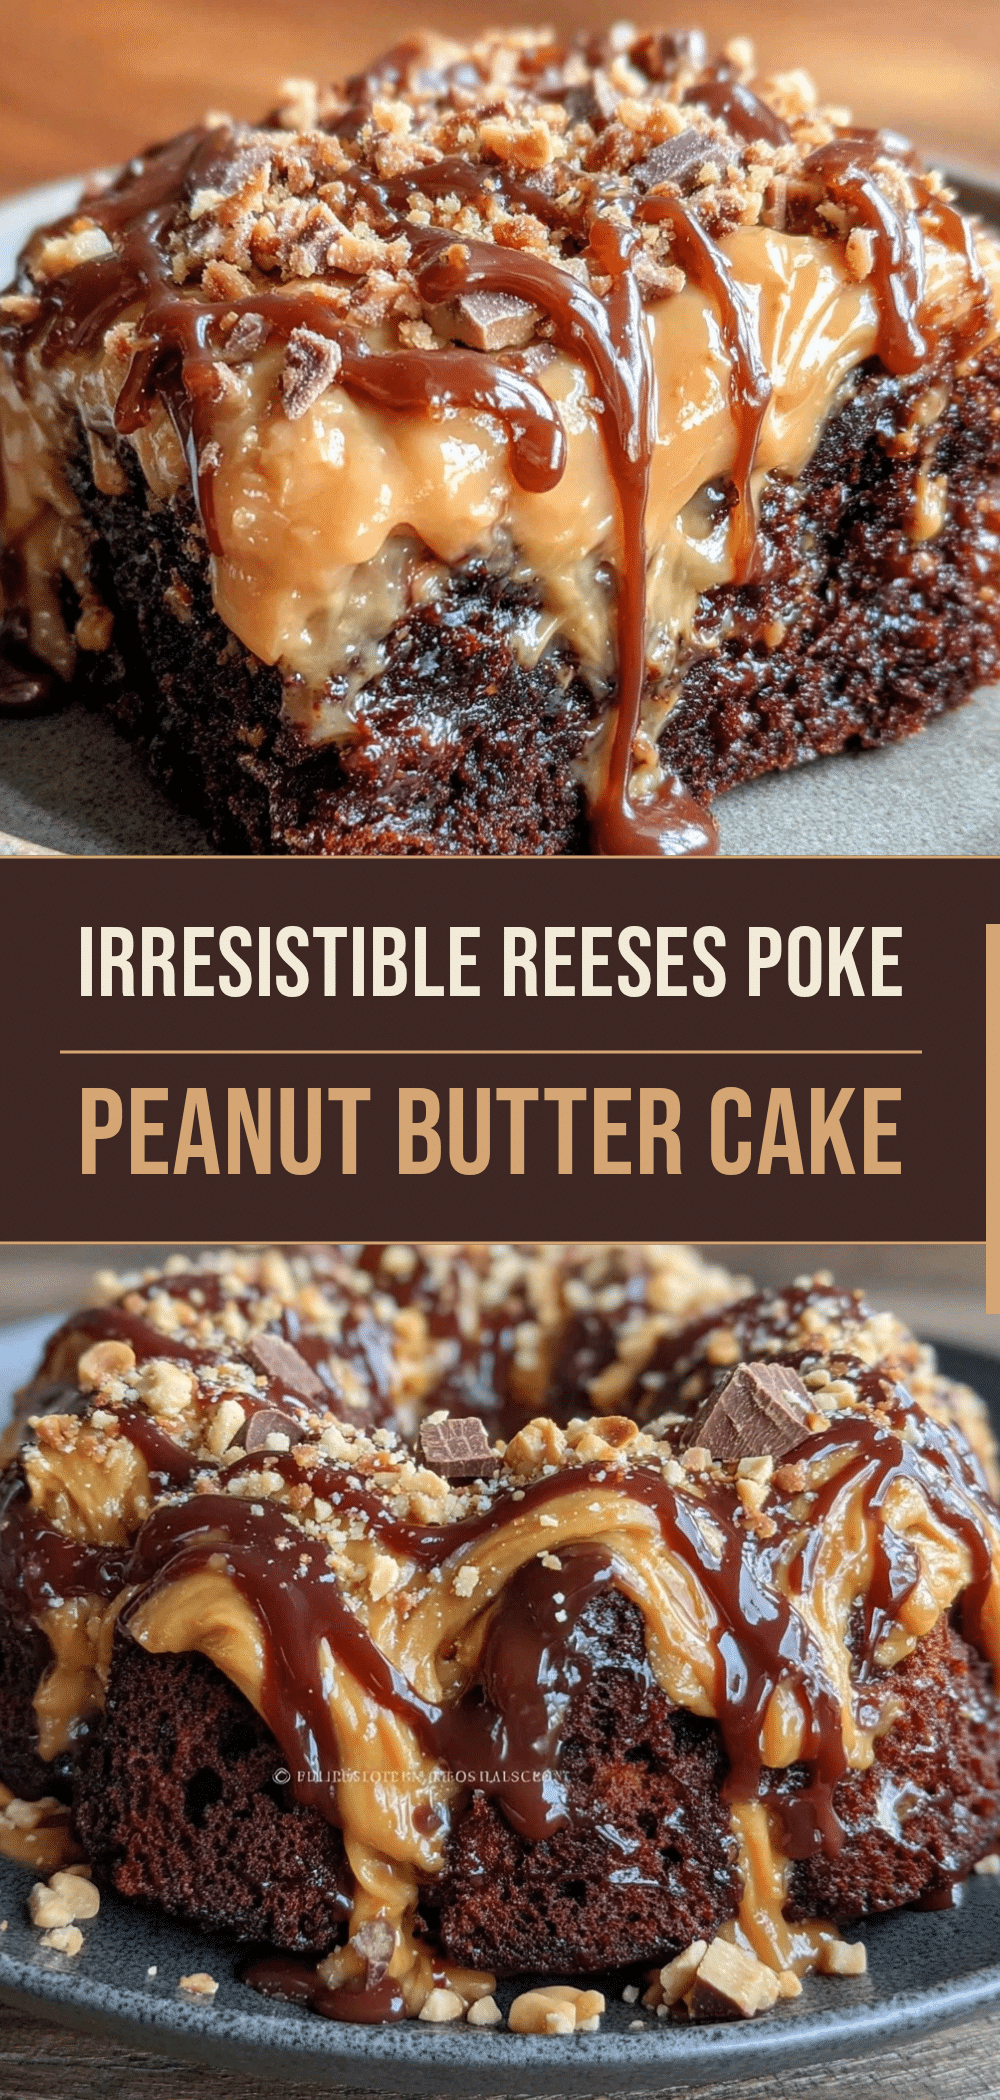
Reeses Peanut Butter Poke Cake: Make Once, Eat 4 Days
- Total Time: 4 hours 55 minutes (including chilling)
- Yield: 8 servings 1x
Description
A sturdy, moist chocolate cake infused with a rich peanut butter ganache, designed specifically for meal prep to provide four days of delicious dessert with minimal effort.
Ingredients
- 1 box (15.25 oz / 432g) chocolate cake mix (gluten-free recommended for better structure)
- 3.4 oz (96g) instant chocolate pudding mix
- 1/2 cup (120ml) vegetable oil
- 3 large eggs, room temperature
- 1 cup (240ml) hot coffee or water
- 1.5 cups (approx. 200g) Reese’s Peanut Butter Cups, chopped
- 1/2 cup (120ml) heavy cream
- 2 tablespoons (30g) unsalted butter
- 1/2 cup (85g) semi-sweet chocolate chips
Instructions
- Preheat oven to 350°F (175°C). Grease a 9×13 inch baking pan and line the bottom with parchment paper.
- In a large bowl, whisk together cake mix, instant pudding mix, eggs, oil, and hot coffee for 2 minutes until smooth. Pour into prepared pan.
- Bake for 30-35 minutes until a toothpick inserted in the center comes out with moist crumbs. Cool on counter for 10 minutes until warm.
- Using chopsticks, poke holes all over the cake, about 1 inch apart, going all the way to the bottom.
- In a small saucepan, heat heavy cream and butter over medium heat until simmering. Remove from heat.
- Add chopped Reese’s cups and chocolate chips to the cream mixture. Let sit for 2 minutes, then stir until smooth and glossy.
- Pour warm ganache over the warm cake, allowing it to soak into the holes. Spread gently to edges.
- Cool completely at room temperature, then cover and refrigerate for at least 4 hours or overnight.
- Slice into 8 squares and store in airtight containers.
Notes
Use hot coffee to deepen chocolate flavor. Ensure cake is warm but not hot when poking holes. Chill completely before slicing for clean cuts. Can be frozen for up to 3 months.
- Prep Time: 20 minutes
- Cook Time: 30-35 minutes
- Category: Dessert
- Cuisine: American
Nutrition
- Serving Size: 1 square
- Calories: 420
- Sugar: 38
- Sodium: 350
- Fat: 22
- Saturated Fat: 10
- Carbohydrates: 52
- Fiber: 3
- Protein: 8
Keywords: Reese's, peanut butter, poke cake, meal prep, chocolate cake, dessert, gluten-free option, make ahead



