Last October, I was running around like a headless chicken trying to finish my Halloween costume while simultaneously trying to bake something for the neighborhood kids. You know the drill. You want to be present for the trick-or-treaters, but you also want the kids to be screaming (in delight) when they get home. I ended up standing in my kitchen at 5:45 PM, staring at a bag of chocolate chips and a carton of cream cheese, feeling like I was about to fail at being a good host.
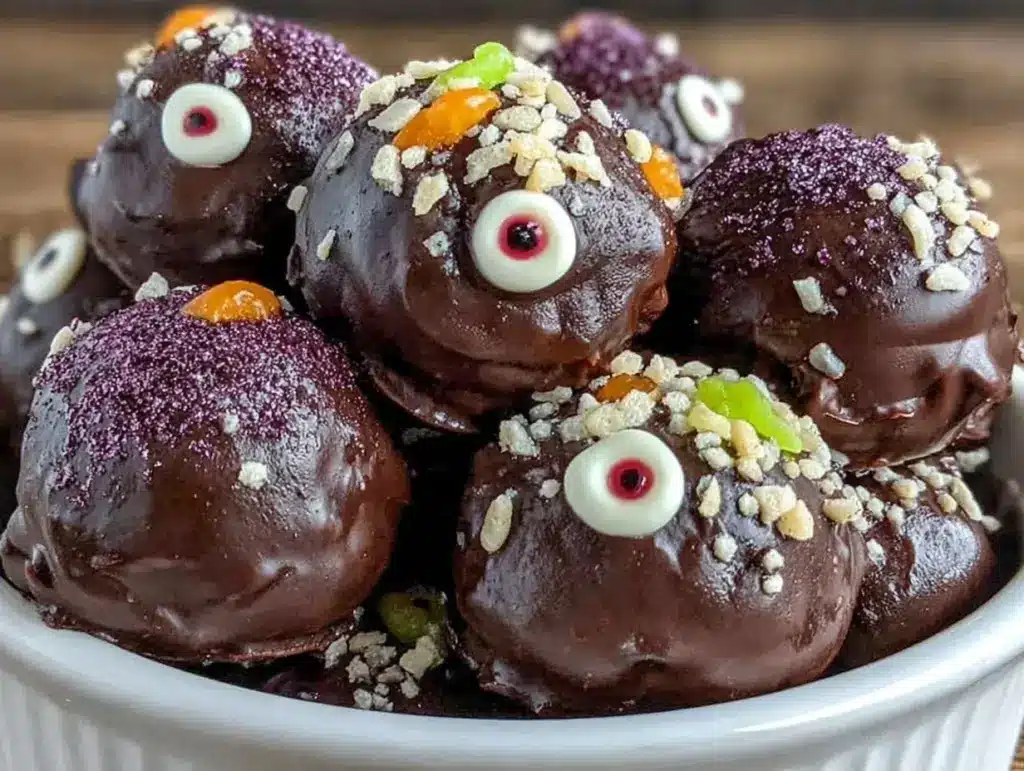
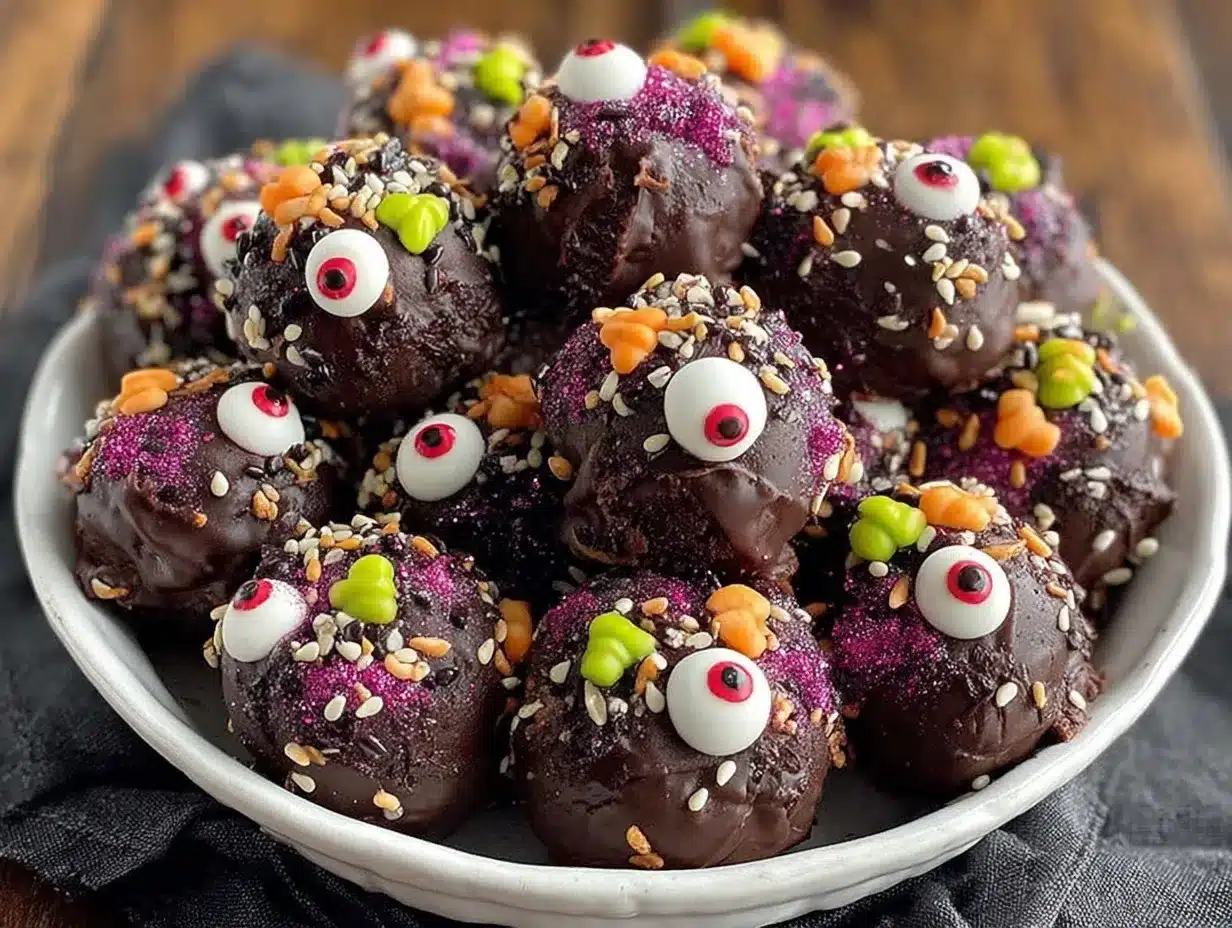
That’s when I had the idea. What if I could make something that looked like it came from a witch’s cauldron but actually tasted like a comforting, creamy dessert? I grabbed some white chocolate, some green food coloring, and a handful of mini marshmallows. The result? Halloween Monster Eyeball Truffles. They were a hit. The kids thought they were gross. The adults thought they were genius. And honestly? I made them three more times that month because my family wouldn’t stop asking for them.
These truffles are the ultimate party trick. They’re spooky, they’re fun, and they’re ridiculously easy to make. Plus, they’re perfect for those of us who shop the farmers market and love using fresh ingredients—even if those ingredients are currently dressed up as monsters. If you’re looking for other festive treats to round out your spooky spread, check out my homemade funfetti birthday cake for a colorful contrast, or these chocolate croissant bread pudding for a cozy autumn evening.
Why You’ll Love These Spooky Treats
There’s something magical about turning a simple dessert into a character. These Halloween Monster Eyeball Truffles aren’t just cute; they solve a real problem: how do you make dessert interactive? Here’s why I keep coming back to this recipe:
- Zero Baking Required — Seriously. If you can melt chocolate and roll balls, you can make these. No oven, no mess, no stress. Perfect for when the weather turns crisp and you don’t want to heat up the house.
- Customizable Spookiness — Want them red for vampire night? Green for alien night? Purple for witch night? The base is neutral, so you can change the vibe with just a drop of food coloring. I usually mix colors to get that “alien slime” look.
- Make-Ahead Friendly — These taste better after chilling. I make them two days before the party. They actually firm up and the flavors meld together. Plus, you can store them in the fridge for up to a week.
- Family Favorite — My kids love helping with the “eyeballs.” It turns dessert prep into a craft project. It’s less like cooking and more like playing with your food (which is basically what Halloween is about).
- Gluten-Free Option — The base is naturally gluten-free (cream cheese, chocolate, marshmallows). If you’re hosting a mixed crowd, these are a safe bet for everyone.
Real talk: these are my go-to when I want to impress without spending hours in the kitchen. They’re the dessert equivalent of a well-timed prank—unexpected, fun, and totally delicious.
Ingredients You’ll Need
Here’s the best part: you probably have most of this already. The beauty of these truffles is that they rely on high-quality, simple ingredients. Since I’m all about celebrating what’s fresh and in season, I love using rich, creamy cream cheese and high-percentage chocolate.
For the Truffle Base
8 oz full-fat cream cheese (225g) — This is the heart of the truffle. Make sure it’s softened to room temperature. Cold cream cheese makes lumpy truffles. I use a block, not the tub, for better texture. If you want a tangier bite, try a Greek yogurt cheesecake bar vibe, but for these, full-fat is key.
1 cup semi-sweet chocolate chips (170g) — I prefer Ghirardelli or Lindt for their smooth melt. Avoid the cheapest baking chips; they can taste waxy. This gives the truffle its rich, chocolatey base.
1/2 cup mini marshmallows (40g) — These add that stretchy, “gooey monster” texture inside. Mini ones are easier to melt evenly than large ones.
1/2 teaspoon vanilla extract — Just a splash to round out the sweetness. Pure vanilla, please. Artificial can taste chemical.
Pinch of salt — Cuts the sweetness. Always salt your chocolate desserts.
For the “Eyeball” Decoration
White chocolate melting wafers or chips (1 cup / 150g) — I use melting wafers because they melt smoother and hold their shape better. Regular chips can be temperamental.
Green food coloring gel — Gel colors are better than liquid because they don’t add extra moisture. You want that vibrant, alien-green look.
Red food coloring gel — For the “bloodshot” veins. A tiny drop goes a long way.
Mini chocolate chips or sprinkles — For the pupils. Chocolate chips look more realistic than sprinkles, but sprinkles are fun for kids.
Equipment Needed
You don’t need fancy gear for this. Here’s what I actually use:
- Microwave-safe bowl — For melting the chocolate. I use a glass Pyrex bowl because it’s easy to see what’s melting.
- Microwave — Trust your microwave in 20-second intervals. It’s the easiest way to melt chocolate without burning it.
- Silicone spatula — For scraping the bowl and mixing the cream cheese. Non-negotiable for getting every bit of chocolate.
- Baking sheet — Line it with parchment paper. This prevents sticking and makes cleanup a breeze.
- Small spoon or piping bag — For adding the white chocolate “eyeball” layer. A small spoon works fine if you don’t have a bag.
- Toothpicks — For placing the pupils. Precision matters here!
How to Make Halloween Monster Eyeball Truffles
Alright, let’s make this! It’s simpler than it looks. I’m walking you through exactly how I do it, including the little tricks I’ve picked up.
Step 1: Prep Your Base (10 minutes)
Start by softening your cream cheese. If you forgot, microwave it on low for 10 seconds. It should be squishy, not runny. In a medium bowl, beat the cream cheese with the vanilla and salt until smooth. No lumps allowed. This is the foundation of your truffle.
Step 2: Melt the Chocolate (5 minutes)
Add the semi-sweet chocolate chips to a microwave-safe bowl. Microwave in 20-second intervals, stirring well between each. This is crucial. If you don’t stir, you’ll get hot spots and burnt chocolate. Stop when there are still a few small chips left; the residual heat will melt them. Stir until smooth and glossy.
Step 3: Combine and Chill (30 minutes)
Pour the melted chocolate into the cream cheese mixture. Stir until fully combined. Then, stir in the mini marshmallows. The mixture will be thick and sticky. Cover the bowl and refrigerate for at least 30 minutes. This step is non-negotiable. If the mixture is too warm, you won’t be able to roll it.
Step 4: Roll the Truffles (15 minutes)
Take the chilled mixture out. Using a small cookie scoop or your hands (lightly greased with butter), roll the mixture into 1-inch balls. Place them on the parchment-lined baking sheet. Don’t worry about them being perfectly round; they’ll look better after the next step. You should get about 20-24 truffles.
Step 5: Create the Eyeball Effect (15 minutes)
This is the fun part. Melt the white chocolate wafers in the microwave (again, 20-second intervals, stirring well). Divide the melted white chocolate into two bowls. Add a tiny drop of green gel food coloring to one bowl and stir. Add a tiny drop of red gel to the other (or mix a drop of red into the green for a “bloodshot” look).
Using a spoon, carefully drizzle the white chocolate over each truffle. You want to cover most of the dark chocolate base, leaving a little peek of green or red if you’re feeling fancy. Let the white chocolate set for 5 minutes. It should be tacky but not wet.
Step 6: Add the Pupils (5 minutes)
Once the white chocolate is set, use a toothpick to place a mini chocolate chip or sprinkle in the center of each truffle. This is the pupil. For an extra creepy effect, add a tiny dot of red food coloring next to the pupil to look like a bloodshot vein. Place them back in the fridge for 10 minutes to set completely.
Expert Tips & Tricks
Here’s everything I’ve learned from making these dozens of times. These tips will save you from my mistakes.
- Keep Your Hands Cool — If the truffle mixture gets too warm and sticky while you’re rolling, put your hands in the fridge for a minute or dip them in cold water. Cold hands = easier rolling.
- Don’t Over-Melt the White Chocolate — White chocolate burns easily. It looks fine, then suddenly it’s clumpy. Heat it gently. If it gets too thick, add a tiny teaspoon of coconut oil to thin it out.
- Use Gel Food Coloring — Liquid food coloring can make the chocolate seize up or become too runny. Gel gives you vibrant color without changing the texture.
- Chill Between Steps — If your white chocolate coating is cracking when you drizzle it, the truffles are too cold. Let them sit at room temperature for 5 minutes before drizzling. If the coating is too thin, chill the truffles for 5 more minutes.
- Storage is Key — Store these in an airtight container in the fridge. They last up to a week. If you leave them out too long, the cream cheese base can soften. Keep them cool!
Variations & Substitutions
Once you’ve nailed the basic version, here’s how you can mix it up. I’ve tried all of these.
Flavor Twists
- Pumpkin Spice — Add 1 teaspoon pumpkin pie spice and 1 tablespoon pumpkin puree to the cream cheese mixture. Perfect for fall!
- Mint Monster — Add 1/2 teaspoon peppermint extract and green food coloring to the white chocolate. Looks like alien slime!
- Orange Creamsicle — Add orange zest to the base and use orange food coloring for the eyeball.
Dietary Modifications
- Dairy-Free — Use dairy-free cream cheese and dairy-free chocolate chips. The texture might be slightly softer, so chill longer.
- Gluten-Free — The base is naturally gluten-free. Just ensure your mini marshmallows and chocolate chips are certified gluten-free (some marshmallows contain wheat starch).
Alternative Shapes
Don’t like eyeballs? Roll the mixture into logs and dip in green chocolate, then add white “spikes” for a monster tail. Or make them into bats using chocolate molds. The base recipe is versatile!
Serving & Storage
How to Serve: I usually serve these on a black platter with some fake spiderwebs for maximum effect. They’re perfect for Halloween parties, school events, or just a spooky Tuesday night snack.
Side Dishes: Pair these with my fall cranberry apple cider sangria for a festive drink pairing. The tartness cuts through the sweetness perfectly.
Storage Instructions:
- Refrigerator: Store in an airtight container for up to 5 days. They taste best cold.
- Freezer: You can freeze these for up to 2 months. Thaw in the fridge overnight before serving. Note: The texture might change slightly after freezing, but they’re still delicious.
Pro Tip: If you’re making these for a party, make the base the day before. Roll them and coat them the day of. They’ll look fresher and the colors will be more vibrant.
Nutrition Information
I’m not a nutritionist, but here’s the breakdown if you’re tracking. These are indulgent treats, so enjoy in moderation!
Per Truffle (approx. 1 inch ball):
- Calories: 120
- Protein: 2g
- Carbs: 12g
- Fat: 8g
- Sugar: 9g
These are higher in sugar and fat due to the chocolate and cream cheese, but they’re a small, satisfying treat. If you want a lighter option, try my dairy-free chocolate peanut butter nice cream for a fruit-based dessert.
Final Thoughts
So there you have it! My Halloween Monster Eyeball Truffles. They’re spooky, they’re sweet, and they’re ridiculously easy to make. I’ve made these for every Halloween party I’ve hosted for the last five years, and they never fail to get a reaction. Whether you’re a kid or an adult, there’s something satisfying about eating a dessert that looks like it came from a monster’s lair.
Make it yours! Try different colors, different fillings, different decorations. The base recipe is a blank canvas for your creativity. And if you’re looking for more festive ideas, check out these fall charcuterie board ideas to complete your party spread.
If you make these, drop a comment and let me know what you think! I love hearing how recipes turn out in your kitchen. And if something doesn’t work, tell me that too—I’m here to help troubleshoot. Happy cooking, and may your Halloween be sweet and spooky!
Frequently Asked Questions
Can I use milk chocolate instead of semi-sweet?
You can, but the truffles will be sweeter. Semi-sweet or dark chocolate balances the sweetness of the cream cheese and marshmallows better. If you use milk chocolate, reduce the amount of sugar in any variations you add.
Why did my white chocolate seize up?
Water is the enemy of chocolate. If even a drop of water got into the melted white chocolate, it will seize. Make sure your bowl and utensils are completely dry. If it seizes, you can sometimes save it by adding a teaspoon of warm cream or coconut oil and stirring vigorously.
Can I make these ahead of time?
Yes! In fact, they taste better after chilling. Make the base and roll the truffles up to 3 days ahead. Store them in the fridge. Coat them the day of the party so the white chocolate stays fresh and shiny.
Are these gluten-free?
The base is naturally gluten-free. Just double-check your mini marshmallows and chocolate chips to ensure they’re processed in a gluten-free facility. Most major brands are GF, but it’s always good to check.
Can I use regular marshmallows instead of mini?
You can, but you’ll need to chop them finely. Mini marshmallows melt more evenly and distribute better throughout the truffle. Large marshmallows can create big, uneven pockets of goo.
How do I store these in the freezer?
Place the finished truffles on a baking sheet and freeze until solid (about 1 hour). Then transfer them to an airtight container or freezer bag. They’ll last up to 2 months. Thaw in the fridge overnight before serving.
Pin This Recipe!
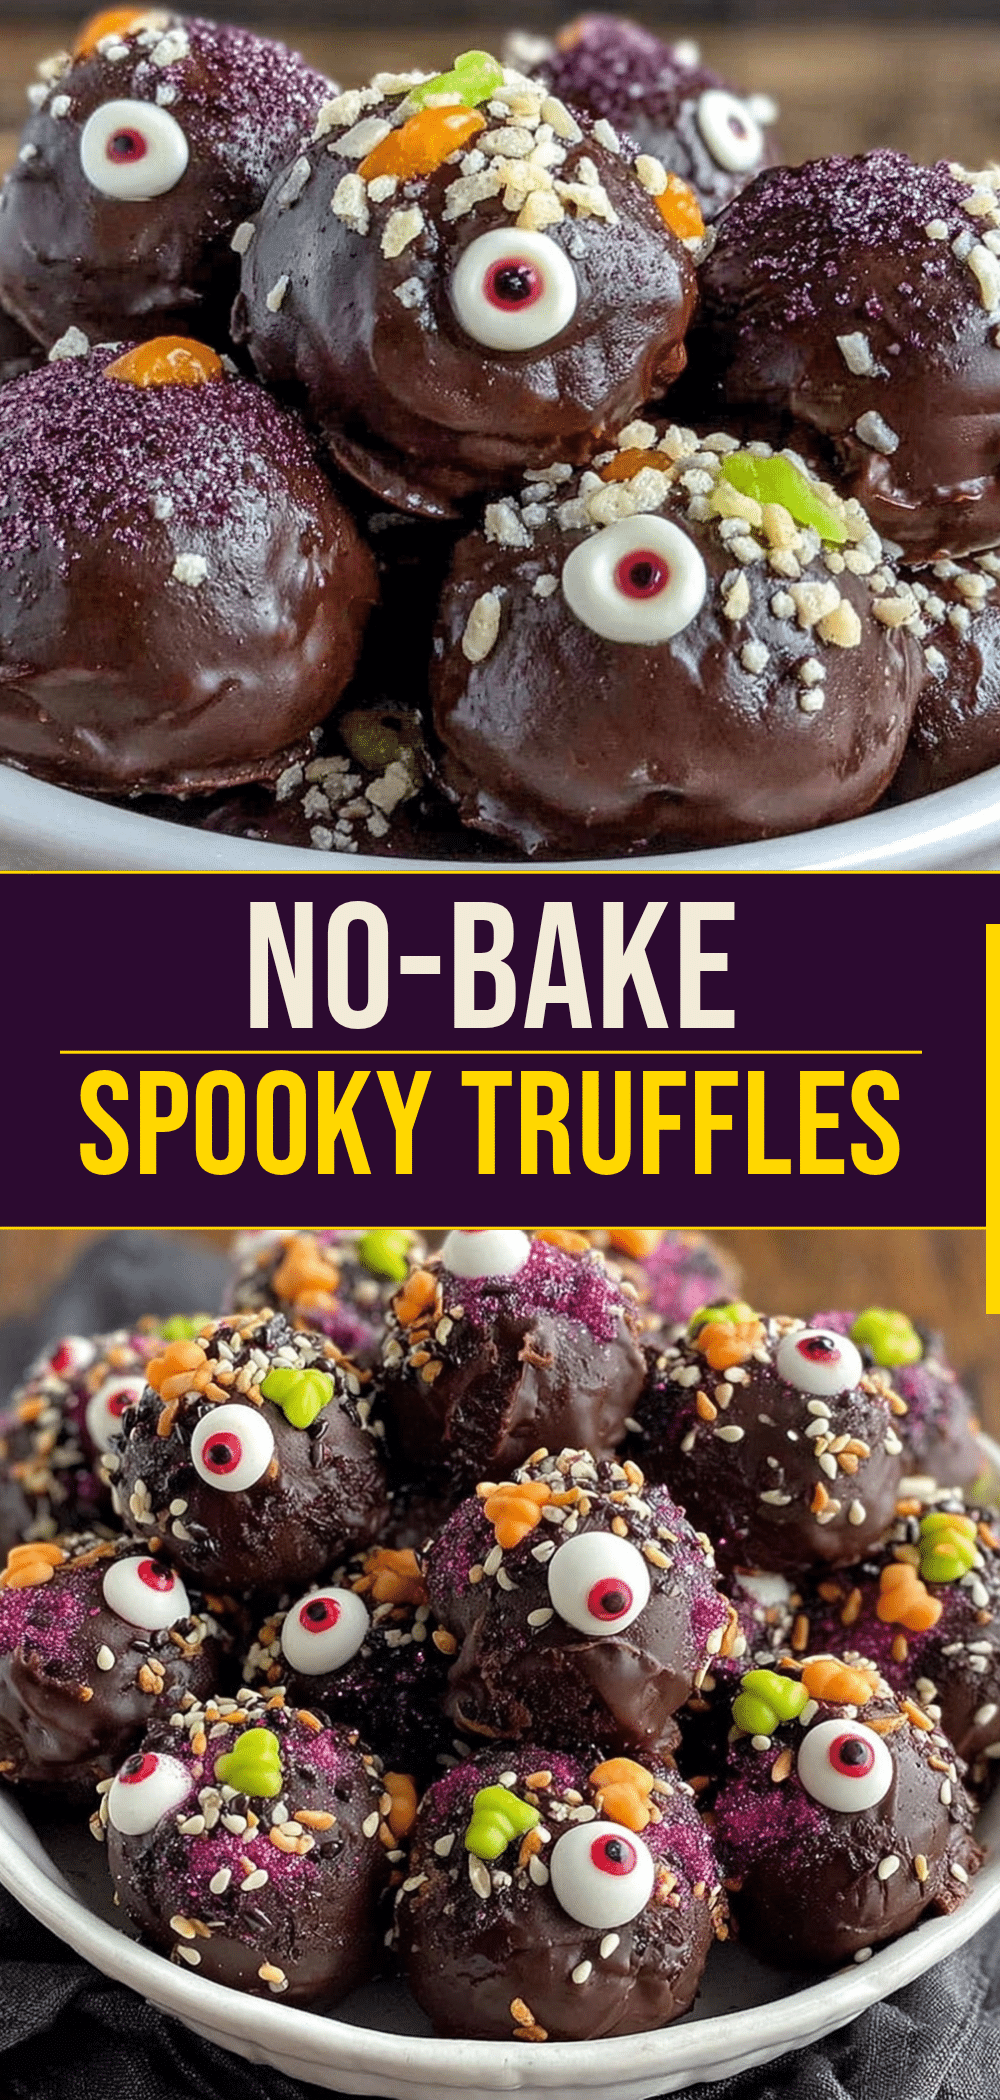
Halloween Monster Eyeball Truffles
- Total Time: 45 minutes
- Yield: 20-24 servings 1x
Description
Spooky, no-bake truffles made with cream cheese and chocolate, decorated to look like monster eyeballs. These easy treats are perfect for Halloween parties and are naturally gluten-free.
Ingredients
- 8 oz full-fat cream cheese, softened to room temperature
- 1 cup semi-sweet chocolate chips
- 1/2 cup mini marshmallows
- 1/2 teaspoon vanilla extract
- Pinch of salt
- 1 cup white chocolate melting wafers or chips
- Green food coloring gel
- Red food coloring gel
- Mini chocolate chips or sprinkles for pupils
Instructions
- In a medium bowl, beat the softened cream cheese with vanilla extract and salt until smooth.
- Melt semi-sweet chocolate chips in a microwave-safe bowl in 20-second intervals, stirring well between each, until smooth and glossy.
- Pour melted chocolate into the cream cheese mixture and stir until fully combined. Stir in mini marshmallows.
- Cover the bowl and refrigerate for at least 30 minutes until firm enough to roll.
- Using a cookie scoop or greased hands, roll the mixture into 1-inch balls and place on a parchment-lined baking sheet.
- Melt white chocolate wafers in 20-second intervals, stirring well. Divide into two bowls.
- Add green food coloring gel to one bowl and red food coloring gel to the other (or mix red into green for a bloodshot look).
- Drizzle the colored white chocolate over each truffle to cover the base. Let set for 5 minutes until tacky.
- Use a toothpick to place a mini chocolate chip or sprinkle in the center of each truffle as the pupil.
- Add a tiny dot of red food coloring next to the pupil for a bloodshot effect if desired.
- Refrigerate for 10 minutes to set completely before serving.
Notes
Ensure cream cheese is softened to avoid lumps. Use gel food coloring to prevent seizing the chocolate. Keep hands cool when rolling truffles. Store in an airtight container in the fridge for up to 5 days or freeze for up to 2 months.
- Prep Time: 10 minutes
- Cook Time: 0 minutes
- Category: Dessert
- Cuisine: American
Nutrition
- Serving Size: 1 truffle (approx. 1
- Calories: 120
- Sugar: 9
- Sodium: 15
- Fat: 8
- Saturated Fat: 5
- Carbohydrates: 12
- Fiber: 1
- Protein: 2
Keywords: Halloween, truffles, no-bake, monster eyeballs, cream cheese, chocolate, gluten-free, party snacks, fall recipes



